How to Rotate an Image to Fit in a Mockup: Mastering Visual Presentation with Tophinhanhdep.com

In today’s visually-driven world, presenting your designs, photographs, or digital art in a professional and compelling manner is paramount. Whether you’re a graphic designer showcasing a new logo, a photographer displaying a stunning landscape shot on a virtual billboard, or a digital artist presenting an app interface on a device screen, mockups are indispensable tools. They transform flat, two-dimensional creations into realistic, engaging previews that help clients and audiences visualize the final product. However, the art of integrating an image seamlessly into a mockup often hinges on a seemingly simple yet crucial step: rotation.
Beyond basic cropping or resizing, correctly rotating an image to fit the unique angles and perspectives of a mockup can elevate your presentation from amateur to exceptional. This comprehensive guide will delve into the intricacies of rotating images for mockups, exploring various techniques, leveraging powerful tools like those offered by Tophinhanhdep.com, and highlighting best practices to ensure your visual assets always shine. From high-resolution photography to innovative visual design, understanding image rotation is a foundational skill for anyone looking to make an impact in the digital realm. Tophinhanhdep.com, with its vast library of images, cutting-edge editing tools, and rich sources of creative inspiration, is your ultimate partner in achieving these polished, professional results.
Understanding the Importance of Perfect Mockup Integration
The journey from a raw design or photograph to a compelling presentation is often paved with meticulous adjustments, and none are quite as critical yet overlooked as precise image rotation within a mockup. This isn’t just about turning an image; it’s about aligning it with the physical world, creating an illusion of reality that captivates and convinces.
Why Mockups Matter for Your Visual Assets
Mockups serve as powerful bridges between imagination and reality. For designers, they offer a canvas to demonstrate how a brand identity might appear on various merchandise, from stationery to product packaging. For photographers, they provide a means to visualize breathtaking landscapes or poignant portraits within a gallery setting, an album cover, or even a digital wallpaper. Digital artists can use mockups to present their aesthetic creations within a virtual art exhibition or as backgrounds for creative projects.
The psychological impact of a well-executed mockup is significant. It builds credibility, evokes emotion, and allows the viewer to easily imagine the design in its intended context. A high-resolution image, carefully placed and angled within a mockup, conveys professionalism and attention to detail. This is particularly vital when showcasing high-resolution stock photos or beautiful photography from Tophinhanhdep.com’s extensive collections. Without proper integration, even the most stunning images can appear out of place, breaking the illusion and diminishing the overall impact.
The Role of Image Orientation in Design
The orientation of an image within a mockup is more than just a technical detail; it’s a fundamental element of visual design. Imagine trying to display a vibrant nature wallpaper on a phone screen mockup that’s tilted at an angle, but your image remains perfectly upright. The incongruity immediately stands out, jarring the viewer and detracting from your work. Correct rotation is about respecting the perspective of the mockup, ensuring that your image appears as if it was actually part of that scene from the very beginning.
This holds true whether you’re working with abstract art, sad/emotional photography, or even simple backgrounds. The subtle shifts in angle, the slight tilts, and the alignment with converging lines within the mockup create a sense of depth and realism. Tools available through Tophinhanhdep.com empower users to manipulate images with the precision needed to match these varied perspectives, ensuring that digital photography and editing styles can be perfectly showcased, regardless of the mockup’s angle.
Beyond Simple Rotation: Perspective and Realism
Sometimes, a simple 90-degree or 180-degree rotation isn’t enough. Many mockups feature objects or screens that are presented at complex angles, requiring more than just a flat rotation. This is where advanced transformation techniques come into play, allowing you to distort, skew, and warp your image to fit even the most challenging perspectives.
The goal is hyper-realism. You want your image to appear as if it belongs organically within the mockup, casting shadows correctly, aligning with the object’s edges, and responding to the simulated light source. This level of photo manipulation not only requires an understanding of perspective but also access to robust image tools. Tophinhanhdep.com provides the necessary image tools, including advanced editing styles and features, to tackle these complex transformations. By mastering these techniques, you can turn any image, from a trending style to a thematic collection, into a visually convincing element within your mockup, truly elevating your creative ideas.
Step-by-Step Guide: Rotating Images for Mockups with Tophinhanhdep.com Tools
Integrating your images into mockups with perfect rotation and perspective can seem daunting, but with the right tools and techniques, it becomes an intuitive process. Tophinhanhdep.com offers a suite of image tools and visual design capabilities that simplify these complex tasks, allowing you to focus on the creative outcome.
Basic Rotation Techniques for Quick Adjustments
For many mockups, especially those featuring devices or objects with straightforward angles, basic rotation is often all you need. Tophinhanhdep.com’s photo editor provides accessible functions for this.
1. Opening Your Image: Start by uploading your desired photo to Tophinhanhdep.com’s editor. Whether it’s a vibrant wallpaper, a high-resolution stock photo, or a piece of digital art, the first step is to get it onto your workspace. Our platform supports various image formats, ensuring compatibility with your existing visual assets.
2. Accessing Rotation Tools: Once your image is open, navigate to the “Crop & Transform” section, or a dedicated “Rotate” tool. Here, you’ll typically find options for:
- 90-Degree Rotations: Most editors, including Tophinhanhdep.com’s, offer one-click buttons to rotate your image 90 degrees clockwise or counter-clockwise. This is ideal for adjusting portrait images to landscape orientations or vice-versa, to better fit a horizontal or vertical screen mockup.
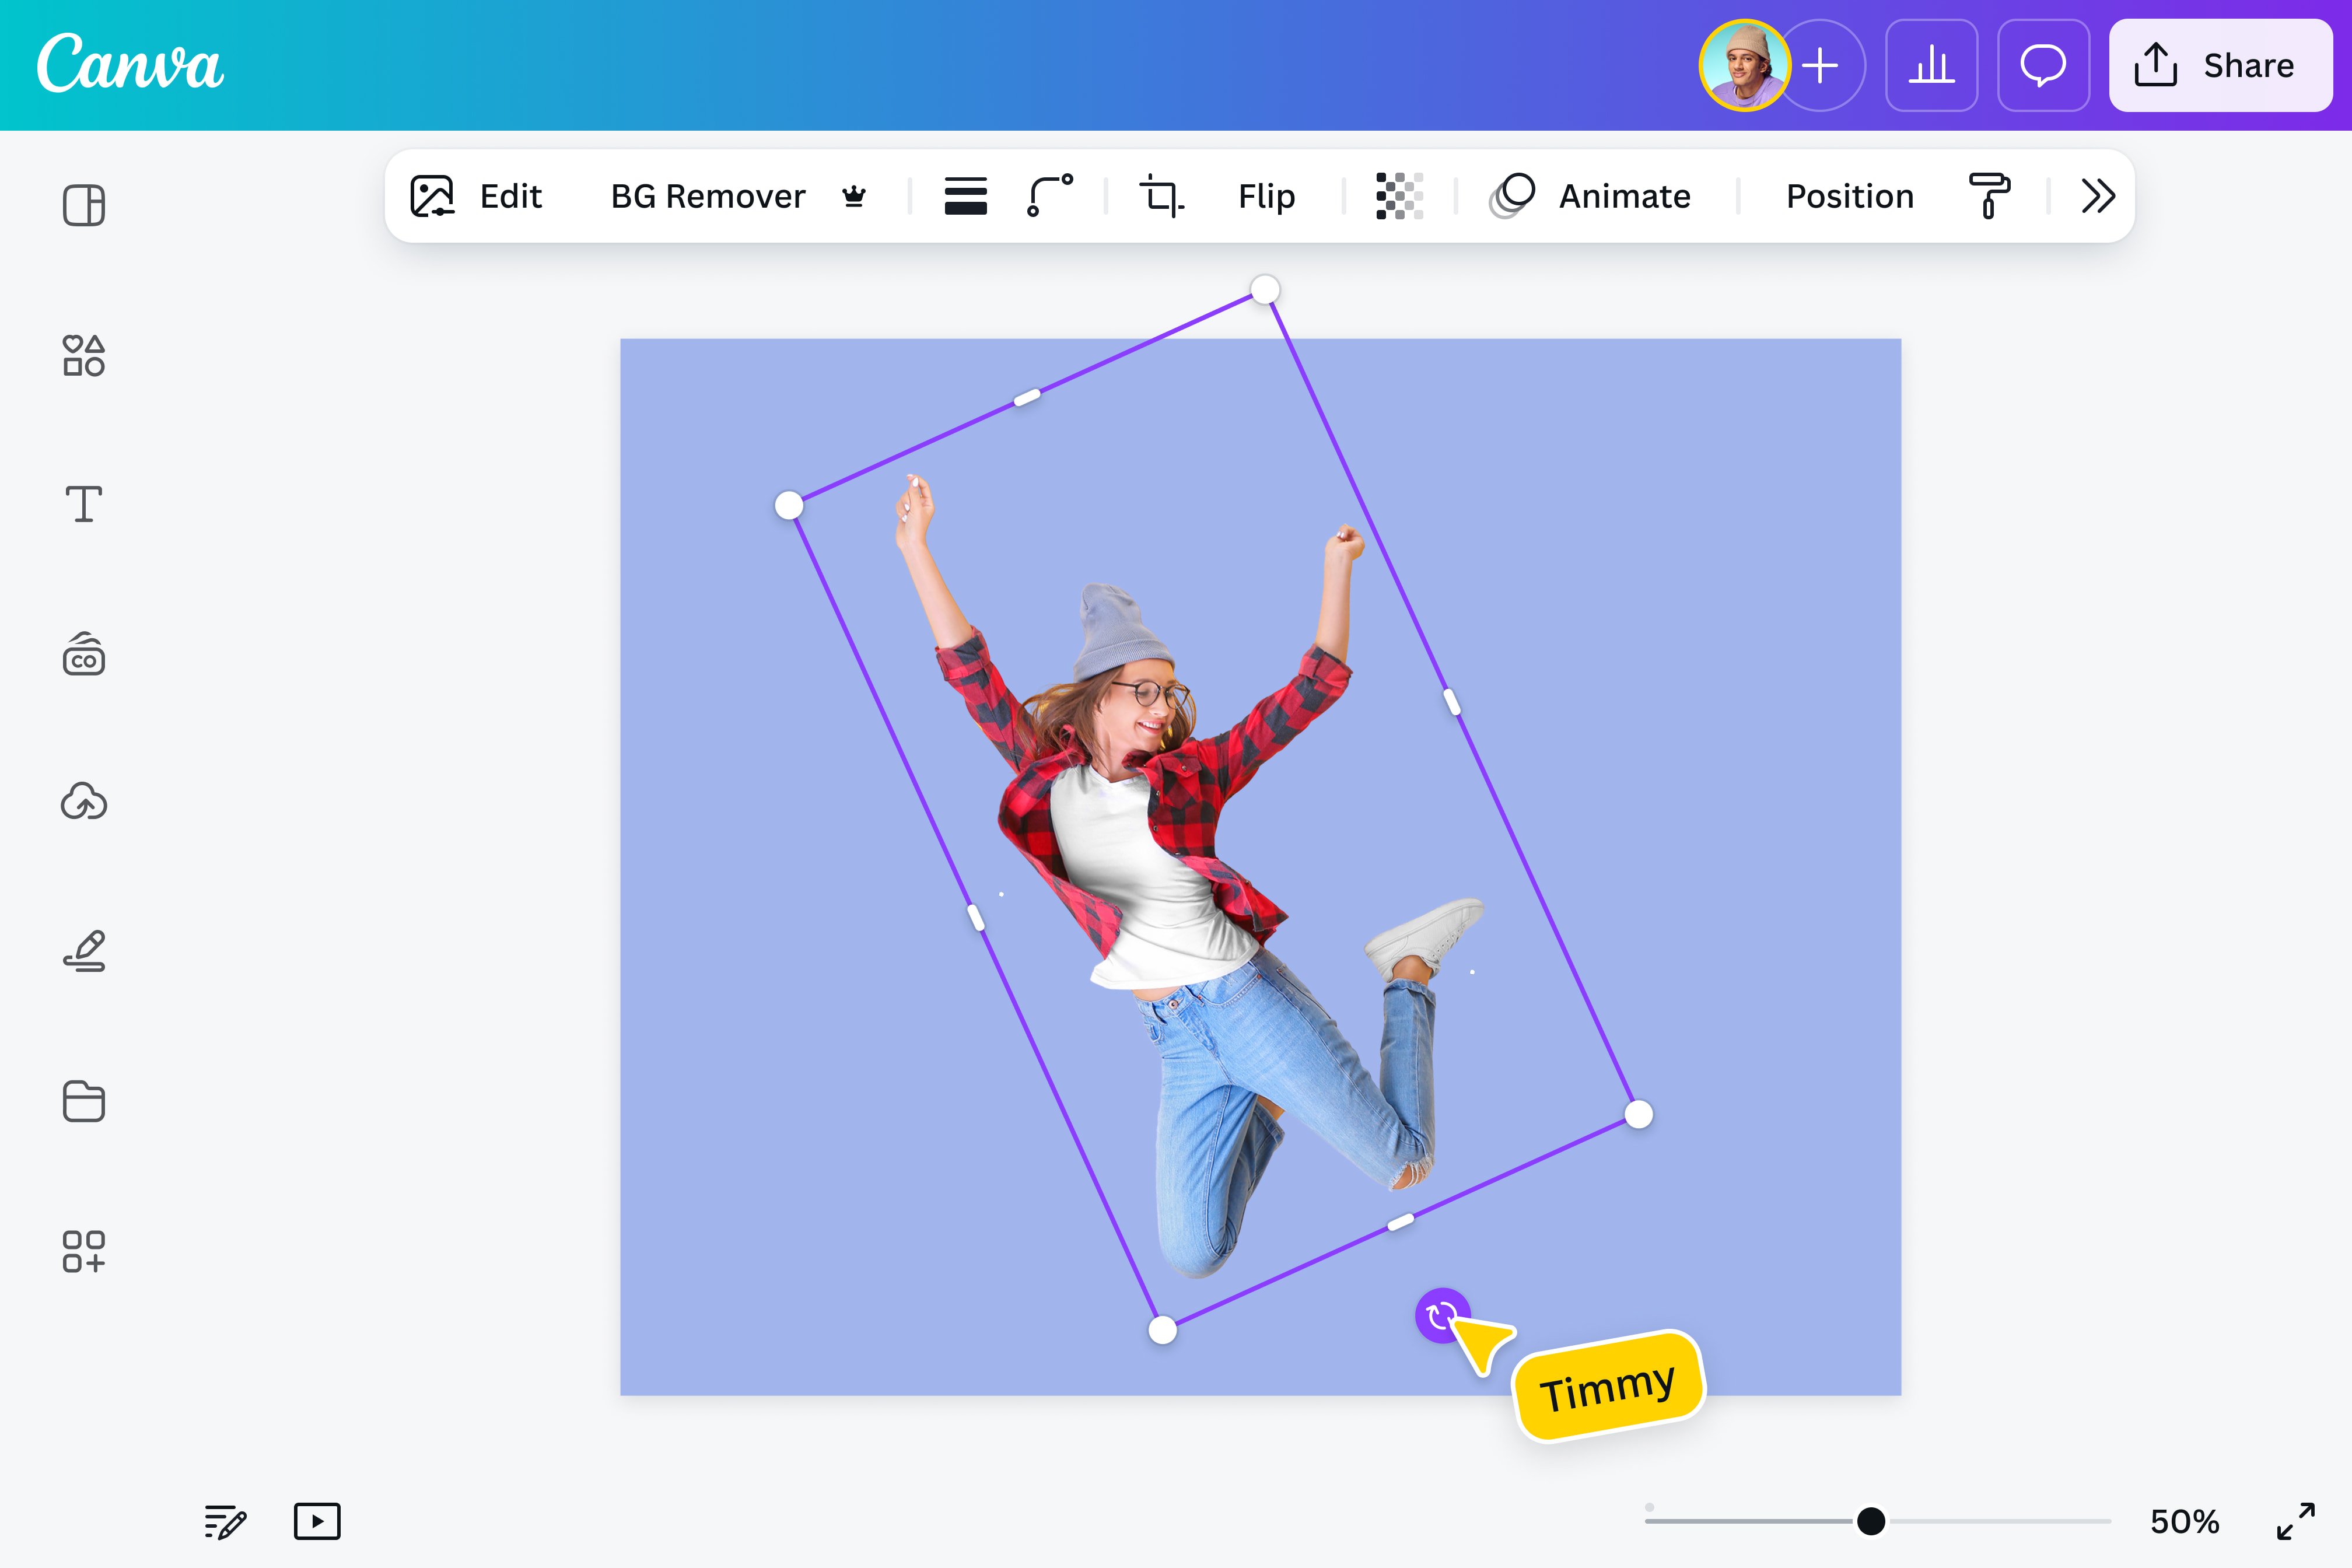
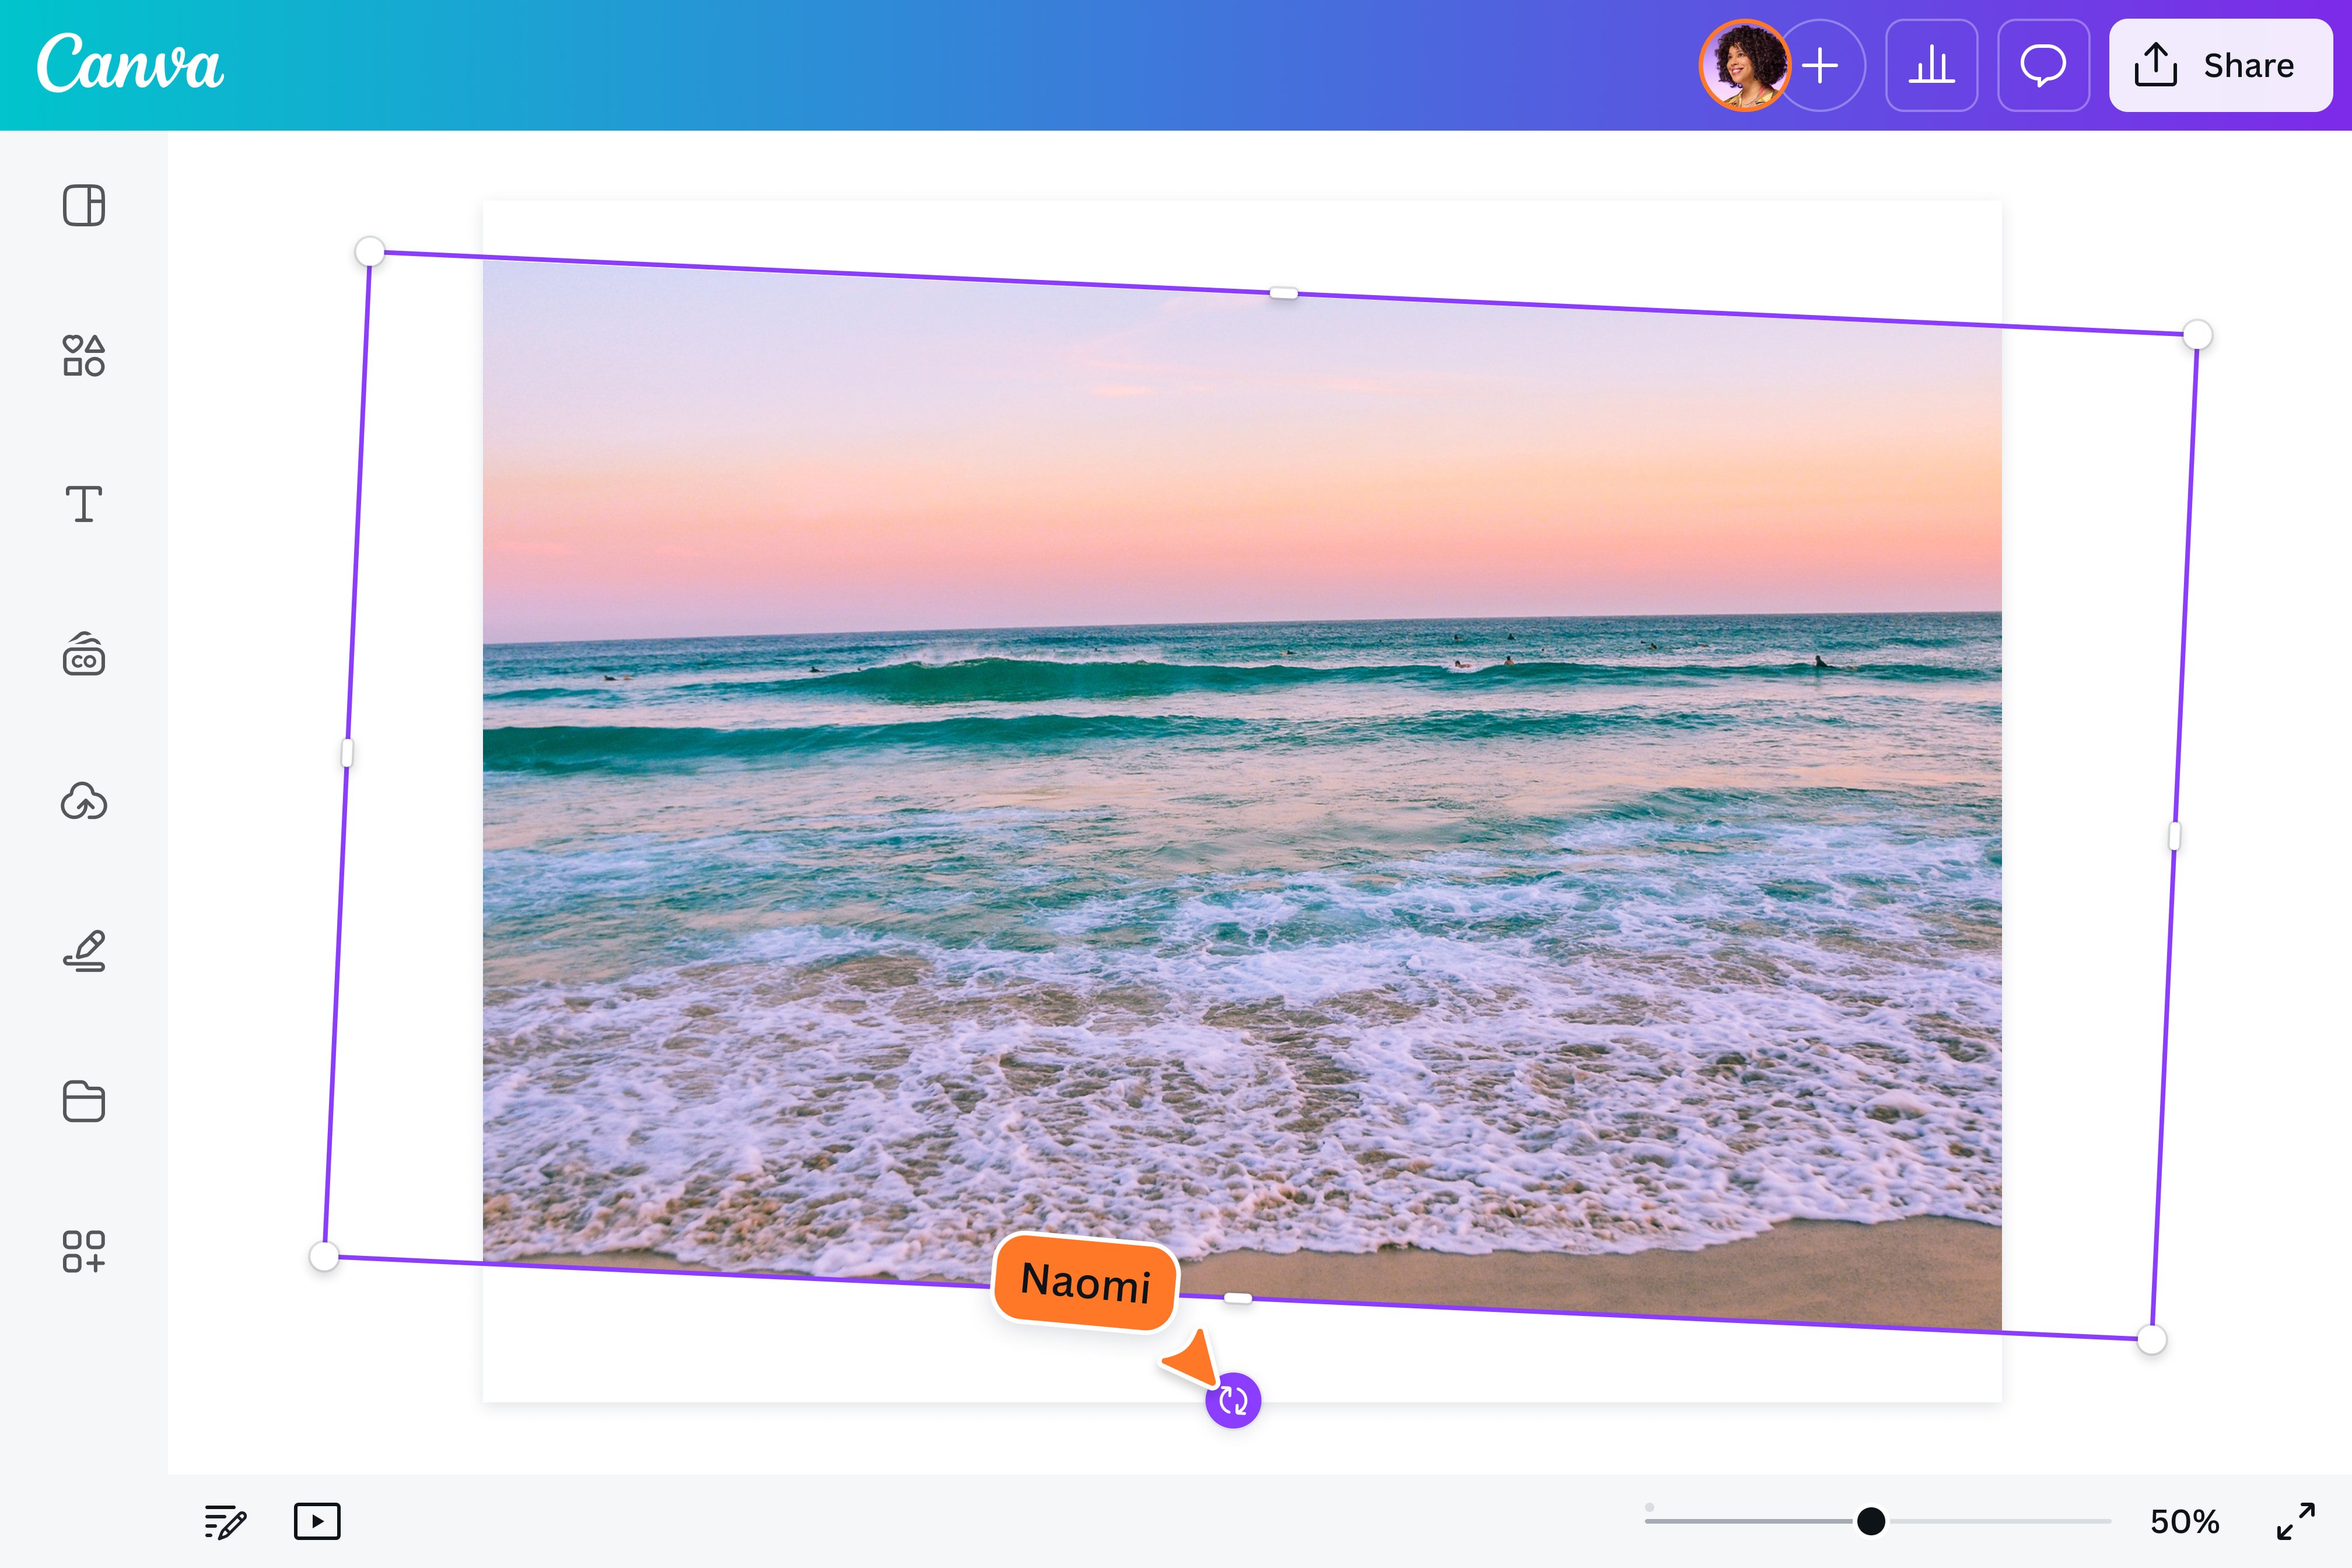
- Arbitrary Angle Rotation: For finer control, look for a slider or an input field that allows you to specify a rotation angle in degrees (e.g., 15°, -45°, 360°). This is crucial for aligning images with subtly tilted screens or elements in your mockup, ensuring a natural fit. Tophinhanhdep.com’s interface makes 360-degree image rotation simple and precise, helping you achieve perfect angles quickly.
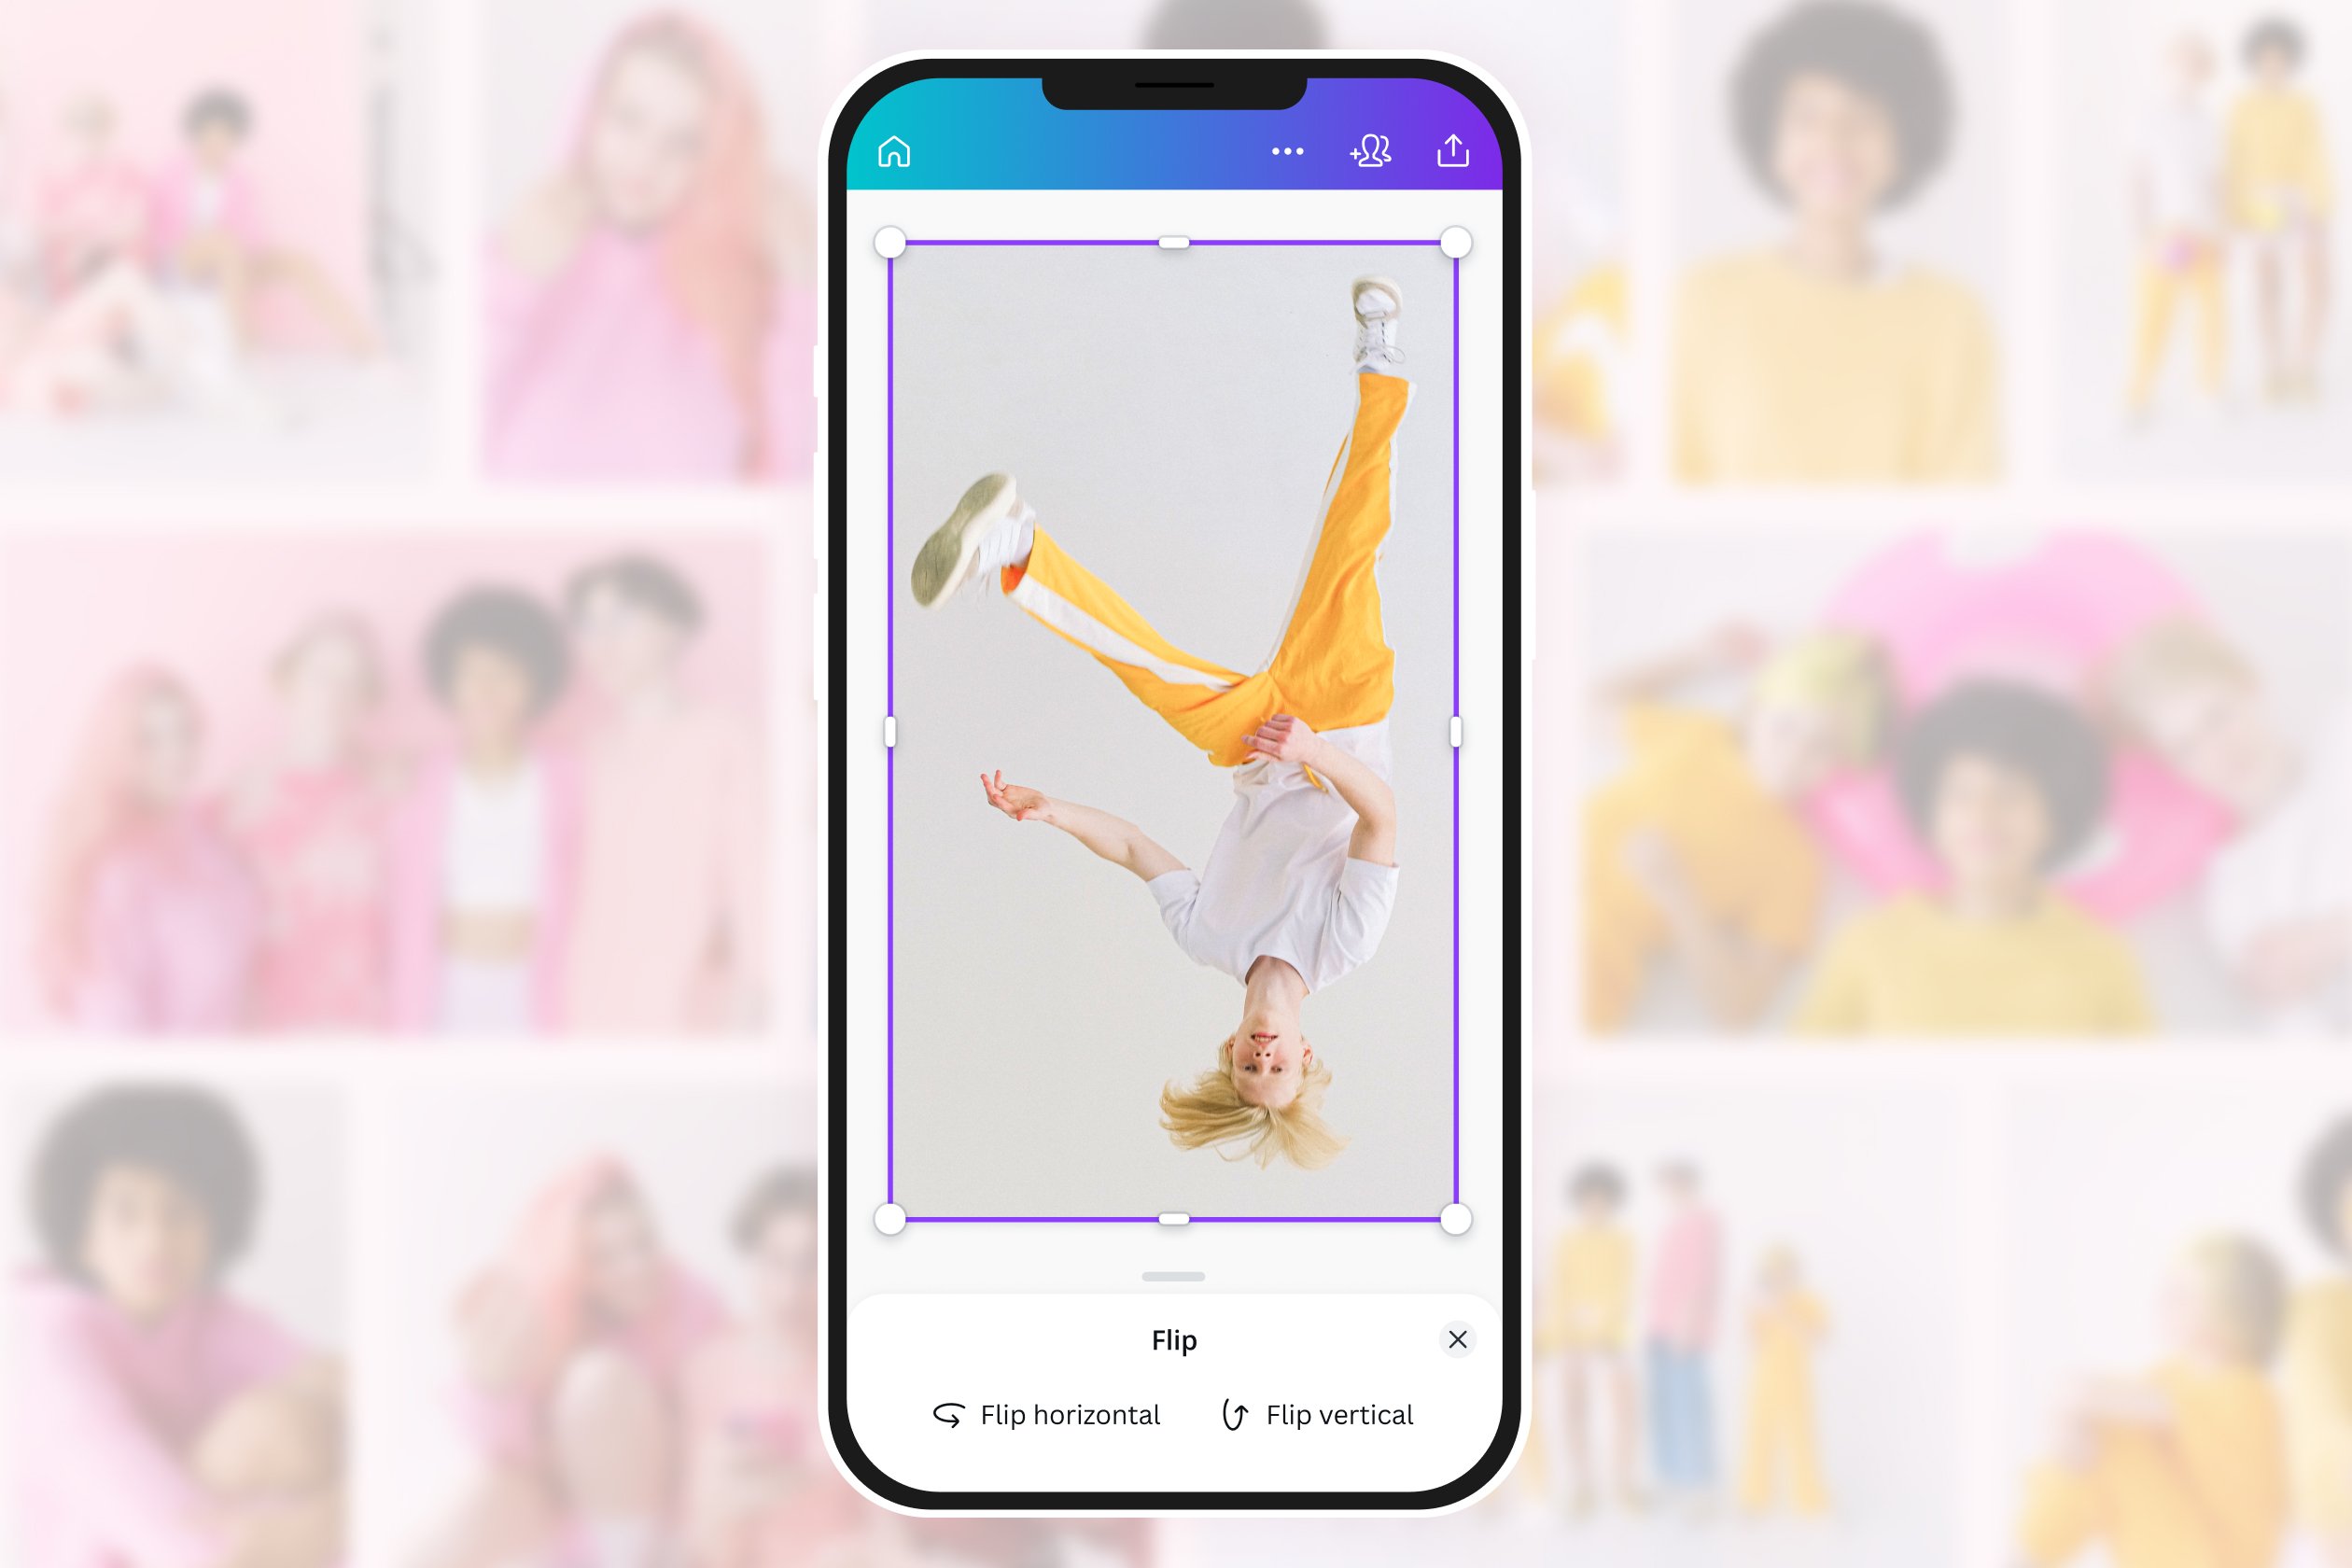
- Flipping: Often found alongside rotation tools are “Flip Horizontal” and “Flip Vertical” options. These are incredibly useful for creating mirrored effects or adjusting the orientation of elements to match a particular design flow within the mockup. Flipping can dramatically alter the perception of depth and light, adding a stylish twist to your photos.
3. Applying and Previewing: After adjusting the rotation, immediately preview the changes within your mockup. Tophinhanhdep.com’s fast rendering capabilities mean you can iterate quickly, seeing your edits almost instantly. This rapid feedback loop is invaluable for achieving the perfect alignment.
Advanced Transformation: Distort and Perspective Warping
When mockups present objects at extreme or complex angles, simple rotation won’t suffice. You’ll need tools that allow you to manipulate the image’s perspective to truly integrate it into the scene. This is where advanced transformation features, often categorized under “Distort” or “Perspective,” become essential.
1. Identifying the Target Area: In your mockup, identify the specific area (e.g., a phone screen, a book cover, a billboard) where your image needs to be placed. Observe its four corner points and the perspective lines.
2. Converting to a Smart Object/Layer: Before performing perspective transformations, it’s often beneficial to treat your image as a “Smart Object” or a similar non-destructive layer type within Tophinhanhdep.com’s advanced editor. This allows you to apply transformations without permanently altering the original image data, making future adjustments easy and preserving high resolution. Our tools mimic the power of professional design software, letting you work with your images in a flexible and editable manner.
3. Using the Distort/Perspective Tool: Select your image layer and activate the “Distort” or “Perspective Transform” tool. This typically allows you to drag each of the four corner points of your image independently.
- Matching Corners: Drag each corner of your image to align precisely with the corresponding corner of the target area in your mockup. Pay close attention to the mockup’s existing lines and angles to ensure your image conforms seamlessly. This often involves careful zooming and precise mouse movements.
- Maintaining Aspect Ratio (Initially): While distorting, you might need to temporarily unlock the aspect ratio to precisely match the mockup’s perspective. However, for a realistic outcome, ensure that the content within your image doesn’t appear unnaturally stretched or squashed. Tophinhanhdep.com’s AI-powered tools can assist in smart resizing and maintaining content integrity even during complex distortions.
4. Refining with Guides and Grids: Tophinhanhdep.com’s visual design environment includes features like guides and grids, which are immensely helpful for precision work. Align your image with the guides you create along the edges or perspective lines of your mockup to ensure accurate placement. This level of detail ensures realism, making your digital art or product displays look truly integrated.
Leveraging Smart Objects and AI for Seamless Integration
The concept of a “Smart Object” (or similar dynamic layer) and the power of AI are game-changers for mockup integration. Tophinhanhdep.com harnesses these capabilities to offer an unparalleled editing experience.
1. Creating Reusable Templates: Once you’ve perfectly distorted an image into a mockup, save the mockup as a template. If your image was placed as a Smart Object, you can easily replace its content later without re-doing the complex distortions. This means you can create a generic phone mockup, for instance, and repeatedly drag and drop new app screen designs into it, instantly fitting them to the correct perspective. This significantly boosts efficiency, especially for graphic designers creating thematic collections or mood boards. Tophinhanhdep.com emphasizes creating efficient workflows for creative ideas.
2. Tophinhanhdep.com’s AI-Powered Features: Our platform takes mockup integration a step further with AI tools:
- AI Smart Replace: Similar to advanced desktop editors, Tophinhanhdep.com’s AI can intelligently analyze a placeholder in a mockup and automatically apply your design, often handling background removal, super resolution, and auto-filling simultaneously. This means faster iterations and leveled-up deliverables, as advertised by leading mockup tools.
- AI Generative Transform: For objects within an image that need individual rotation or repositioning before being placed in a mockup, Tophinhanhdep.com’s AI Generative Transform can separate objects, allowing you to move, resize, or rotate them freely. This is like magic for photo manipulation, preparing your images optimally for any mockup scenario.
- AI Background Removal: Before placing an image into a mockup, especially if it has a complex background you wish to eliminate, Tophinhanhdep.com’s AI Background Removal tool offers a one-click solution. This ensures a clean, professional integration, particularly useful for product mockups or showcasing specific elements of a beautiful photography piece.
By combining precise manual control with the efficiency of AI, Tophinhanhdep.com empowers users to achieve jaw-dropping quality with insane speed, transforming how you present high-resolution images and visual designs.
Optimizing Your Images for Mockups: Quality, Speed, and Versatility
Beyond merely rotating and placing images, the effectiveness of your mockup presentation hinges on the underlying quality and optimization of your visual assets. Tophinhanhdep.com understands this symbiotic relationship and provides a suite of image tools designed to ensure your images are always prime for display.
Maintaining High Resolution and Clarity
A crisp, clear image is the cornerstone of any successful visual presentation. When an image is placed into a mockup, particularly a high-resolution one destined for a large screen or print, any pixelation or blurriness will be immediately noticeable. This is why originating with high-resolution images, whether from your digital photography collection or Tophinhanhdep.com’s stock photo library, is crucial.
- Starting with Quality: Always begin with the highest quality source image available. Scaling up a low-resolution image inevitably leads to a loss of detail and a blurry appearance, undermining the professionalism of your mockup. Tophinhanhdep.com prides itself on offering high-resolution images across all its categories, from aesthetic wallpapers to detailed nature photography, giving you a strong foundation.
- The Role of AI Upscalers: Sometimes, you might only have a lower-resolution version of an image, or you need to display an image at a size much larger than its original resolution. This is where Tophinhanhdep.com’s AI Upscalers become invaluable. These intelligent tools use artificial intelligence to analyze and enhance images, increasing their resolution and sharpness without the typical degradation associated with traditional upscaling methods. This means your images can look superb even when rendered at millions of pixels per second for your mockups, up to 10 times faster than some cloud-based solutions, ensuring faster iterations and better results.
Image File Formats and Compression for Web and Print
The choice of file format and proper compression are vital considerations, impacting both the visual quality and the load speed of your mockups, especially for web-based presentations. Tophinhanhdep.com’s image converters and compressors are designed to give you optimal control.
-
Lossless vs. Lossy Formats:
- PNG (Portable Network Graphics): Ideal for images requiring transparency (e.g., logos, cutouts) and for maintaining crisp details without any loss of quality. However, PNG files can be larger. When converting to PNG, our tools ensure sharpness and clarity, excellent for graphic design projects and preserving every detail.
- JPG/JPEG (Joint Photographic Experts Group): Best for photographs and images with continuous tones. JPG uses “lossy” compression, meaning it reduces file size by discarding some image data, but often imperceptibly so. This makes it excellent for web use where faster loading times are crucial. Tophinhanhdep.com’s converters allow you to transform images to JPG, finding a perfect balance between quality and size, simplifying sharing and storage.
- WebP: A modern format developed by Google, WebP offers superior compression for both lossy and lossless images, often resulting in significantly smaller file sizes than JPGs or PNGs while maintaining high quality. It’s becoming the standard for web optimization. Tophinhanhdep.com’s tools support conversion to WebP, ensuring your mockups load quickly and efficiently across all major browsers, boosting web performance for your visual content.
- PDF (Portable Document Format): While primarily a document format, converting images to PDF can be useful for professional presentations, reports, or portfolios, especially when combining multiple images. Tophinhanhdep.com allows conversion to PDF, preserving image quality and making files more universally accessible and secure.
-
Compression and Optimization: After selecting the appropriate format, using Tophinhanhdep.com’s image compressors and optimizers is crucial. These tools reduce file sizes without compromising visual integrity, ensuring your mockups load quickly on websites and social media platforms. This is particularly important for marketing graphics, where speed can affect engagement and SEO. Our platform ensures that even when you “drag and drop” heavy files, the output is optimized for performance and quality.
The Tophinhanhdep.com Advantage: AI Tools for Upscaling and Enhancement
Tophinhanhdep.com doesn’t just offer basic tools; it provides an ecosystem of AI-powered solutions to prepare your images for any mockup scenario.
- AI Super Scale: As mentioned, if your source image isn’t quite large enough for your high-resolution mockup, our AI Super Scale tool can intelligently enlarge it, maintaining a superb quality. This is crucial for showcasing beautiful photography or detailed digital art on expansive displays without pixelation.
- AI Super Sharp & Remove Noise: For images that might be slightly out of focus or contain unwanted grain (common in digital photography, especially low-light shots), Tophinhanhdep.com’s AI Super Sharp can enhance clarity and details, while AI Remove Noise can effectively reduce visual distractions. These tools ensure your images are pristine before being integrated into a mockup, adding to the overall aesthetic appeal.
- Image-to-Text Capabilities: While not directly related to rotation, our image-to-text tools demonstrate the breadth of Tophinhanhdep.com’s AI capabilities, showing how images can be leveraged for various purposes, further emphasizing the versatility of properly prepared visual assets.
By leveraging these advanced tools, you ensure that every image you place in a mockup, from a simple background to a complex photo manipulation, is not only perfectly rotated but also optimized for quality, speed, and overall visual impact, aligning with the highest standards of digital photography and visual design.
Creative Applications and Best Practices for Mockup Design
The technical aspects of rotating and fitting images into mockups are only half the story. The true power lies in how these techniques are applied creatively to enhance visual communication and streamline design workflows. Tophinhanhdep.com fosters this creativity by providing versatile tools and abundant inspiration.
Showcasing Digital Photography and Visual Art
For photographers and digital artists, mockups are virtual galleries, allowing their work to be seen in various contexts without the need for physical setups. Correct image rotation is key to conveying the intended mood and professionalism.
- Realistic Gallery Displays: Imagine a mockup of an art gallery wall. Your abstract or nature photography pieces need to hang perfectly straight or align with the subtle perspective of the wall. Using Tophinhanhdep.com’s rotation tools, you can ensure each frame appears realistically hung, enhancing the perception of depth and space. The seamless integration of your high-resolution images makes the viewer feel like they are truly walking through a gallery.
- Device-Specific Previews: Whether it’s a new wallpaper on a smartphone, a digital painting on a tablet, or a background image on a laptop screen, devices in mockups are rarely shown head-on. The ability to precisely rotate and distort your image to fit these angled screens (as demonstrated by tools like Rotato and Figma’s 3D transformer principles, adapted to Tophinhanhdep.com) is crucial. This level of realism turns a simple image into an engaging user experience, showcasing your aesthetic, beautiful photography, or digital art in its best light.
- Thematic Collections and Mood Boards: When curating a thematic collection or building a mood board, consistent and harmonious presentation is vital. Mockups can help tie together diverse images – be it sad/emotional photography or vibrant abstract pieces – by placing them within a unified visual framework. Precise rotation ensures that all elements align with the mood board’s overall design, creating a cohesive narrative. Tophinhanhdep.com’s collections offer boundless photo ideas and trending styles to inspire such creations.
Enhancing Marketing Graphics and Product Displays
In marketing, mockups are indispensable for creating compelling advertisements and product showcases. The way an image is rotated and presented directly impacts its persuasiveness.
- Product Visualizations: For e-commerce, presenting a product label on a bottle, an app interface on a phone, or a T-shirt design on a model requires meticulous attention to detail. If the label is crooked or the app screen doesn’t align with the device’s angle, it instantly diminishes the product’s appeal. Tophinhanhdep.com’s advanced editing styles and precise rotation capabilities ensure your product images look perfectly integrated, professional, and trustworthy. Our AI tools, such as generative fill, can even help refine mockups by adding or altering elements, elevating your graphic design efforts.
- Advertisements and Billboards: When designing for large-scale advertisements or billboards, the image needs to grab attention and communicate clearly. Rotating text or images to match the perspective of an angled billboard mockup makes the ad appear real and impactful. Tophinhanhdep.com offers high-resolution images and comprehensive photo manipulation tools, enabling marketers to create compelling visual narratives that fit any platform, not just iOS or Android, but any generic display.
- Cohesive Branding: Maintaining brand consistency across all marketing materials is critical. Mockups help visualize how brand elements (logos, colors, imagery) will appear in different scenarios. Proper rotation ensures that brand logos and images are always presented correctly, reinforcing the brand identity. This is part of the creative ideas and visual design philosophy promoted by Tophinhanhdep.com.
Building a Mockup Template Library for Efficiency
The “how to add images to a mockup” workflow, detailed in the reference content, emphasizes creating reusable templates. This best practice significantly boosts efficiency for any creative professional.
- Smart Object Integration: As highlighted by the Photoshop tutorial principles, converting your placeholder areas into “smart objects” or their equivalent in Tophinhanhdep.com’s advanced editor allows you to replace the content (your design) without repeating complex distortion steps. Once the perspective is set, you simply update the smart object with a new image, and it automatically conforms. This is a massive time-saver for repetitive tasks or when presenting multiple iterations of a design.
- Tophinhanhdep.com for Template Creation and Management: Our platform supports the creation and storage of such intelligent templates. You can:
- Download High-Quality Stock Images: Start your template design with a professional backdrop from Tophinhanhdep.com’s vast stock photo library.
- Utilize Guides and Smart Objects: Employ guides to define custom areas and use smart objects for interchangeable content, following the principles of efficient graphic design.
- Save and Reuse: Save your customized mockups as editable documents or templates within Tophinhanhdep.com, creating a personal library of assets. This means you can add new screenshots or digital photography easily, saving tons of time in the long run.
- Rapid Iteration and Client Deliverables: The ability to quickly swap out designs in a pre-rotated and pre-distorted template dramatically speeds up the iteration process. You can show clients multiple options faster, leading to quicker approvals and leveled-up deliverables. Tophinhanhdep.com’s commitment to “insane speed or jaw-dropping quality” means you don’t have to choose between efficiency and excellence.
By embracing these creative applications and best practices, and by leveraging Tophinhanhdep.com’s comprehensive suite of image tools, you can transform the mundane task of image rotation into a powerful element of your visual design strategy, making every mockup a truly impressive showcase.
Conclusion
Mastering the art of rotating an image to fit perfectly into a mockup is an essential skill for anyone operating in today’s visual landscape. It transcends mere technical adjustment, becoming a critical component of effective visual design, high-quality photography presentation, and compelling marketing. From the subtle tilt of a smartphone screen to the complex perspective of a billboard, precise image rotation creates the illusion of reality, building trust and engaging your audience on a deeper level.
Throughout this guide, we’ve explored how seemingly simple rotation techniques, alongside advanced perspective transformations, are crucial for seamless mockup integration. We’ve also highlighted how powerful features like “smart objects” and cutting-edge AI tools – such as those offered by Tophinhanhdep.com – can streamline your workflow, enabling you to produce jaw-dropping quality with remarkable speed. Whether you’re a professional photographer showcasing your latest high-resolution images, a graphic designer presenting creative ideas, or a digital artist bringing abstract concepts to life, Tophinhanhdep.com stands as your comprehensive resource. Our platform provides not just the tools for precise rotation and photo manipulation but also a rich tapestry of images (wallpapers, backgrounds, nature, abstract art), inspiration (mood boards, trending styles), and optimization utilities (converters, compressors, AI upscalers) to ensure your visual assets are always showcased at their absolute best.
In a world saturated with imagery, attention to detail sets you apart. By understanding and applying the principles of image rotation within mockups, supported by the robust capabilities of Tophinhanhdep.com, you are empowered to elevate your visual presentations, capture imaginations, and make a lasting impact with every design. Embrace the power of perfect perspective and transform your creative vision into compelling reality today.