How to Transform Your Word Documents into Stunning Images for Tophinhanhdep.com-Worthy Visuals

In an increasingly visual world, the ability to convert text-based documents into compelling images is a highly valuable skill. While Microsoft Word stands as a global leader in word processing, its capabilities extend far beyond simple document creation. Imagine taking a meticulously crafted report, a beautifully designed resume, or an inspiring quote from a Word document and transforming it into a high-quality image that’s perfect for sharing on social media, integrating into a visual design project, or simply preserving its aesthetic for a digital portfolio. This is precisely what converting a Word document to an image format like JPEG or PNG allows you to do.
At Tophinhanhdep.com, we understand the power of images – from captivating wallpapers and backgrounds to intricate graphic design and stunning photography. The transition from a static Word document to a dynamic image opens up a realm of creative possibilities, aligning perfectly with our mission to provide tools and inspiration for all things visual. This comprehensive guide will walk you through various methods to save your Word documents as images, offering insights into optimizing quality, exploring creative applications, and leveraging Tophinhanhdep.com’s diverse resources to elevate your visual content. Whether you’re aiming for a sleek aesthetic background, a high-resolution stock photo, or an element for your next digital art piece, mastering this conversion is your first step.
The Strategic Advantage of Converting Word Documents to Images
Microsoft Word is an indispensable tool for countless professionals, students, and creative individuals. However, its native .docx or .doc formats, while excellent for editing and collaboration, can sometimes be restrictive in purely visual contexts. There are numerous scenarios where transforming your Word content into an image format like JPEG or PNG becomes not just convenient, but essential. This transformation bridges the gap between structured text and dynamic visual communication, unlocking new avenues for sharing, presentation, and creative expression.
Beyond Text: Why Visualizing Your Documents Matters
The primary purpose of saving a Word document as an image extends far beyond mere file format change; it’s about shifting the paradigm from an editable text file to a shareable visual asset. For instance, when you need to upload a page of your document to social media, embed it in a blog post, or include it as a non-editable graphic in a presentation, a Word document isn’t the ideal format. Image formats, conversely, are universally compatible, rendering consistently across various devices and platforms without concerns about font compatibility, layout shifts, or software dependencies.
This is especially critical for maintaining the integrity of your visual design. A beautifully formatted brochure, a detailed infographic, or a thoughtfully laid-out report might lose its aesthetic appeal if opened in a different Word version or on a system missing specific fonts. By converting it to an image, you “flatten” the design, ensuring that every element – from text styling to image placement – appears exactly as intended, preserving your visual design vision. For users of Tophinhanhdep.com who appreciate aesthetic backgrounds and meticulous visual arrangements, this preservation of layout is paramount.
Bridging the Gap: Word Content in a Visual World
In today’s content-rich environment, visual appeal is king. A compelling image captures attention much faster than a block of text. By converting your Word documents, you effectively transform administrative content into visual narratives. This is where the synergy with Tophinhanhdep.com’s core offerings truly shines.
Imagine you’ve drafted a compelling quote in Word. Converting it to an image allows you to overlay it on a beautiful photography background from Tophinhanhdep.com, instantly turning a simple quote into an engaging social media post or a motivational wallpaper. Or consider a detailed chart from your report: as an image, it can become part of a larger digital art piece or be optimized using Tophinhanhdep.com’s image tools for high-resolution clarity in an abstract design.

For graphic design enthusiasts and digital artists, Word documents often contain valuable content that can be repurposed. A unique font choice, a specific layout, or an embedded graphic within your Word file can be extracted as an image and then manipulated, combined, or integrated into more complex visual projects. This allows your Word content to feed into mood boards, thematic collections, or even contribute to trending visual styles, making it a versatile asset in your creative toolkit. The ability to present your Word document’s content as a non-editable, visually consistent image opens up endless possibilities for sharing and integration within the Tophinhanhdep.com ecosystem of visual inspiration and creative tools.
Core Methods for Converting Word to Image
The process of converting a Word document into an image file is surprisingly versatile, with several methods catering to different needs and levels of technical expertise. From simple in-program functions to dedicated software and online tools, you have a range of options to transform your text into Tophinhanhdep.com-ready visuals.
Method 1: The Direct “Save As” Approach within Microsoft Word
The most straightforward method for converting a Word document to an image is by utilizing Word’s built-in “Save As” function. This method is quick, requires no additional software, and is ideal for converting an entire document or specific sections into common image formats like JPEG or PNG.
Step-by-Step Guide:
- Open Your Document: Launch Microsoft Word and open the document you wish to convert. Ensure all formatting and content are exactly as you want them to appear in the image.
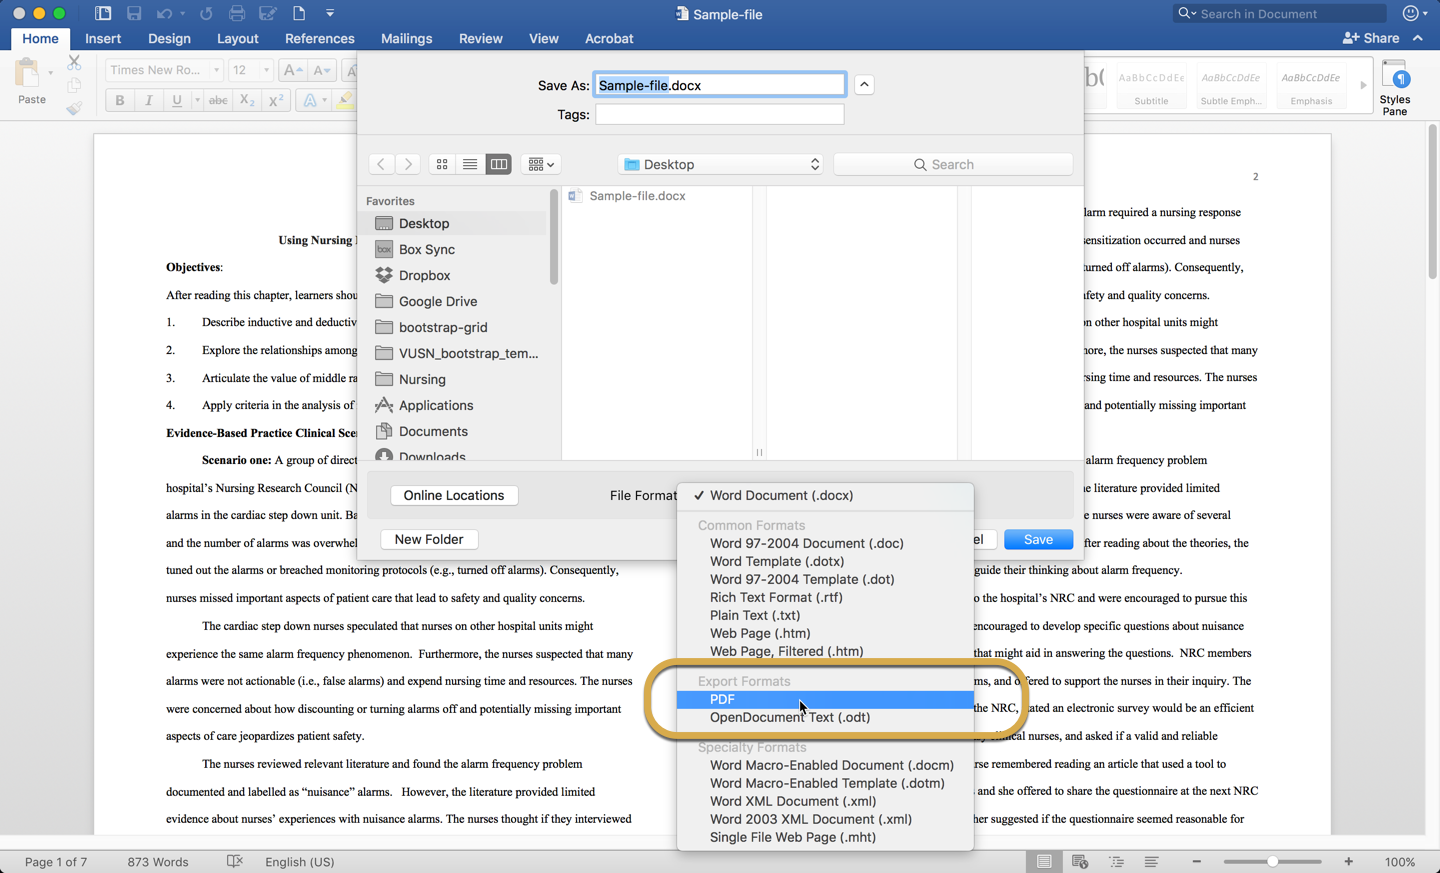
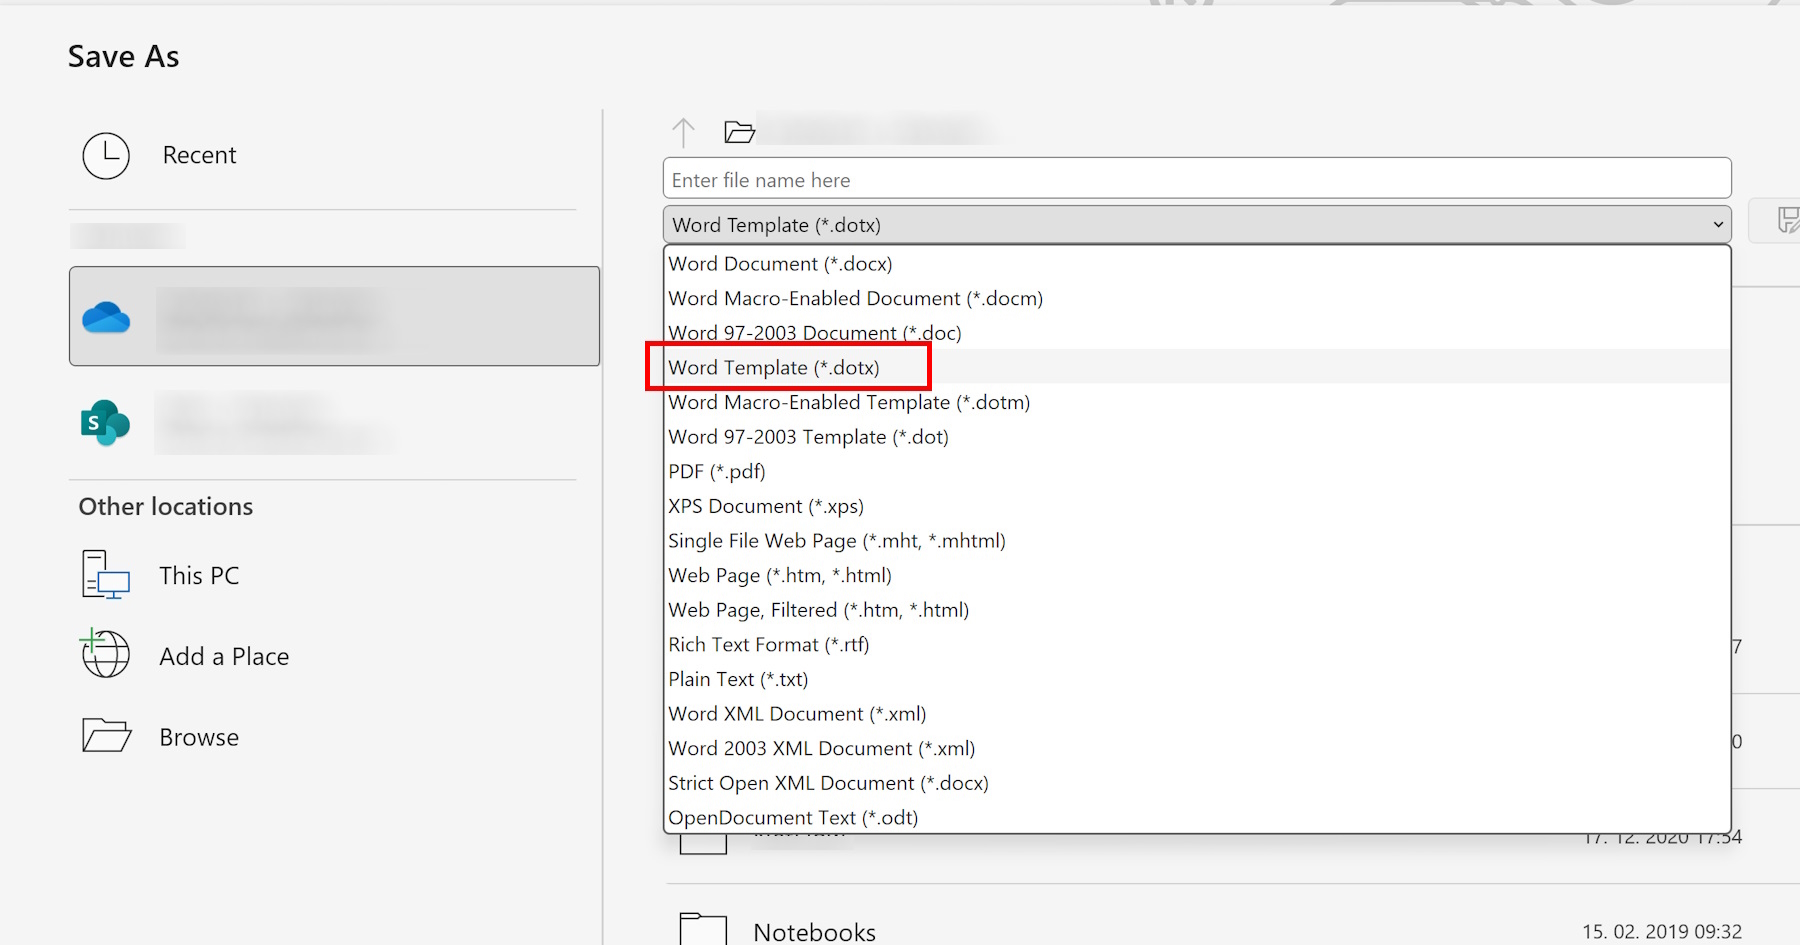
- Access “Save As”: Click on the “File” tab in the top-left corner of the Word window. From the dropdown menu, select “Save As.”
- Choose Location: In the “Save As” dialog box, browse to the location on your computer where you want to save the new image file.
- Select Image Format: Click on the “Save as type” dropdown menu. Here, you’ll find various file formats. Look for “JPEG File Interchange Format (*.jpg, *.jpeg)” or “PNG Portable Network Graphics Format (*.png)”. JPEG is generally preferred for photographs and complex images due to its smaller file size, while PNG is better for images with sharp lines, text, or transparent backgrounds, often used in graphic design.
- Name Your File: Enter a suitable name for your image file in the “File name” field.
- Adjust Quality (If Applicable): Depending on your Word version, after selecting JPEG, you might be prompted with an “Options” or “Save As JPEG” dialog box. This allows you to adjust the “Picture quality” slider. Higher quality results in a larger file size but better visual fidelity, crucial for high-resolution photography on Tophinhanhdep.com.
- Confirm Save: Click the “Save” button. Word will then convert your document (or the selected content, if prompted) into an image file.
Benefits: This method is the quickest and most accessible for single-page or full-document conversions. It integrates seamlessly into your existing Word workflow. Limitations: It typically converts each page of a multi-page document into a separate image, and direct quality control might be limited compared to specialized image tools. It’s excellent for creating basic aesthetic backgrounds or simple visual elements.
Method 2: Leveraging Screenshots and Basic Image Editing
For situations where you only need a specific portion of your Word document, or a quick capture of a single page, the screenshot method combined with a basic image editing tool (like Paint, GIMP, or even Tophinhanhdep.com’s internal editing features if available) is highly effective. This offers precise control over what content is captured.
Step-by-Step Guide:
- Prepare Document: Open your Word document and navigate to the specific page or section you wish to capture. Adjust the zoom level (“View” > “One Page” or “Multiple Pages”) to ensure the content is fully visible on your screen.
- Take Screenshot:
- Print Screen Key: Press the
PrtScnkey on your keyboard. This captures your entire screen to the clipboard. - Windows Snipping Tool/Snip & Sketch: For more precision, search for “Snipping Tool” or “Snip & Sketch” (Windows 10/11). Select “New” and then drag your cursor to precisely capture the desired area of your Word document. The captured image is automatically copied to your clipboard.
- Mac Screenshot: Use
Cmd + Shift + 4to select a specific area, orCmd + Shift + 3for the entire screen. The screenshot saves directly to your desktop.
- Print Screen Key: Press the
- Open Image Editor: Open an image editing software. Common options include:
- Microsoft Paint: A basic but effective tool for cropping and saving.
- GIMP or Adobe Photoshop: For more advanced editing, aligning with Tophinhanhdep.com’s focus on digital photography and photo manipulation.
- Paste and Crop: Paste the screenshot (Ctrl+V for Windows) into the image editor. Use the cropping tool to isolate the exact portion of the Word document you want to save. Remove any unwanted elements or borders.
- Save as Image: Go to “File” > “Save As.” Choose your desired image format (JPEG or PNG) and a location, then click “Save.”
Benefits: Offers granular control over specific sections, ideal for creating small visual elements, quotes, or snippets. It’s a quick workaround when direct saving options are limited. This method directly ties into Tophinhanhdep.com’s “photo manipulation” and “creative ideas” categories. Limitations: Lower resolution might occur depending on your screen resolution, and it’s less efficient for multi-page documents. Quality might be less consistent than direct conversion.
Method 3: Streamlining with Online Conversion Tools
When convenience and accessibility are paramount, online conversion tools provide an excellent solution. These web-based services allow you to upload your Word document and download it as an image, often supporting various formats and batch conversions. They’re especially useful for users who don’t want to install additional software.
Step-by-Step Guide:
- Search for Converter: Open your web browser and search for “Word to JPEG converter” or “Word to PNG converter.” Reputable examples include Smallpdf, Zamzar, Online-Convert, etc. (users are encouraged to find one they trust).
- Choose Tool: Select an online conversion tool that appears reliable and has positive reviews.
- Upload Document: On the converter’s website, locate the “Choose File,” “Upload,” or “Drag & Drop” button. Select your Word document from your computer.
- Select Output Format: Specify the desired output image format (JPEG, PNG, etc.). Some tools offer options for image quality or resolution.
- Start Conversion: Click the “Convert” or “Start” button. The tool will process your document.
- Download Image: Once the conversion is complete, a download link will appear. Click it to save the converted image file(s) to your computer.
Benefits: Highly convenient, no software installation required, often supports batch conversion for multiple documents. Many online tools offer options to compress and optimize the images, aligning with Tophinhanhdep.com’s “Image Tools” features. Limitations: Requires an internet connection, potential concerns regarding data privacy for sensitive documents, and some free tools may have file size or daily usage limitations. Always choose reputable services.
Method 4: Advanced Control with Third-Party Software and Add-ins
For users requiring more advanced features, higher fidelity, or batch processing capabilities, dedicated third-party software and Word add-ins offer robust solutions. These tools often provide greater control over resolution, image quality, and various output settings, ideal for professional visual design and high-resolution photography.
Popular Options and General Approach:
- Kutools for Word (Add-in): As highlighted in some resources, add-ins like Kutools for Word offer an “Export Doc as Images” feature. This is particularly powerful for batch saving each page of a multi-page document as individual images. You’d typically open your Word document, navigate to the Kutools tab, select the export feature, specify destination, image type, and size, then export. This streamlines the process for large documents, ensuring consistency in your thematic collections.
- Adobe Acrobat Pro: If you have Adobe Acrobat Pro, you can first convert your Word document to a PDF (either directly from Word’s “Save As” PDF option or via Acrobat’s virtual printer). Once in PDF format, Adobe Acrobat Pro allows you to “Export” each page as an image (JPEG, PNG, TIFF) with extensive control over resolution, color space, and compression. This is a top-tier option for preserving high quality for digital photography or detailed graphic design elements.
- Microsoft PowerPoint: A creative workaround involves importing the Word document content into PowerPoint. You can copy and paste sections or even entire pages into individual PowerPoint slides. Once the content is on a slide, you can then right-click on the slide itself (or the content within it) and select “Save as Picture.” PowerPoint offers good control over the resulting image quality and is excellent for presentations and visual content that may become aesthetic backgrounds.
Benefits: Provides the highest level of control over output quality, resolution, and batch processing. Essential for maintaining high-resolution imagery and intricate visual design. Often includes features like watermarking, precise cropping, and format-specific settings. Limitations: May involve a learning curve, often comes with a cost (purchase or subscription), and requires software installation. However, for professionals focused on digital art and high-quality image collections, the investment is often justified.
Optimizing Your Converted Images: A Tophinhanhdep.com Perspective
Converting your Word document to an image is just the first step. To truly make your visuals shine and integrate seamlessly into Tophinhanhdep.com’s diverse categories – from wallpapers and backgrounds to professional photography and graphic design – optimizing these images is crucial. This involves careful consideration of resolution, compression, and the strategic use of image tools.
Mastering Image Quality and Resolution
The clarity and sharpness of your converted image are largely determined by its resolution and quality settings. These factors are especially vital when aiming for “high-resolution” photography or detailed “visual design.”
- Resolution (DPI/PPI): Resolution, often measured in Dots Per Inch (DPI) for print or Pixels Per Inch (PPI) for screens, dictates the level of detail an image holds. For web use (e.g., social media, blog headers), 72-96 DPI is typically sufficient. However, if your converted image is intended for printing, large displays, or as a wallpaper/background on Tophinhanhdep.com where crispness is key, a higher DPI (e.g., 300 DPI) is recommended. When using the “Save As” option in Word or third-party software, look for settings to adjust the output resolution. A higher resolution yields a clearer image but also increases file size.
- Image Compression: JPEG, by its nature, is a “lossy” compression format, meaning some data is discarded to reduce file size. While this is excellent for making files shareable, excessive compression can lead to artifacts, pixelation, and a noticeable loss of detail. PNG, a “lossless” format, preserves all image data but results in larger files. When saving as JPEG, you’ll often encounter a quality slider (e.g., 0-100 or Low-High). For optimal balance, aim for a high-quality setting (e.g., 80-90%) unless file size is an extreme constraint. For documents containing sharp text, intricate logos, or graphics where absolute fidelity is critical, PNG might be the better choice to preserve the visual design integrity.
Striking the right balance between file size and image quality is paramount. A massive file might load slowly on Tophinhanhdep.com or social media, while a heavily compressed one will look unprofessional. Always consider the intended use: a small thumbnail needs less quality than a full-screen wallpaper.
Post-Conversion Enhancement with Tophinhanhdep.com Image Tools
Once your Word document is successfully converted into an image, Tophinhanhdep.com’s dedicated “Image Tools” can take your visual assets to the next level. These tools are designed to refine, enhance, and optimize your images for any purpose.
- Compressors: If your converted JPEG or PNG is too large, Tophinhanhdep.com’s image compressors can reduce its file size without significantly compromising quality. This ensures faster loading times for web-based content and efficient storage, making your images more accessible for viewers seeking aesthetic backgrounds or photo ideas.
- Optimizers: Image optimizers fine-tune various aspects of your image, from metadata removal to color palette reduction, to achieve the smallest possible file size while maintaining visual integrity. This is particularly beneficial for images destined for web use or thematic collections.
- AI Upscalers: For instances where your original Word document yielded a lower-resolution image, Tophinhanhdep.com’s “AI Upscalers” can intelligently increase the resolution and detail. This advanced tool is invaluable for transforming standard-resolution captures into high-resolution, sharp visuals, suitable for large wallpapers or detailed digital art, without introducing blurriness often associated with traditional upscaling.
- Image-to-Text: While counter-intuitive for this process, if you ever need to extract editable text from an image (perhaps an old scanned document converted to an image), Tophinhanhdep.com’s “Image-to-Text” (OCR) tool provides this functionality, showcasing the versatility of image tools.
By leveraging these tools, you can ensure that every image derived from your Word documents meets the highest standards of clarity, efficiency, and aesthetic appeal, ready for any application within the Tophinhanhdep.com visual ecosystem.
Integrating Word-to-Image into Your Visual Design Workflow
The conversion of Word documents to images is a foundational step for numerous “visual design” and “digital art” applications. This capability allows creators to utilize content from reports, proposals, articles, or even simple notes as components in more complex visual projects.
- Graphic Design: Extracted images from Word documents can serve as infographics, text overlays, or background elements for promotional materials, social media graphics, or website banners. The ability to precisely capture a formatted table or a unique header from Word means these elements can be seamlessly integrated into a graphic design layout using tools like Adobe Photoshop or Illustrator, becoming part of a larger creative idea.
- Digital Art: For digital artists, a Word document might hold a poetic verse or a conceptual outline. Converting this to an image allows the text to be treated as a visual texture, manipulated, or layered within a digital painting or collage. This fusion of literary content with visual aesthetics opens up new avenues for creative expression, contributing to abstract or emotional digital art pieces.
- Mood Boards & Creative Ideas: Designers often build “mood boards” to conceptualize projects. Images from Word documents – perhaps a collection of fonts used in a brand guide, specific color palettes detailed in a style guide, or even inspiring quotes – can be added to these boards. This visually rich content helps to articulate “creative ideas” and “thematic collections,” drawing inspiration directly from structured text.
This integration transforms your Word documents from static administrative files into dynamic components of your creative arsenal, allowing Tophinhanhdep.com users to freely experiment with “photo manipulation” and innovative “editing styles” to achieve their artistic vision.
Practical Applications and Creative Inspiration from Tophinhanhdep.com
Converting Word documents into images isn’t just a technical maneuver; it’s a gateway to new creative possibilities and highly practical applications, especially within the context of Tophinhanhdep.com’s focus on visual content. This strategic shift allows your structured text to become a versatile visual asset.
Crafting Engaging Visuals for Social Media and Blogs
In the fast-paced world of social media and online publishing, visual appeal is crucial for engagement. A well-designed image extracted from a Word document can dramatically increase click-through rates and shares.
- Social Media Posts: Imagine converting a powerful quote, a key statistic, or an announcement from your Word document into an image. By then applying an “aesthetic background” or integrating it with “trending styles” found on Tophinhanhdep.com, you transform plain text into a captivating visual that stands out in a feed. This is perfect for Instagram, Facebook, LinkedIn, or X (Twitter) where visual content thrives.
- Blog Post Headers and Infographics: Bloggers can convert sections of their articles – especially data-rich tables, flowcharts, or summaries – into images to break up text and improve readability. These images can serve as eye-catching headers or embedded infographics, leveraging “photo ideas” from Tophinhanhdep.com to make their content more visually appealing and shareable.
This approach ensures that your message is not only read but also seen and remembered, leveraging the power of “beautiful photography” and “digital photography” principles to enhance textual communication.
Enhancing Presentations and Digital Portfolios
Visual impact is paramount in professional and academic presentations, as well as in curating a compelling digital portfolio. Images derived from Word documents offer a polished, consistent look.
- Professional Presentations: Instead of displaying a Word document directly (which can be clunky), convert key slides, detailed tables, or important textual content into high-resolution JPEG or PNG images. These can then be inserted into PowerPoint or Google Slides presentations, maintaining precise formatting and ensuring a “high-resolution” and professional appearance. This is particularly useful for reports that contain “digital photography” or complex graphics from Tophinhanhdep.com.
- Digital Portfolios: Artists, writers, and designers often use Word to draft proposals, project descriptions, or design briefs. Converting these into images allows them to be showcased as part of an online portfolio. A beautifully formatted resume or a project overview, saved as an image, ensures that its “visual design” and “aesthetic” are perfectly preserved, offering a consistent and professional impression to potential clients or employers.
For Tophinhanhdep.com users, this means that even administrative or descriptive documents can be transformed into visual assets that contribute to a stunning portfolio, mirroring the quality of dedicated “stock photos” or “beautiful photography.”
Curating Thematic Collections and Mood Boards
The wealth of imagery on Tophinhanhdep.com, including “thematic collections” and “mood boards,” highlights the importance of curated visual content. Images from Word documents can play a surprising role here.
- Thematic Collections: If you are building a collection around a specific theme (e.g., “nature,” “abstract,” “sad/emotional” typography), text or visual elements extracted from Word documents can contribute. A quote about nature, formatted in Word and saved as an image, could be added to a nature-themed collection. A document outlining abstract concepts could become an abstract image.
- Mood Boards for Creative Projects: For any creative project requiring a mood board, images of specific fonts, layout ideas, or textual snippets from Word documents can be invaluable. Converting these elements to images allows them to be seamlessly incorporated alongside “photo ideas” and various “editing styles” from Tophinhanhdep.com, forming a holistic visual representation of your concept.
By embracing Word-to-image conversion, you unlock the potential of your textual content to become a flexible, engaging, and aesthetically pleasing component of your broader visual strategy, perfectly aligning with the inspirational and practical resources available on Tophinhanhdep.com.
Frequently Asked Questions about Word to Image Conversion
Converting Word documents to images opens up a world of visual possibilities. Here are answers to some common questions you might have about this process, often touching upon themes relevant to Tophinhanhdep.com’s image-centric platform.
1. Can I save a Microsoft Word document as a JPEG or PNG? Yes, absolutely! Microsoft Word, especially newer versions, allows you to save a document as a JPEG or PNG file directly using the “Save As” option. Alternatively, you can use screenshots, online converters, or third-party software for more control or specific needs. These formats are ideal for sharing on Tophinhanhdep.com as aesthetic backgrounds or stock photos.
2. Is it possible to customize the quality and resolution of the saved JPEG image? Yes, in many methods, you can customize the quality and resolution. When using Word’s “Save As” feature for JPEG, you might find an “Options” button or a quality slider to adjust picture quality. Third-party software and some online converters offer more extensive controls over DPI/PPI (resolution) and compression levels. For high-resolution photography suitable for Tophinhanhdep.com, always opt for higher quality settings.
3. Can I save a specific page of a Word document as a JPEG or PNG? Yes. If you’re using the “Save As” method in Word, it often converts each page of a multi-page document into a separate image. For more precise control over a single page or even a specific section, the “Print Screen” or Snipping Tool method combined with an image editor (like Paint or GIMP) is excellent. Just capture the desired page/section and save it as an image. This is perfect for creating specific visual elements for graphic design.
4. What are the best image formats for converting Word documents, and why?
- JPEG (Joint Photographic Experts Group): Ideal for documents containing photographs, gradients, or complex color variations. It offers good compression, resulting in smaller file sizes, which is great for web sharing or general social media posts. However, it uses “lossy” compression, meaning some data is discarded.
- PNG (Portable Network Graphics): Best for documents with sharp lines, text, logos, or areas of solid color. It uses “lossless” compression, preserving every detail, and supports transparency, making it excellent for graphic design elements or overlays on Tophinhanhdep.com’s wallpapers.
- TIFF (Tagged Image File Format): Supported by some third-party software, TIFF is a lossless format often used in professional printing and archival due to its high quality. File sizes are much larger.
The “best” format depends on your document’s content and its intended use, whether for aesthetic backgrounds or high-resolution images.
5. Are there any limitations or considerations when saving Word documents as pictures? Yes, several:
- Editable Text Loss: Once converted to an image, the text within the document is no longer editable. Always keep an original Word document for future edits.
- File Size vs. Quality: Higher image quality and resolution lead to larger file sizes. You need to balance these factors based on the image’s purpose (e.g., a web image vs. a print-quality graphic). Tophinhanhdep.com’s compressors can help manage this post-conversion.
- Complex Formatting: Very complex layouts, embedded interactive elements, or intricate shapes might not always convert perfectly, especially with simpler methods. For critical visual design, review the output carefully.
- Hyperlinks: Hyperlinks within the original Word document will not be preserved in the image file.
- Accessibility: Images of text can be inaccessible to screen readers. If the content needs to be readable by assistive technologies, providing the original Word document or using image-to-text tools after conversion might be necessary.
In conclusion, converting a Microsoft Word document to an image is a simple yet powerful skill that enhances your ability to share, present, and creatively utilize your content. By following the methods outlined above, you can transform your text-based documents into versatile JPEG or PNG image files, perfectly suited for the visually-driven world of Tophinhanhdep.com. Whether you’re crafting engaging social media graphics, building professional digital portfolios, or contributing to thematic image collections, mastering this conversion allows you to seamlessly bridge the gap between structured text and captivating visuals. Remember to experiment with different methods, optimize your image quality using Tophinhanhdep.com’s image tools, and let your creative ideas flourish in the realm of digital art and photography.