How to Scale an Image Without Losing Quality

In the vast and visually-driven landscape of the digital world, images are paramount. From captivating wallpapers and aesthetic backgrounds to stunning high-resolution photography and intricate digital art, visual content forms the bedrock of engagement. Yet, a common challenge many face, whether they are a professional photographer, a graphic designer, or a content creator managing a website, is how to scale an image without compromising its quality. The dread of seeing a perfectly composed photograph turn into a blurry, pixelated mess after resizing is real, and it can significantly diminish the impact of your visual message.
At Tophinhanhdep.com, we understand the critical role images play in inspiring, informing, and captivating audiences. Our comprehensive resources cover everything from diverse image collections like Nature and Abstract, to in-depth guides on Digital Photography, Editing Styles, and essential Image Tools such as Converters, Compressors, and AI Upscalers. This article delves deep into the art and science of quality-preserving image scaling. We will explore the fundamental principles that govern image resolution, differentiate between resizing and resampling, and introduce you to a range of powerful tools and techniques, ensuring that your images always look their best, regardless of their intended size or platform. By mastering these methods, you’ll be able to optimize your visual content for website speed, print, or social media, all while maintaining the crispness and detail that defines true quality.
Understanding Image Quality and the Resizing Dilemma
The journey to scaling images without losing quality begins with a clear understanding of how digital images are constructed and manipulated. The term “resizing” is often used broadly, but within the realm of digital image manipulation, there are crucial distinctions that dictate the final output quality.
The Fundamentals: Pixels, Bitmaps, and File Formats
Most images encountered online, including common JPEG and PNG files, are known as bitmap images. Imagine these images as intricate mosaics composed of thousands, or even millions, of tiny square dots called pixels. Each pixel holds specific color and positional data. If you zoom in extremely close on a JPEG or PNG image, you’ll eventually see these individual squares, clearly defining the “map” of “bits.”
The inherent challenge with bitmap images arises when you attempt to enlarge them beyond their original resolution. When a smaller bitmap image is simply “stretched,” the existing pixels are forced to become larger. This makes the individual squares more visible, leading to the undesirable effect known as pixelation, where the image appears jagged, blurred, and low-quality. This is why a picture taken with a low-resolution camera often struggles to be enlarged for a large print; there simply aren’t enough pixels to distribute over a greater area without individual pixels becoming noticeably huge.
Beyond pixel count, the image file format also plays a significant role.
- JPEG (Joint Photographic Experts Group): Widely used for photographs due to its excellent compression capabilities, resulting in smaller file sizes and faster loading times. However, it uses “lossy” compression, meaning some image data is permanently discarded each time it’s saved, which can degrade quality over multiple edits.
- PNG (Portable Network Graphics): Offers “lossless” compression, preserving all original image data, making it ideal for images requiring transparency or crisp lines (like logos, screenshots, or graphics). This comes at the cost of generally larger file sizes compared to JPEGs.
- GIF (Graphics Interchange Format): Best known for its support of animation and small file sizes, but limited to 256 colors, making it unsuitable for high-quality photographic reproduction.
Understanding these formats is crucial, as converting from a low-resolution, lossy format (like a heavily compressed JPEG) to a higher-resolution format will not magically improve the picture’s inherent quality. The lost detail simply cannot be recreated from scratch without advanced techniques.
Resizing vs. Resampling: The Key Distinction
While often used interchangeably, “resizing” and “resampling” are fundamentally different operations when it comes to image manipulation and quality preservation.
Resizing (or Scaling): This is the most basic form of image size adjustment. When you “resize” an image without resampling, you are essentially just changing the display size of the existing pixels. The number of pixels remains the same; they just become physically larger or smaller on the screen or in print. For example, if you view an image at 200% zoom, you are resizing it (making the pixels bigger) without changing its underlying pixel dimensions. While this doesn’t directly destroy pixel data, it can lead to obvious pixelation or blur if the display size is significantly increased beyond the image’s native resolution.
Resampling: This is the method used when you need to change the actual number of pixels in an image.
- Downsampling: When reducing an image’s size (e.g., for web optimization), resampling removes pixels. The software analyzes neighboring pixels and intelligently discards redundant information. Done correctly, this can drastically reduce file size while maintaining visual quality.
- Upsampling: When enlarging an image, resampling adds new pixels. This is where the magic (or disaster) happens. Simple upsampling algorithms might just duplicate existing pixels, leading to pixelation. However, advanced resampling algorithms, often utilizing interpolation techniques, analyze surrounding pixels to intelligently create new ones, attempting to smooth transitions and preserve detail. Fractal interpolation is one such technique that resizes images by compensating for each pixel by matching it with the properties of the nearest pixel, leading to much better results when enlarging.
For quality-critical applications, especially when preparing images for web or print from high-resolution sources, resampling is the tool of choice. It allows you to actively manage the pixel density, ensuring a balance between file size and visual fidelity.
Why Quality Image Scaling is Crucial for Your Visual Content
In today’s visually saturated digital landscape, the quality of your images isn’t just about aesthetics; it’s a fundamental aspect of user experience, brand perception, and even technical performance. Poorly scaled images can undermine your efforts across various platforms and purposes.
Elevating Website Performance and User Experience
Tophinhanhdep.com consistently emphasizes the importance of “High Resolution” images, but also the need for “Optimizers” in “Image Tools.” These two concepts might seem contradictory, but they are intrinsically linked by the need for intelligent image scaling.
Page Speed: One of the most common reasons for needing to properly scale images is its direct impact on website loading speed. Images straight from a high-megapixel camera often come with massive resolutions (e.g., 6000x4000 pixels or more) and large file sizes (several megabytes). Uploading these unoptimized behemoths to a website forces visitors’ browsers to download and process significantly more data than necessary. This leads to painfully slow loading times, a major turn-off for users and a red flag for search engines. Visitors are often captivated by pictures above all else, but a long wait for them to load can drive them away. Reducing the resolution and file size of your images before uploading them to your site is critical for ensuring a smooth, fast browsing experience.
First Impressions and Professionalism: Beyond speed, poorly resized images are immediately noticeable to the user. Blurred distortions, visible pixelation, or images that appear stretched or squashed scream “unprofessional.” In a competitive online environment, a good first impression is vital. High-quality, properly scaled images convey attention to detail, credibility, and a commitment to excellence. For anyone showcasing “Wallpapers,” “Backgrounds,” “Aesthetic,” or “Beautiful Photography,” maintaining crisp detail is non-negotiable. Sloppy resizing can diminish your impact, erode trust, and even cause you to lose potential audience members or customers.
Preserving Professionalism in Visual Design and Photography
Quality image scaling extends far beyond web optimization. It’s a cornerstone of professional “Visual Design,” “Graphic Design,” and “Photo Manipulation.”
Print Quality: When preparing images for print – whether it’s a small brochure, a large poster, or even a banner – the requirements for resolution are much higher than for digital display. An image that looks acceptable on a screen might appear woefully pixelated when printed large. Knowing how to enlarge images intelligently, using techniques like fractal interpolation or specialized software, ensures that your “Digital Photography” retains its sharpness and detail when it transitions from screen to paper. This is especially true for images intended for “Thematic Collections” or “Mood Boards” that might be presented in physical form.
Creative Integrity: For artists and designers engaged in “Digital Art” or “Creative Ideas,” the ability to manipulate images without degradation is crucial for maintaining their artistic vision. If you’re working on a complex “Photo Manipulation” project, repeatedly resizing elements without understanding proper scaling techniques can quickly lead to irreversible damage to your source material. Preserving the original quality allows for greater flexibility and ensures that the final output matches the creative intent, whether it’s for a client project or a personal “Image Inspiration” piece. Tophinhanhdep.com’s focus on “Editing Styles” provides context for how critical quality retention is throughout the creative process.
In essence, quality image scaling is not merely a technicality; it’s an investment in your audience’s experience, your professional credibility, and the integrity of your visual work.
Mastering Quality-Preserving Image Scaling with Powerful Tools
Fortunately, the digital realm offers a plethora of tools, from industry-standard software to specialized online applications, designed to help you scale images without losing quality. The choice often depends on the complexity of your project, your budget, and your technical proficiency.
Adobe Photoshop: The Gold Standard with Smart Objects
Adobe Photoshop stands as the undisputed champion in professional photo editing and graphic design. For anyone serious about “High Resolution” imagery, “Digital Photography,” or “Photo Manipulation,” Photoshop is an indispensable asset. While it’s a premium tool, its capabilities, particularly its Smart Objects feature, make it worth the investment.
The core concept behind Smart Objects is non-destructive editing. When you convert a layer to a Smart Object, Photoshop essentially places your image inside a protective container. Any transformations you apply – scaling, rotation, skewing, or filters – are applied to this container, not the original image pixels themselves.
Let’s illustrate the power of Smart Objects:
- The Problem with Pixel Layers: If you take a regular pixel-based image layer and scale it down (downsampling) significantly (e.g., to 10% of its original size), Photoshop discards 90% of its pixel data. If you then try to scale that same image back up, Photoshop has to stretch the remaining pixels, leading to a blurry, pixelated mess. The detail is gone forever.
- The Smart Object Solution: If you convert that same image to a Smart Object before scaling it down to 10%, the original, full-resolution image remains intact inside the Smart Object container. When you scale the Smart Object container, the image inside is merely displayed at a smaller size. If you then decide to scale the Smart Object back up to its original size (or even larger, though with limitations), Photoshop accesses the pristine original image data from within the container. The result is a crisp, sharp image, just as good as the original, without any loss of quality from the previous downscaling.
To convert to a Smart Object in Photoshop:
- Select your image layer in the Layers panel.
- Right-click on the layer (or click the menu icon in the top right of the Layers panel).
- Choose “Convert to Smart Object.” A small icon will appear on the layer thumbnail, indicating it’s a Smart Object.
When resizing a Smart Object using Edit > Free Transform (Ctrl/Cmd + T), you can freely scale it up and down. Photoshop will always reference the original pixel data, maintaining quality.
For extreme enlargements, Photoshop also integrates with plugins like Perfect Resize (formerly Genuine Fractals), which automate advanced resampling processes, often using fractal-based algorithms to interpolate new pixel data with remarkable fidelity. This level of control is why Photoshop is a staple for creating stunning “Wallpapers,” “Backgrounds,” and “Beautiful Photography” for any purpose.
GIMP: A Robust Open-Source Alternative
For those seeking powerful image editing capabilities without the financial commitment of Adobe, GIMP (GNU Image Manipulation Program) is an excellent free and open-source alternative. While it might have a steeper learning curve for some, GIMP is more than capable of handling quality-preserving image scaling.
To resize an image with GIMP:
- Open your image in GIMP.
- Go to
Image > Scale Image. - In the “Scale Image” dialog box, enter your desired dimensions. Crucially, under “Quality,” select
Sinc (Lanczos3)forInterpolation. This algorithm is designed for high-quality resizing and resampling, particularly when downscaling or moderately upscaling. - Click “Scale.”
GIMP’s interpolation algorithms, especially Sinc, help minimize pixelation and maintain detail when resampling. While it might not match Photoshop’s Smart Object flexibility for multiple non-destructive resizes, it offers impressive results for a free tool and is highly recommended for enthusiasts of “Digital Photography” and basic “Visual Design.”
Exploring Online Tools and AI-Powered Upscalers
For quick, convenient resizing, or for tackling images that are already very low resolution, a new generation of tools has emerged, often accessible online or powered by artificial intelligence. Tophinhanhdep.com’s “Image Tools” section highlights the growing importance of “Converters, Compressors, Optimizers, [and] AI Upscalers.”
Online Image Resizers:
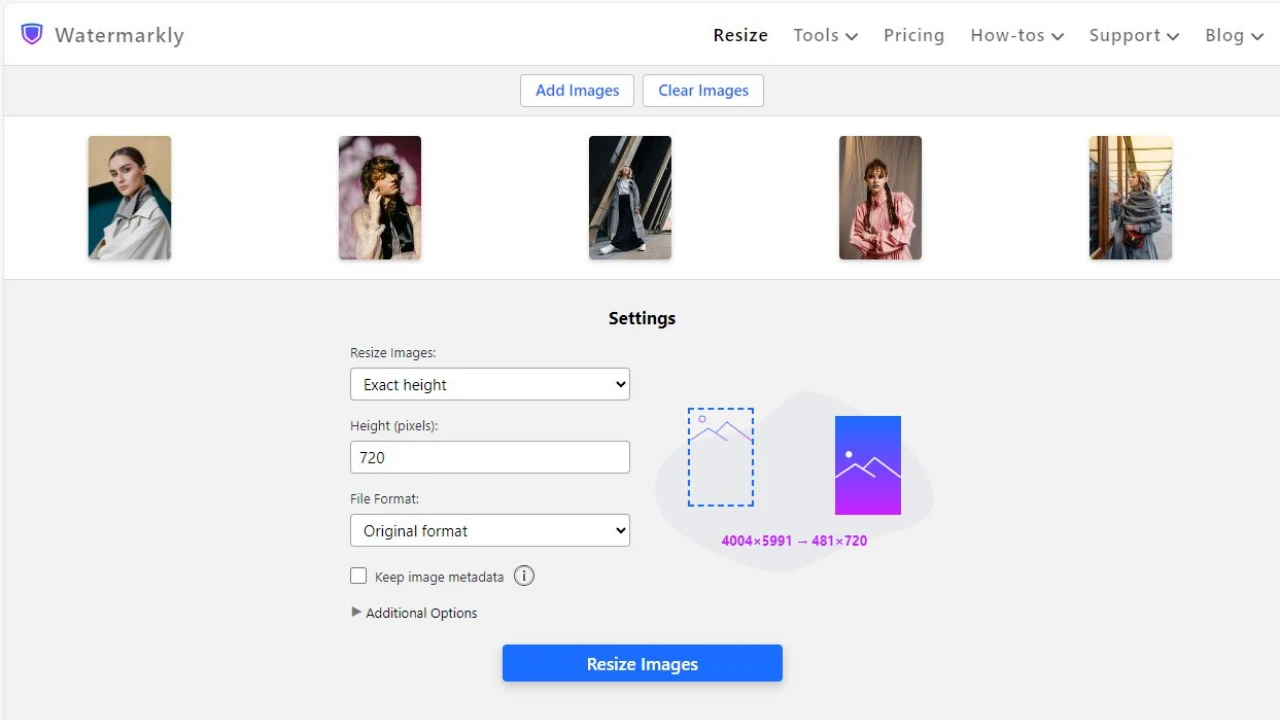
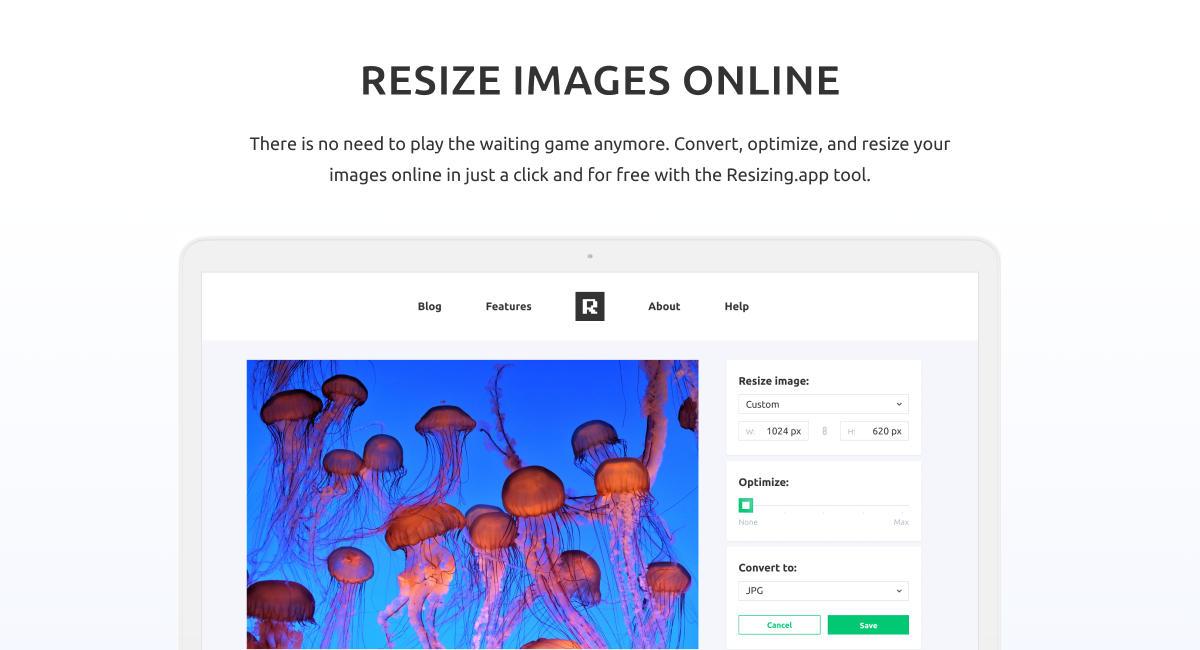
Tools like Tophinhanhdep.com’s own resizer (or those similar to resizing.app) offer a straightforward, browser-based solution. The process is typically three simple steps:
- Upload: Drag and drop your image file (GIF, JPEG, BMP, PNG, HEIC, TIFF).
- Choose Settings: Specify desired dimensions, format (JPEG, PNG, WEBP), and optimization levels.
- Apply Changes & Download: Hit save, and your resized image automatically downloads.
These tools are excellent for quick adjustments for web use, ensuring small file sizes for fast loading without significant quality loss for screen display.
AI Upscalers: This is where technology steps in to tackle the truly challenging scenarios: turning low-quality images into higher resolution ones. Traditional upsampling simply interpolates new pixels based on existing ones. AI Upscalers, however, leverage machine learning to reconstruct detail. Trained on vast datasets of images, these AI models can intelligently guess what missing details should look like, effectively adding information that wasn’t originally present. This can produce astonishing results, making a blurry, pixelated image appear sharper and more defined, almost as if it were taken with a higher-resolution camera.
- ON1 Resize (e.g., ON1 Resize 2019.6): This software utilizes fractal interpolation technology to enlarge images up to 1000% without affecting quality. It can function as a standalone tool or a Photoshop plugin, offering advanced features like gallery wrap and numerous print presets.
- Fotophire Maximizer: Another tool capable of significant enlargement (up to 1000%) with focus on preserving detail, especially useful for print media like banners. It also offers features for improving grainy, low-light photos.
- Reshade & A Sharper Scaling: These are often free tools that use advanced algorithms and techniques like Bicubic interpolation combined with sharpening to achieve good results for upscaling, with Reshade claiming up to 2000% enlargement without blur.
- PIXresizer: A free, simple tool primarily focused on making images email and web-friendly by reducing file size and offering basic resizing and format conversion.
While these tools vary in sophistication and price, they all aim to solve the same fundamental problem: how to manipulate image dimensions while safeguarding, or even enhancing, visual fidelity. For “Image Inspiration & Collections” where diverse image sources might be involved, these tools are invaluable.
Essential Practices for Optimal Image Scaling
Beyond choosing the right tools, a few fundamental practices can significantly impact the success of your image scaling efforts, ensuring maximum quality retention and efficiency.
Strategies for Enlarging Photos Effectively
When the goal is to make an image larger, especially for print or high-resolution display, a strategic approach is vital to minimize distortion and pixelation.
- Start with the Highest Quality Original: This is perhaps the most critical piece of advice. The more pixel data your original image contains, the better the results will be when you need to enlarge it. Photos taken with a high-megapixel camera (which Tophinhanhdep.com categorizes under “High Resolution” photography) provide a robust foundation for any subsequent scaling. If you’re working with “Stock Photos,” always download the highest available resolution. Trying to enlarge a small, low-resolution image is like trying to extract more water from a dry sponge – there’s simply not enough data to work with, even with advanced tools.
- Enlarge Gradually by Adding Smaller Percentages: Rather than attempting a massive single-step enlargement (e.g., from 100% to 500%), experts often advise a gradual approach. Increase the image size in smaller increments (e.g., 10-20% at a time), resampling at each step. This allows the interpolation algorithms to make more accurate guesses for new pixels, resulting in smoother transitions and better detail preservation. Most photo editing software can enlarge images up to 200% without significant quality loss if the right resampling method is chosen. For anything beyond that, specialized tools or gradual enlargement become more important.
- Use an Image Sharpening Tool as Well: Enlarging an image, even with the best resampling algorithms, can sometimes introduce a slight softness or blur. A common professional strategy is to enlarge the image to the desired size (or slightly past the point where initial distortion might appear) and then apply a subtle sharpening filter. Sharpening enhances edge contrast, making details appear crisper. However, use sharpening sparingly and carefully, as over-sharpening can introduce artifacts or a “digital” look. Apply sharpening as the very last step in your resizing process.
General Tips for Maintaining Image Integrity
These tips apply to both enlarging and reducing image sizes, ensuring that your workflow is non-destructive and produces optimal results consistently.
- Always Keep Copies of Your Original Photograph: This cannot be stressed enough. Before undertaking any significant editing or scaling, always work on a duplicate of your original image. This safeguards your primary asset in case of an error or if you need to revert to the untouched version later. Photoshop’s Smart Objects inherently achieve this by preserving the original content within the container.
- Maintain Aspect Ratio: Unless you intentionally want to distort your image (which is rare for quality-preserving scaling), always ensure that the aspect ratio (the proportional relationship between an image’s width and height) is locked when resizing. Most tools offer a “lock” icon (often a chain link) between the width and height input fields. Activating this ensures that when you change one dimension, the other adjusts automatically, preventing stretched or squashed images.
- Consider the Destination and Purpose:
- For Web: Images for websites and digital platforms generally require lower resolutions (e.g., 72 DPI/PPI) and optimized file sizes (often JPEG for photos, PNG for graphics). Focus on reducing file size without visible degradation on a screen. Tophinhanhdep.com’s “Optimizers” are key here.
- For Print: Print media demands much higher resolutions (e.g., 300 DPI/PPI) to ensure sharpness. Measure dimensions in inches or centimeters, not just pixels. The physical size of the print will dictate the necessary pixel dimensions.
- Magnification is Key: View at 100%: When evaluating image quality during or after scaling, always view your image at 100% zoom. This shows you the actual pixel-for-pixel representation and reveals any artifacts or blur that might not be visible at lower zoom levels.
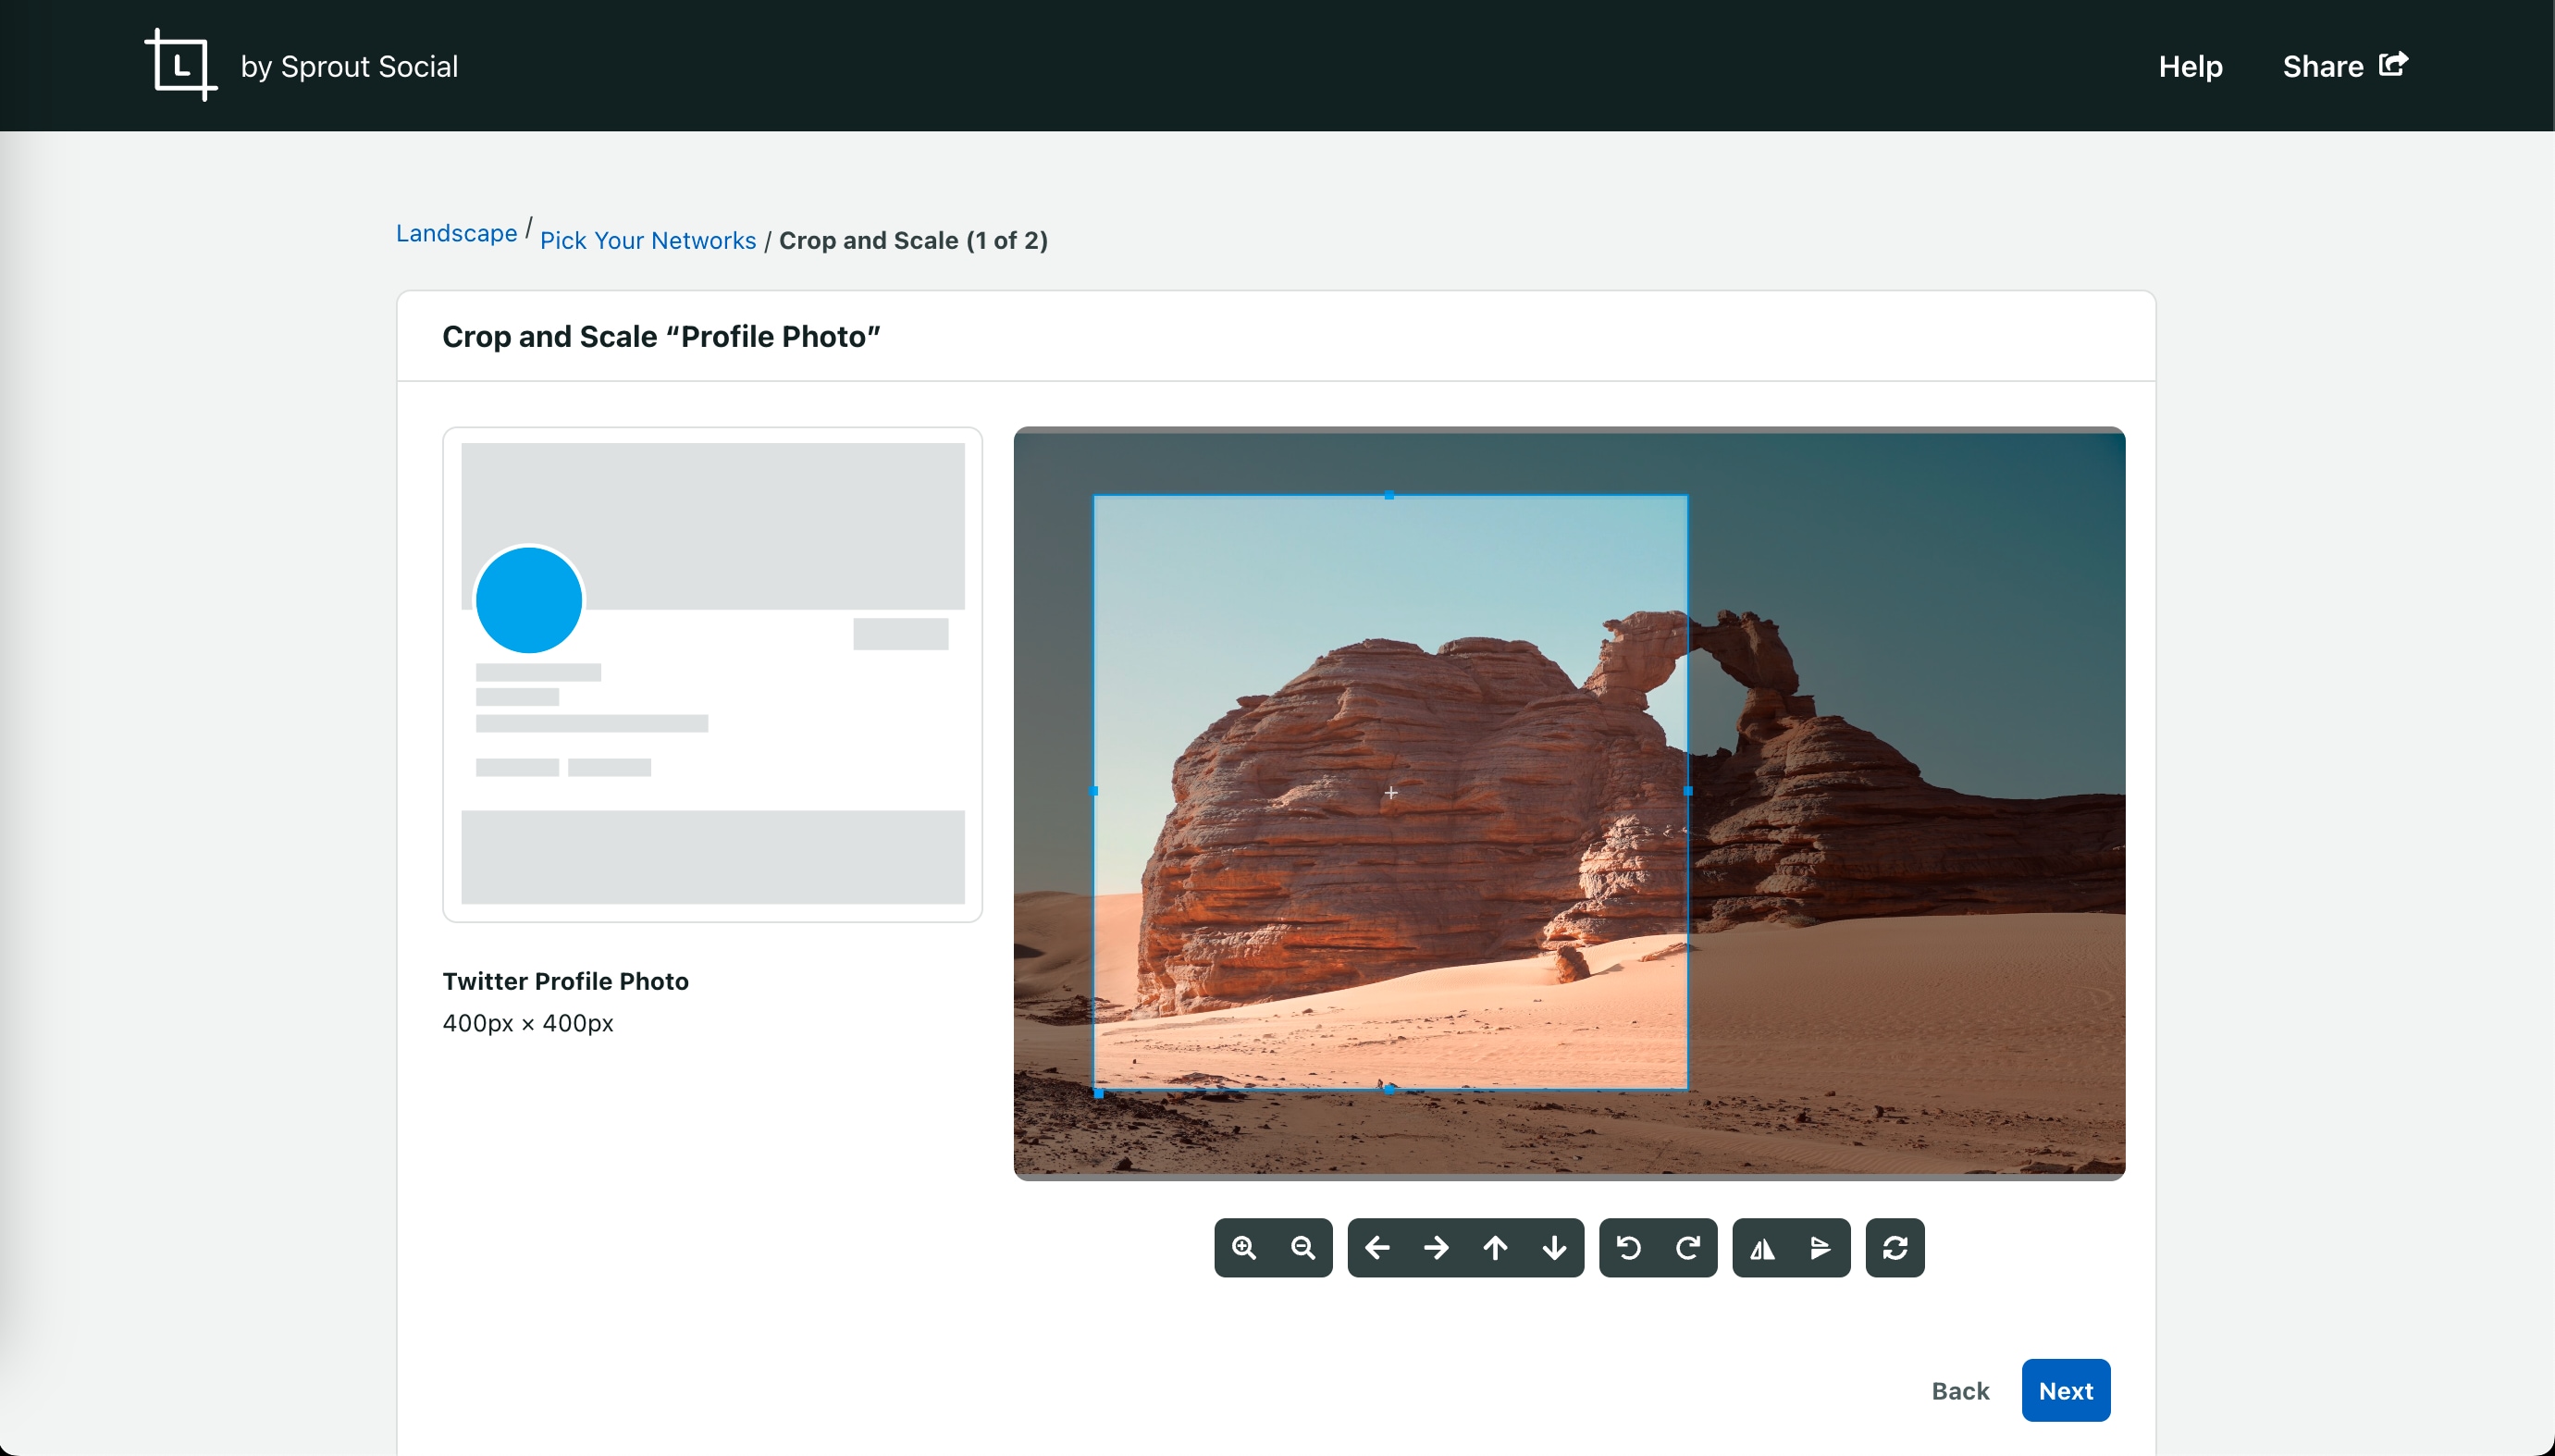
- Utilize Presets and Batch Processing: If you frequently scale images to specific dimensions (e.g., for social media, product listings), create and use resize presets in your software. For large volumes of images, explore batch processing features (like Photoshop’s Image Processor Pro) to automate the scaling, conversion, and optimization tasks, saving significant time and ensuring consistency.
By integrating these practices into your visual content workflow, you’ll not only achieve superior image quality but also streamline your efforts across all aspects of “Images,” “Photography,” and “Visual Design” on Tophinhanhdep.com.
Conclusion
Scaling an image without losing quality is more than just a technical skill; it’s a fundamental aspect of producing compelling and professional visual content. As we’ve explored, understanding the underlying principles of pixels, the distinction between resizing and resampling, and the judicious application of powerful tools are all crucial. Whether you’re harnessing the non-destructive power of Adobe Photoshop’s Smart Objects, leveraging the robust capabilities of GIMP, or exploring the innovative potential of online and AI-powered upscalers, the means to preserve image integrity are readily available.
At Tophinhanhdep.com, we are dedicated to providing the resources and inspiration you need to excel in the world of visual content. From stunning “Wallpapers” and “Aesthetic” backgrounds to comprehensive guides on “Digital Photography” and advanced “Image Tools,” our platform is designed to empower creators. By adopting the essential practices outlined here – starting with high-resolution originals, employing gradual enlargement, strategic sharpening, and always preserving your originals – you can confidently manipulate your images for any purpose. Embrace these techniques, and ensure that every visual you present, whether for web, print, or creative design, always maintains its pristine quality, delivering maximum impact and leaving a lasting impression.