How to Shrink an Image in Photoshop: Optimizing Your Visual Content for Tophinhanhdep.com

In today’s visually-driven digital world, images are paramount. From stunning wallpapers and aesthetic backgrounds to high-resolution photography and intricate digital art, visual content captivates, informs, and inspires. For creators, designers, and enthusiasts alike, managing image size is a fundamental skill, and Adobe Photoshop stands as the industry standard for this crucial task. Whether you’re preparing beautiful photography for an online portfolio, optimizing images for a mood board on Tophinhanhdep.com, or simply making a large file email-friendly, knowing how to efficiently shrink an image in Photoshop is indispensable.
At Tophinhanhdep.com, we understand the nuances of visual content – from providing vast collections of abstract and nature images to offering robust image tools like compressors and optimizers. This comprehensive guide will walk you through the various methods of shrinking images in Photoshop, ensuring your visuals maintain quality while meeting specific size requirements, and ultimately enhancing your experience on our platform and beyond.
Understanding Image Resizing: Why and When to Shrink
Before diving into the “how,” it’s essential to grasp the “why” behind image shrinking. Resizing isn’t merely about making an image smaller; it’s a strategic decision that impacts everything from website performance to print quality and visual presentation.
The Importance of Image Optimization for Tophinhanhdep.com Users
For anyone dealing with digital images, especially those frequently uploading or downloading content from platforms like Tophinhanhdep.com, optimization is key. High-resolution images, while offering incredible detail, come with significant file sizes. These large files can severely impact web performance, leading to slow loading times for web pages, galleries, and even individual images like wallpapers or backgrounds.
- Faster Loading Times: Optimized, smaller images load quicker, providing a smoother experience for users browsing Tophinhanhdep.com’s extensive collections of aesthetic and beautiful photography. This is crucial for retaining audience attention and reducing bounce rates.
- Improved SEO: Search engines favor faster-loading websites. By shrinking images effectively, you contribute to better search engine optimization (SEO) for your own sites or projects, ensuring your visual content, be it abstract art or nature photography, reaches a wider audience.
- Reduced Storage Space and Bandwidth: Smaller files consume less storage space on servers and personal devices. When sharing stock photos or thematic collections, optimized images use less bandwidth, making downloads and uploads faster and more cost-effective.
- Email and Social Media Compatibility: Many email providers and social media platforms have file size limits. Shrinking images allows you to easily share your sad/emotional or high-resolution images without encountering upload errors or automatic, often lower-quality, compression by the platforms themselves.
- Mobile Responsiveness: A significant portion of digital consumption happens on mobile devices. Properly shrunk images ensure that your content scales gracefully and loads quickly on smartphones and tablets, crucial for displaying wallpapers and backgrounds effectively.
These benefits directly align with the offerings on Tophinhanhdep.com, where image tools like compressors and optimizers are provided to ensure the best possible visual experience for our community. Photoshop provides the granular control to achieve this optimization precisely.
Differentiating Image Size from Canvas Size
When talking about “shrinking an image” in Photoshop, it’s vital to distinguish between two key concepts: Image Size and Canvas Size. While both relate to an image’s dimensions, they serve different purposes.
- Image Size: This refers to the actual pixel dimensions of your image (e.g., 1920x1080 pixels) and its resolution (e.g., 300 pixels/inch). When you change the Image Size, you are either adding or subtracting pixels, effectively changing the intrinsic data and detail of the image. Shrinking an image typically involves reducing its Image Size.
- Canvas Size: This refers to the size of the “paper” or “document” on which your image layers sit. Changing the Canvas Size adds or removes space around your image without altering the pixel dimensions of the layers themselves. If you shrink the canvas, Photoshop crops the image; if you enlarge it, it adds empty space.
For the purpose of “shrinking an image” as a whole, our primary focus will be on adjusting the Image Size. When we discuss shrinking individual elements or layers within a composition, we will delve into transformation tools that scale the content of specific layers.
Step-by-Step Guide: Shrinking Your Entire Image in Photoshop
Shrinking a complete image, such as a high-resolution photograph or a large abstract wallpaper, is a straightforward process in Photoshop. This method alters the global dimensions of your visual, making it smaller in terms of pixels and often file size.
Using the Image Size Dialog Box for Global Adjustments

This is the most common and effective way to shrink an entire image in Photoshop.
-
Open Your Image: Launch Adobe Photoshop. Go to
File > Openand select the image file you wish to resize. Click “Open.” Your image will now appear in Photoshop’s main workspace. -
Access the Image Size Dialog: Navigate to the top menu bar, click on
Image, and then selectImage Size. Alternatively, you can use the keyboard shortcutAlt + Ctrl + I(Windows) orOption + Cmd + I(Mac). This will open the Image Size dialog box, which is your control center for global image dimension adjustments.Inside the Image Size dialog box, you’ll see several sections:
- Pixel Dimensions: Displays the current width and height of your image in pixels, along with the estimated file size. This is where you’ll define your new, smaller dimensions.
- Document Size: Shows the physical dimensions (e.g., inches, cm) and resolution (pixels/inch or pixels/cm) of your image if it were to be printed.
- Fit To: A dropdown menu that allows you to choose preset sizes (e.g., “Web Large,” “HDTV”).
- Constrain Proportions (Link Icon): A critical setting, represented by a chain-link icon. When active (linked), changing either the width or height will automatically adjust the other dimension to maintain the original aspect ratio, preventing distortion.
- Resample: This checkbox and dropdown determine how Photoshop adds or removes pixels when resizing. This is crucial for maintaining quality, especially when shrinking.
-
Specify New Dimensions:
- Ensure “Constrain Proportions” is active: This is usually the default. If the chain-link icon is broken, click it to link the width and height. This prevents your nature photography or beautiful aesthetic images from appearing stretched or squashed.
- Choose your units: For web use (e.g., for Tophinhanhdep.com backgrounds or social media images),
Pixelsis the most common unit under “Pixel Dimensions.” For print,InchesorCentimetersare usually selected under “Document Size.” - Input new values: In the “Width” or “Height” field under “Pixel Dimensions,” type your desired smaller value. Because “Constrain Proportions” is active, the other dimension will automatically update to maintain the aspect ratio. You can also specify a percentage if you prefer to shrink by a certain proportion (e.g., 50%).
- Observe file size change: As you adjust the dimensions, the file size displayed in the “Pixel Dimensions” section will update, showing you the new, smaller size.
-
Confirm and Save: Once you are satisfied with the new dimensions, click “OK” to apply the changes. Tip for Saving: To preserve your original, high-resolution file, it is always recommended to use
File > Save As...and give the resized image a new name (e.g., “myimage_small.jpg”). This is a fundamental practice for digital photography and image editing, ensuring you always have your master file.

Critical Considerations: Resolution, Proportions, and Resampling
Beyond the basic steps, mastering image shrinking requires understanding the interplay of resolution, aspect ratios, and resampling methods.
- Resolution (PPI/DPI):
- For Print: If you’re shrinking an image for printing, the “Resolution” field under “Document Size” is important. A resolution of “300 pixels/inch” (PPI) is generally considered ideal for high-quality prints, while “200 pixels/inch” is usually the minimum acceptable for good results. Always check your print service’s recommendations.
- For Web/Screen: For images displayed on screens (like wallpapers on Tophinhanhdep.com), resolution (PPI) is less critical than pixel dimensions. A 72 PPI image at 1920x1080 pixels will look identical to a 300 PPI image at 1920x1080 pixels on a screen, as screens display content based on pixel count, not physical print size. Focus on the pixel width and height for web optimization.
- Constrain Proportions: As highlighted earlier, maintaining the aspect ratio is paramount. Unchecking “Constrain Proportions” allows you to set independent width and height values, but this almost always results in a distorted image, making your beautiful photography look unnatural. Only uncheck this if you intentionally want to stretch or squish an image for a specific creative effect in graphic design or photo manipulation, and even then, often other transform tools are more suitable.
- Resampling Method: This is arguably the most crucial setting for image quality during resizing. Resampling tells Photoshop how to add or remove pixels from your image.
- When Shrinking (Downsampling): Choose “Bicubic Sharper (reduction)” for the best results. This method intelligently discards pixels while preserving detail and enhancing sharpness, making it ideal for shrinking high-resolution images like stock photos or digital photography while minimizing blurriness.
- When Enlarging (Upsampling): If you were to enlarge an image, “Bicubic Smoother (enlargement)” would be the preferred choice, as it interpolates new pixels with a softer approach to reduce pixelation.
- Default/Automatic: “Bicubic Automatic” is a good general-purpose option if you’re unsure, as Photoshop attempts to intelligently choose the best method. However, for precise shrinking, “Bicubic Sharper” is your best bet.
By carefully considering these factors, you ensure that your images, whether they are abstract compositions or thematic collections for Tophinhanhdep.com, are resized optimally without compromising their visual integrity.
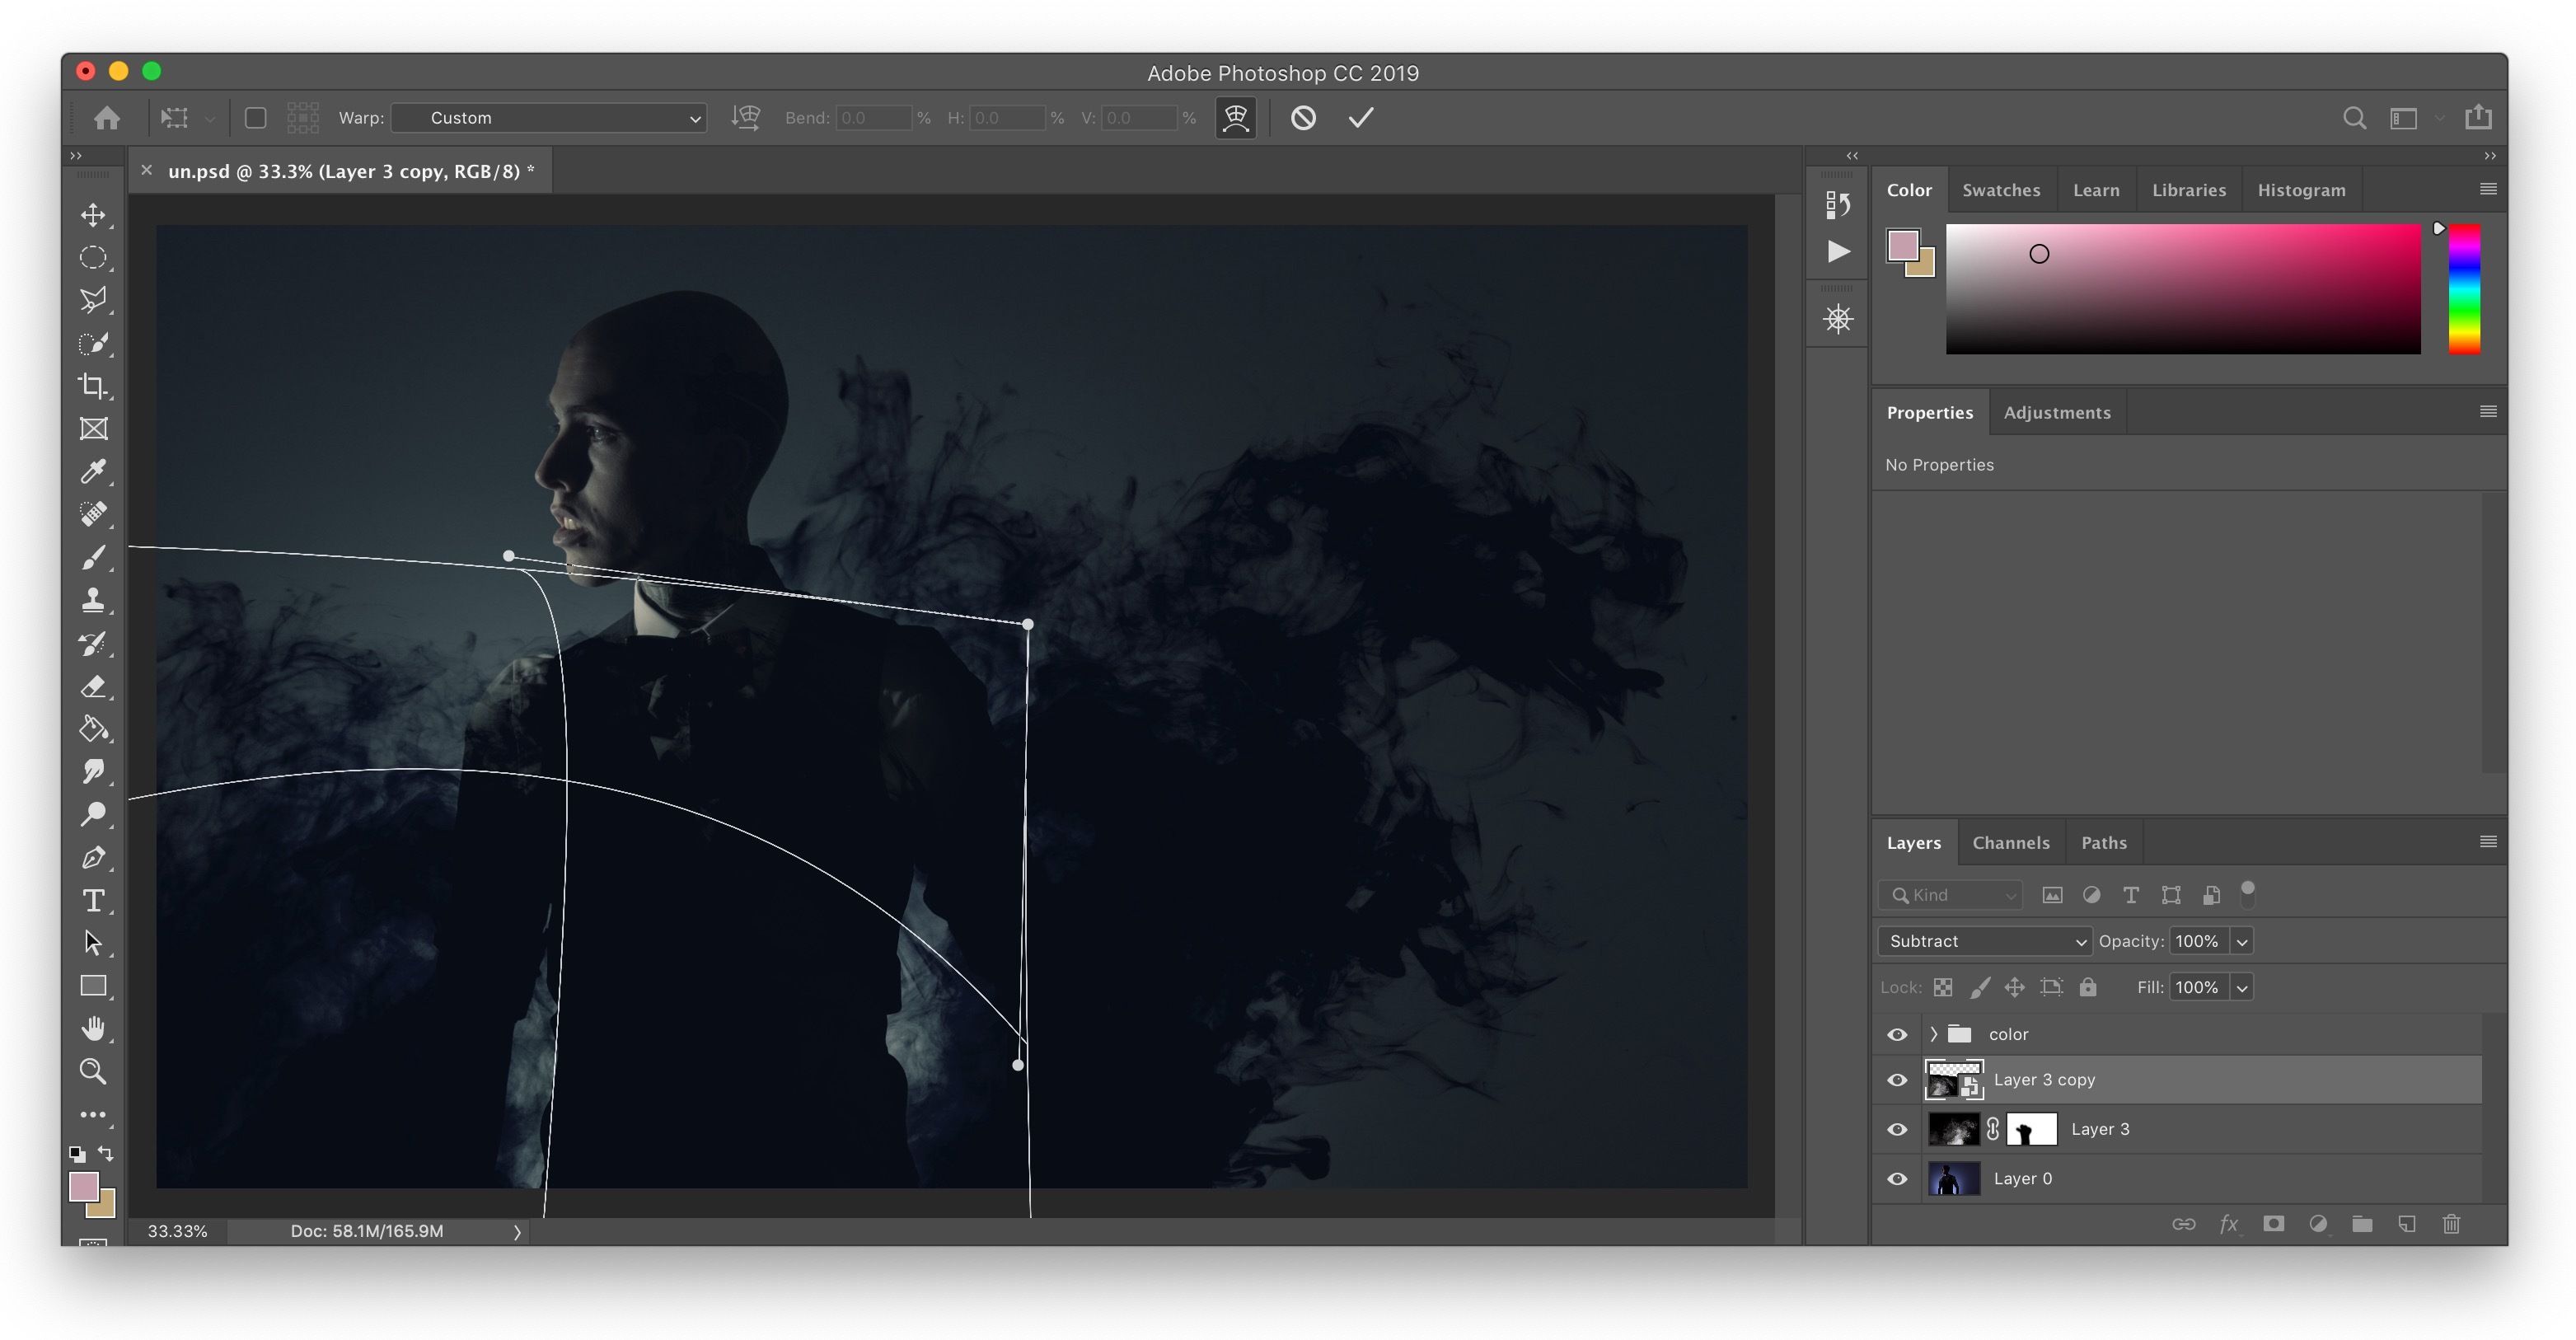
Shrinking Individual Layers and Objects with Free Transform
While the Image Size dialog affects the entire canvas, Photoshop also provides powerful tools for shrinking specific elements, objects, or layers within an image. This is essential for complex visual design, photo manipulation, and creating dynamic compositions, such as arranging elements on a mood board.
Mastering the Free Transform Tool (Ctrl/Cmd+T)
The Free Transform tool is one of the most frequently used functions in Photoshop, allowing you to resize, rotate, skew, and distort layers with incredible flexibility.
- Select the Layer: In your Layers panel (usually on the right side of your workspace), click on the specific layer containing the object or image you want to shrink. Make sure the layer is unlocked if it’s a background layer.
- Activate Free Transform: Go to
Edit > Free Transformin the top menu bar, or use the ubiquitous keyboard shortcutCtrl + T(Windows) orCmd + T(Mac). A bounding box with handles will appear around your selected layer. - Resize the Layer:
- Proportional Resizing (Photoshop CC 2019 and newer): This is where Photoshop introduced a significant change. To resize proportionally, simply click and drag one of the corner handles. You do not need to hold the Shift key. In fact, holding Shift in newer versions will allow non-proportional resizing. This might take some getting used to if you’re accustomed to older versions, but it streamlines proportional scaling which is often the desired outcome.
- Proportional Resizing (Photoshop CC 2018 and older): To resize proportionally, hold down the Shift key while clicking and dragging one of the corner handles.
- Non-Proportional Resizing: If you want to stretch or compress the layer (distort its aspect ratio), drag a side handle, or hold Shift while dragging a corner handle in Photoshop CC 2019+.
- Resize from the Center (Optional): To resize the layer from its center point instead of the corner you are dragging, hold down the Alt key (Windows) or Option key (Mac) while dragging a corner handle. This is an excellent trick to maintain the object’s original position relative to its center, avoiding the need to reposition it after scaling.
- Confirm or Cancel:
- When you’re happy with the new size, press
Enter(or click the checkmark in the Options bar at the top) to confirm the transformation. - If you want to cancel the resizing and revert to the original size, press the
Escapekey (or click the cancel icon in the Options bar).
- When you’re happy with the new size, press
The Free Transform tool also allows for rotation (move your mouse slightly outside a corner handle until the cursor changes to a curved arrow) and movement (click and drag the layer from within the bounding box). This versatility makes it indispensable for visual design, allowing you to manipulate elements like those found in Tophinhanhdep.com’s creative ideas and photo manipulation categories with precision.
The Power of Smart Objects for Non-Destructive Scaling
A critical best practice when resizing layers, especially if you anticipate needing to scale them multiple times or change your mind, is to convert them into Smart Objects first. This powerful feature protects the original quality of your image data.
- The Problem with Raster Layers: When you shrink a standard (raster) layer, Photoshop discards pixel information. If you then try to enlarge that same layer later, Photoshop has to “guess” at the missing pixel data, leading to a noticeable loss of quality, pixelation, and blurriness. This is irreversible.
- The Smart Object Solution: A Smart Object is a special type of layer that contains all the original image data, regardless of how you transform it in Photoshop. Think of it as embedding the original file within your Photoshop document.
How to Convert to a Smart Object:
- In the Layers panel,
Right-clickon the layer you want to resize. - From the context menu, select
Convert to Smart Object. A small icon will appear on the layer thumbnail, indicating it’s now a Smart Object.
Benefits of Resizing Smart Objects:
- Non-Destructive Scaling: You can shrink a Smart Object down, then enlarge it back to its original size (or anything smaller than the original) an infinite number of times without any loss of quality. Photoshop always refers back to the original pixel data embedded within the Smart Object.
- Flexibility in Workflow: This provides immense flexibility in your digital photography and visual design workflows. You can experiment with different sizes for elements in your graphic design projects or photo manipulations without fear of permanent degradation.
- Quality Preservation: While enlarging a Smart Object beyond its original dimensions will still result in quality loss (as there’s no way to create new, good pixel data out of nothing), it ensures that you always have a pristine version of the original image to work with, even within your resized Photoshop document.
For photographers working with high-resolution images or designers creating complex compositions, utilizing Smart Objects is a foundational technique that enhances editing styles and protects the integrity of their creative work.
Advanced Techniques and Best Practices
Beyond basic shrinking, Photoshop offers a suite of advanced transformation tools and workflow strategies that can further refine your image resizing process and integrate seamlessly with a professional visual content approach.
Beyond Basic Resizing: Skew, Distort, and Warp Transformations
The Edit > Transform menu contains more than just Scale (the core of shrinking). While these aren’t strictly “shrinking” tools, they allow you to manipulate the size and shape of layers in specific ways, which is crucial for advanced photo manipulation and graphic design.
- Skew: Tilts the layer horizontally or vertically, keeping opposite sides parallel. Useful for creating perspective.
- Distort: Allows you to drag any corner handle independently, stretching or squishing the layer in irregular ways. Excellent for matching an object to a specific perspective in an image.
- Perspective: Applies a one-point perspective transformation, making parts of the layer appear closer or further away.
- Warp: Offers a highly flexible grid-based transformation, allowing you to bend and mold the layer as if it were malleable. This is incredibly powerful for integrating elements realistically into complex scenes or creating unique digital art effects.
To access these: Select your layer, go to Edit > Transform, and choose the desired option. These tools can be used in conjunction with resizing to fit elements perfectly into diverse visual contexts, aligning with the creative ideas and detailed editing styles often showcased on Tophinhanhdep.com.
Efficient Workflows: Saving and Batch Processing for Tophinhanhdep.com Collections
Optimizing your workflow is as important as mastering the tools themselves. Especially when dealing with numerous images, efficiency is key.
- Always “Save As”: As mentioned, always use
File > Save As...when you finish resizing an image. This prevents overwriting your original, high-resolution file. Adopt a clear naming convention (e.g.,image_original.jpg,image_web.jpg,image_thumbnail.jpg) to easily manage different versions of your photos, stock images, or thematic collections. - Optimizing for Web with “Export As” or “Save for Web (Legacy)”: For maximum compression and web-friendliness, once your image is resized to its target pixel dimensions, consider using
File > Export > Export As...orFile > Export > Save for Web (Legacy).... These dialogs offer advanced options for choosing file formats (JPEG, PNG, GIF), compression levels, and metadata removal, which are critical for reducing file size without sacrificing too much visual quality. This is where Photoshop complements Tophinhanhdep.com’s dedicated compressors and optimizers, giving you fine-tuned control over your final web assets. - Batch Processing with Actions: If you have dozens or hundreds of images to shrink to the same dimensions (e.g., for creating thumbnails for a gallery of nature photography or standardizing images for a mood board), doing it one by one is impractical. Photoshop’s Actions feature allows you to record a series of steps (like opening an image, resizing it, and saving it with a new name) and then apply that action to an entire folder of images using
File > Automate > Batch.... This is a massive time-saver for anyone managing large image collections, such as those found on Tophinhanhdep.com. While Tophinhanhdep.com may offer its own batch image resizers as part of its Image Tools, knowing how to do this in Photoshop provides ultimate control and customization. - AI Upscalers and Future Needs: While this guide focuses on shrinking, remember that technology is always evolving. If you ever find yourself needing to enlarge a smaller image while retaining detail, tools like AI Upscalers (which Tophinhanhdep.com may provide or recommend) can intelligently generate new pixel information, bridging the gap when starting with a sub-optimal resolution. Understanding proper shrinking techniques minimizes the need for such correctional tools later.
By incorporating these advanced techniques and best practices, you elevate your image manipulation skills, ensuring that every visual you create or curate is perfectly sized, optimized, and ready for any digital or print application, further enhancing the quality and utility of content shared on platforms like Tophinhanhdep.com.
Conclusion
Shrinking an image in Photoshop is a fundamental skill that underpins nearly every aspect of digital image management and visual design. Whether you are a professional photographer preparing high-resolution stock photos for a client, a graphic designer crafting intricate digital art, or an enthusiast curating a beautiful collection of aesthetic wallpapers for Tophinhanhdep.com, precise image resizing is indispensable.
We’ve explored two primary methods: adjusting the Image Size for global changes to your entire canvas and utilizing the Free Transform tool for scaling individual layers and objects. We’ve delved into critical considerations like maintaining proportions, selecting the right resampling method (especially “Bicubic Sharper” for superior downsampling), and leveraging Smart Objects for non-destructive editing. Furthermore, understanding the “why” behind optimization — from faster web loading to efficient storage — ties directly into the mission of Tophinhanhdep.com to provide and facilitate access to high-quality, diverse visual content.
By mastering these techniques in Photoshop, you not only ensure your images are perfectly tailored to their intended use but also uphold the visual integrity and professional standard expected in today’s digital landscape. Tophinhanhdep.com remains your go-to resource for inspiring images, practical tools, and continuous learning, helping you make the most of every pixel.