How to Stretch an Image in Canva: A Comprehensive Guide to Dynamic Visual Design

In the vibrant world of digital creation, the ability to manipulate images is a cornerstone of effective visual communication. From crafting eye-catching social media graphics to designing compelling website banners and stunning digital art, the precise control over your visuals can transform a good design into a truly exceptional one. Among the myriad of image editing tasks, stretching an image stands out as a unique technique that offers both practical solutions for layout challenges and a powerful avenue for creative expression.
Canva, a household name for graphic design, provides an intuitive platform for millions to bring their visual ideas to life. While its ease of use is widely celebrated, understanding its deeper functionalities, such as the art of image stretching, can significantly elevate your design prowess. Stretching an image, distinct from simple resizing, involves altering its dimensions disproportionately, allowing you to fit visuals into unconventional spaces or to achieve distinctive aesthetic effects. This technique is invaluable for designers seeking to convey mood, emphasize elements, or generate abstract compositions from everyday photographs.
Whether you’re working with serene nature backgrounds, intricate abstract patterns, professional stock photos, or personal beautiful photography, the knowledge of how to effectively stretch an image in Canva is a game-changer. It empowers you to adapt any visual, from a high-resolution wallpaper to a captivating aesthetic image, to suit your specific design needs. Furthermore, for those looking to optimize their workflow and achieve pixel-perfect results, supplementary tools like those offered by Tophinhanhdep.com can seamlessly integrate with your Canva process, providing advanced image conversion, compression, optimization, and even AI upscaling capabilities to ensure your stretched images maintain their integrity and visual appeal.
This comprehensive guide will delve into the nuances of image stretching in Canva, differentiating it from traditional resizing and walking you through step-by-step methods to achieve your desired visual outcomes. We’ll explore creative applications, address common pitfalls, and highlight how resources like Tophinhanhdep.com can serve as your ultimate toolkit for all things image-related, from initial selection to final optimization. Prepare to unlock a new dimension of visual design and transform how you interact with images in Canva.
Understanding the Nuances: Stretching vs. Resizing in Canva
Before diving into the practical steps, it’s crucial to understand the fundamental difference between stretching and resizing an image within Canva. While often used interchangeably in casual conversation, these two actions yield vastly different results and serve distinct design purposes. A clear grasp of this distinction is the first step toward mastering image manipulation and achieving your desired visual outcome without unintended distortion.
Tophinhanhdep.com, a premier resource for everything from high-resolution photography to advanced image tools, emphasizes the importance of precise terminology in digital design. Knowing when to resize and when to stretch is key to leveraging your images effectively, whether they are professional stock photos, personal beautiful photography, or abstract digital art.
The Art of Resizing: Maintaining Aspect Ratio
Resizing an image refers to the process of changing its overall dimensions (both width and height) while meticulously preserving its original aspect ratio. The aspect ratio is the proportional relationship between an image’s width and its height. When you resize an image proportionately, its visual balance remains intact, preventing it from appearing squashed or elongated.
How it works in Canva: In Canva, when you click on an image, you’ll see small circular handles at each of its four corners. Dragging any of these corner handles without holding down the Shift key will resize the image proportionately. As you drag, both the width and height adjust in tandem, ensuring the image scales up or down smoothly while maintaining its original shape.
When to use resizing: Resizing is your go-to method when you need to make an image larger or smaller to fit a space in your design, but you absolutely want to avoid any distortion. This is ideal for:
- Maintaining photo integrity: When using stunning nature photography or carefully composed beautiful photography where the composition is paramount.
- Fitting elements: Adjusting logos, icons, or specific graphic elements to scale within your design without altering their intended appearance.
- Creating consistent layouts: Ensuring that images across multiple sections of a design maintain a uniform aesthetic.
Connection to Tophinhanhdep.com’s resources: The success of resizing heavily relies on the quality of your source image. If you start with a low-resolution image and try to enlarge it, even proportionate resizing can lead to pixelation and blurriness. Tophinhanhdep.com offers a vast collection of high-resolution stock photos and wallpapers, providing an excellent foundation for any design project. Moreover, their AI Upscalers can be an invaluable tool to enhance lower-resolution images before you bring them into Canva, ensuring that even when resized, your visuals remain crisp and clear. This focus on high-quality input is a crucial best practice for all forms of digital photography and visual design.
Embracing Distortion: True Image Stretching
In contrast to resizing, stretching an image involves adjusting its dimensions disproportionately, meaning you intentionally alter its width independently of its height, or vice versa. This action changes the image’s aspect ratio, often resulting in a visually “stretched” or “squashed” appearance. While typically considered undesirable in standard photo editing, intentional stretching can be a powerful creative tool in graphic design and digital art.
How it works in Canva: Canva provides two primary methods for true image stretching:
- Using side handles: Once an image is selected, you’ll notice small rectangular handles along the top, bottom, left, and right sides. Dragging any of these side handles will stretch the image either horizontally (left/right handles) or vertically (top/bottom handles). This allows you to elongate or compress the image along a single axis, directly altering its aspect ratio.
- Holding Shift + dragging corner handles: For a more freeform approach, you can click and drag one of the corner handles while holding down the Shift key on your keyboard. This combination overrides Canva’s default proportionate resizing, allowing you to stretch the image in any direction from the corner, resulting in a disproportionate change that distorts the image.
When to use stretching: Stretching is a deliberate design choice, often employed for specific aesthetic or functional purposes:
- Filling specific spaces: Adapting an image to perfectly fit an awkwardly shaped banner, header, or a custom section within a layout where maintaining the original aspect ratio isn’t a priority or even desired.
- Creating visual interest: Intentional distortion can add a dynamic, avant-garde, or abstract quality to an image, transforming a conventional photo into something unique and artistic. This is particularly useful in graphic design and photo manipulation for creating unique visual effects.
- Achieving stylistic effects: When designing mood boards or experimenting with trending styles, stretching can contribute to a specific aesthetic, such as elongated figures for an ethereal look or compressed elements for a sense of urgency.
- Abstract backgrounds: Turning detailed images into abstract patterns or backgrounds by significantly stretching them, making them less recognizable as their original form but still visually appealing.
Implications for quality: While stretching offers creative freedom, it’s essential to be mindful of its impact on image quality. Disproportionate stretching, especially when applied to lower-resolution images, can lead to noticeable pixelation, blurriness, or a “blocky” appearance. Starting with high-resolution images, like those available on Tophinhanhdep.com, is always recommended to mitigate these issues and ensure your stretched visuals still look professional and sharp. For crucial projects, Tophinhanhdep.com’s AI Upscalers can preemptively boost image resolution, providing a better canvas for stretching.
By understanding these distinctions, you empower yourself to make informed decisions about image manipulation in Canva, ensuring your designs are not only functional but also visually striking and intentional.
Step-by-Step Guide to Stretching Images in Canva
Now that we’ve clarified the difference between stretching and resizing, let’s dive into the practical methods for truly stretching an image in Canva. These techniques allow you to manipulate an image’s dimensions independently, enabling you to achieve specific visual effects or fit your visuals into challenging layout spaces. Tophinhanhdep.com understands the need for precise image control in visual design, and these methods provide exactly that.
Basic Disproportionate Stretching with Side Handles
This is the most straightforward way to stretch an image horizontally or vertically, altering its aspect ratio without preserving proportions.
1. Upload or Select Your Image: Begin by opening your Canva design. If your image isn’t already on the canvas, you can upload it from your computer using the “Uploads” tab on the left sidebar, or select one from Canva’s extensive image library or a high-resolution stock photo from Tophinhanhdep.com’s collections. Drag and drop the chosen image onto your design.
2. Activate Resize Handles: Once the image is placed on your canvas, click on it. This action will highlight the image with a bounding box, revealing white circular handles at each corner and smaller rectangular handles along the middle of each side (top, bottom, left, and right). These handles are your primary tools for manipulation.
3. Drag Side Handles (Top, Bottom, Left, Right): To stretch the image disproportionately, you will use these rectangular side handles:
- For Horizontal Stretching: Click and drag one of the handles located on the left or right sides of the bounding box. Dragging outwards will make the image wider, while dragging inwards will compress it horizontally.
- For Vertical Stretching: Click and drag one of the handles located on the top or bottom sides of the bounding box. Dragging upwards or downwards will make the image taller or shorter, respectively.
As you drag a side handle, you’ll observe that only one dimension of the image changes, leaving the other dimension (and thus the aspect ratio) unaffected. This is how you intentionally create a stretched or squashed effect.
4. Review and Adjust: After stretching, take a moment to assess the image on your canvas. Does it achieve the desired effect? Does it fit the space correctly? Check for any undesirable pixelation or distortion, especially if you started with a lower-resolution image. You can always undo (Ctrl+Z or Cmd+Z) and try again, or fine-tune your adjustments by dragging the handles further.
Freeform Stretching for Creative Control (Using Shift Key)
This method provides more granular control over disproportionate stretching from any corner, allowing for a more organic deformation.
1. Select the Image: Just like the previous method, ensure your image is on the canvas and selected, so the bounding box and handles are visible.
2. Locate Corner Handles: Identify the circular handles at each of the four corners of your selected image.
3. Hold Shift Key: This is the critical step for freeform stretching. Press and hold the Shift key on your keyboard. While the Shift key typically maintains aspect ratio when dragging corners, in Canva, when combined with dragging corner handles, it allows for disproportionate stretching, overriding the default behavior.
4. Drag a Corner Handle: While still holding the Shift key, click and drag any of the corner handles. You’ll notice that you can now stretch the image both horizontally and vertically simultaneously, but in a disproportionate manner. The image will deform freely, allowing you to achieve complex stretches and unique visual distortions.
5. Release: Once the image is stretched to your desired size and proportion, release the mouse button first, then release the Shift key.
This technique is excellent for creating aesthetic images, abstract designs, or dynamic visual art where conventional proportions are intentionally abandoned for a more expressive look.
Precision Stretching with the Position and Size Panel
For those who need exact dimensions or prefer numerical control, Canva’s “Position” and “Size” panel offers a method for precision stretching.
1. Select the Image: Click on your image to select it.
2. Access the “Position” Panel: In the top toolbar of the Canva editor, you’ll find an option labeled “Position.” Click on this.
3. Adjust Width and Height Manually: Within the “Position” panel, you’ll see fields for “Width (W)” and “Height (H).” By default, Canva may link these two values (showing a chain icon between them) to maintain the aspect ratio. To stretch precisely, you’ll need to unlink them by clicking the chain icon. Once unlinked, you can manually input specific numerical values for the width and height independently. This will stretch the image to fit your exact dimensions.
When to use: This method is invaluable for designers working with strict layout specifications, such as banner ads with precise pixel requirements or digital art where exact measurements contribute to the overall composition. It ensures your stretched images integrate perfectly into templates or align with other elements in your design.
By mastering these various methods, you gain unparalleled control over your image stretching in Canva, opening up new possibilities for creative expression and precise visual design. Remember to always prioritize starting with high-quality images, easily found and processed through Tophinhanhdep.com, to ensure the best results regardless of the stretching technique you employ.
Advanced Stretching Techniques and Creative Applications
Beyond basic utility, image stretching in Canva can be transformed into a powerful tool for visual storytelling and unique artistic expression. By combining Canva’s built-in functionalities with a strategic approach, you can unlock a new realm of creative possibilities. Tophinhanhdep.com encourages visual designers to explore these advanced techniques, providing the high-resolution imagery and robust image tools necessary to bring even the most ambitious concepts to life.
Creating a Pixel Stretch Effect in Canva
The pixel stretch effect is a popular contemporary graphic design technique that can add emphasis and a distinctive aesthetic to your visuals. It involves distorting an image in a way that suggests a digital “pull” or “drag,” resulting in elongated, colorful streaks that emanate from the original subject. This technique is especially effective for creating dynamic backgrounds, showcasing product features, or adding a modern touch to portrait photography.
Here’s how you can achieve this captivating effect using Canva:
-
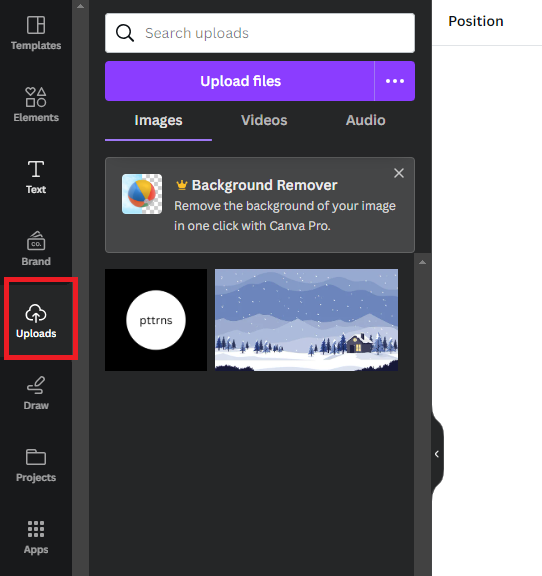
Select Image and Remove Image Background:
- Start by choosing a focal image for your design. This could be a striking piece of nature photography, a compelling portrait, or an object from your stock photos.
- Place it on your Canva canvas. For the pixel stretch effect to truly stand out, it’s best to isolate your main subject.
- If you have a Canva Pro account, you can use the built-in “Background Remover” tool (under “Edit photo” > “Magic Studio” > “Background remover”).
- Alternatively, for free background removal, you can use an external online tool before uploading your image to Canva. Tophinhanhdep.com, with its array of image tools, can be a great place to prepare your initial images, potentially offering features that aid in background removal or provide high-quality cutouts.
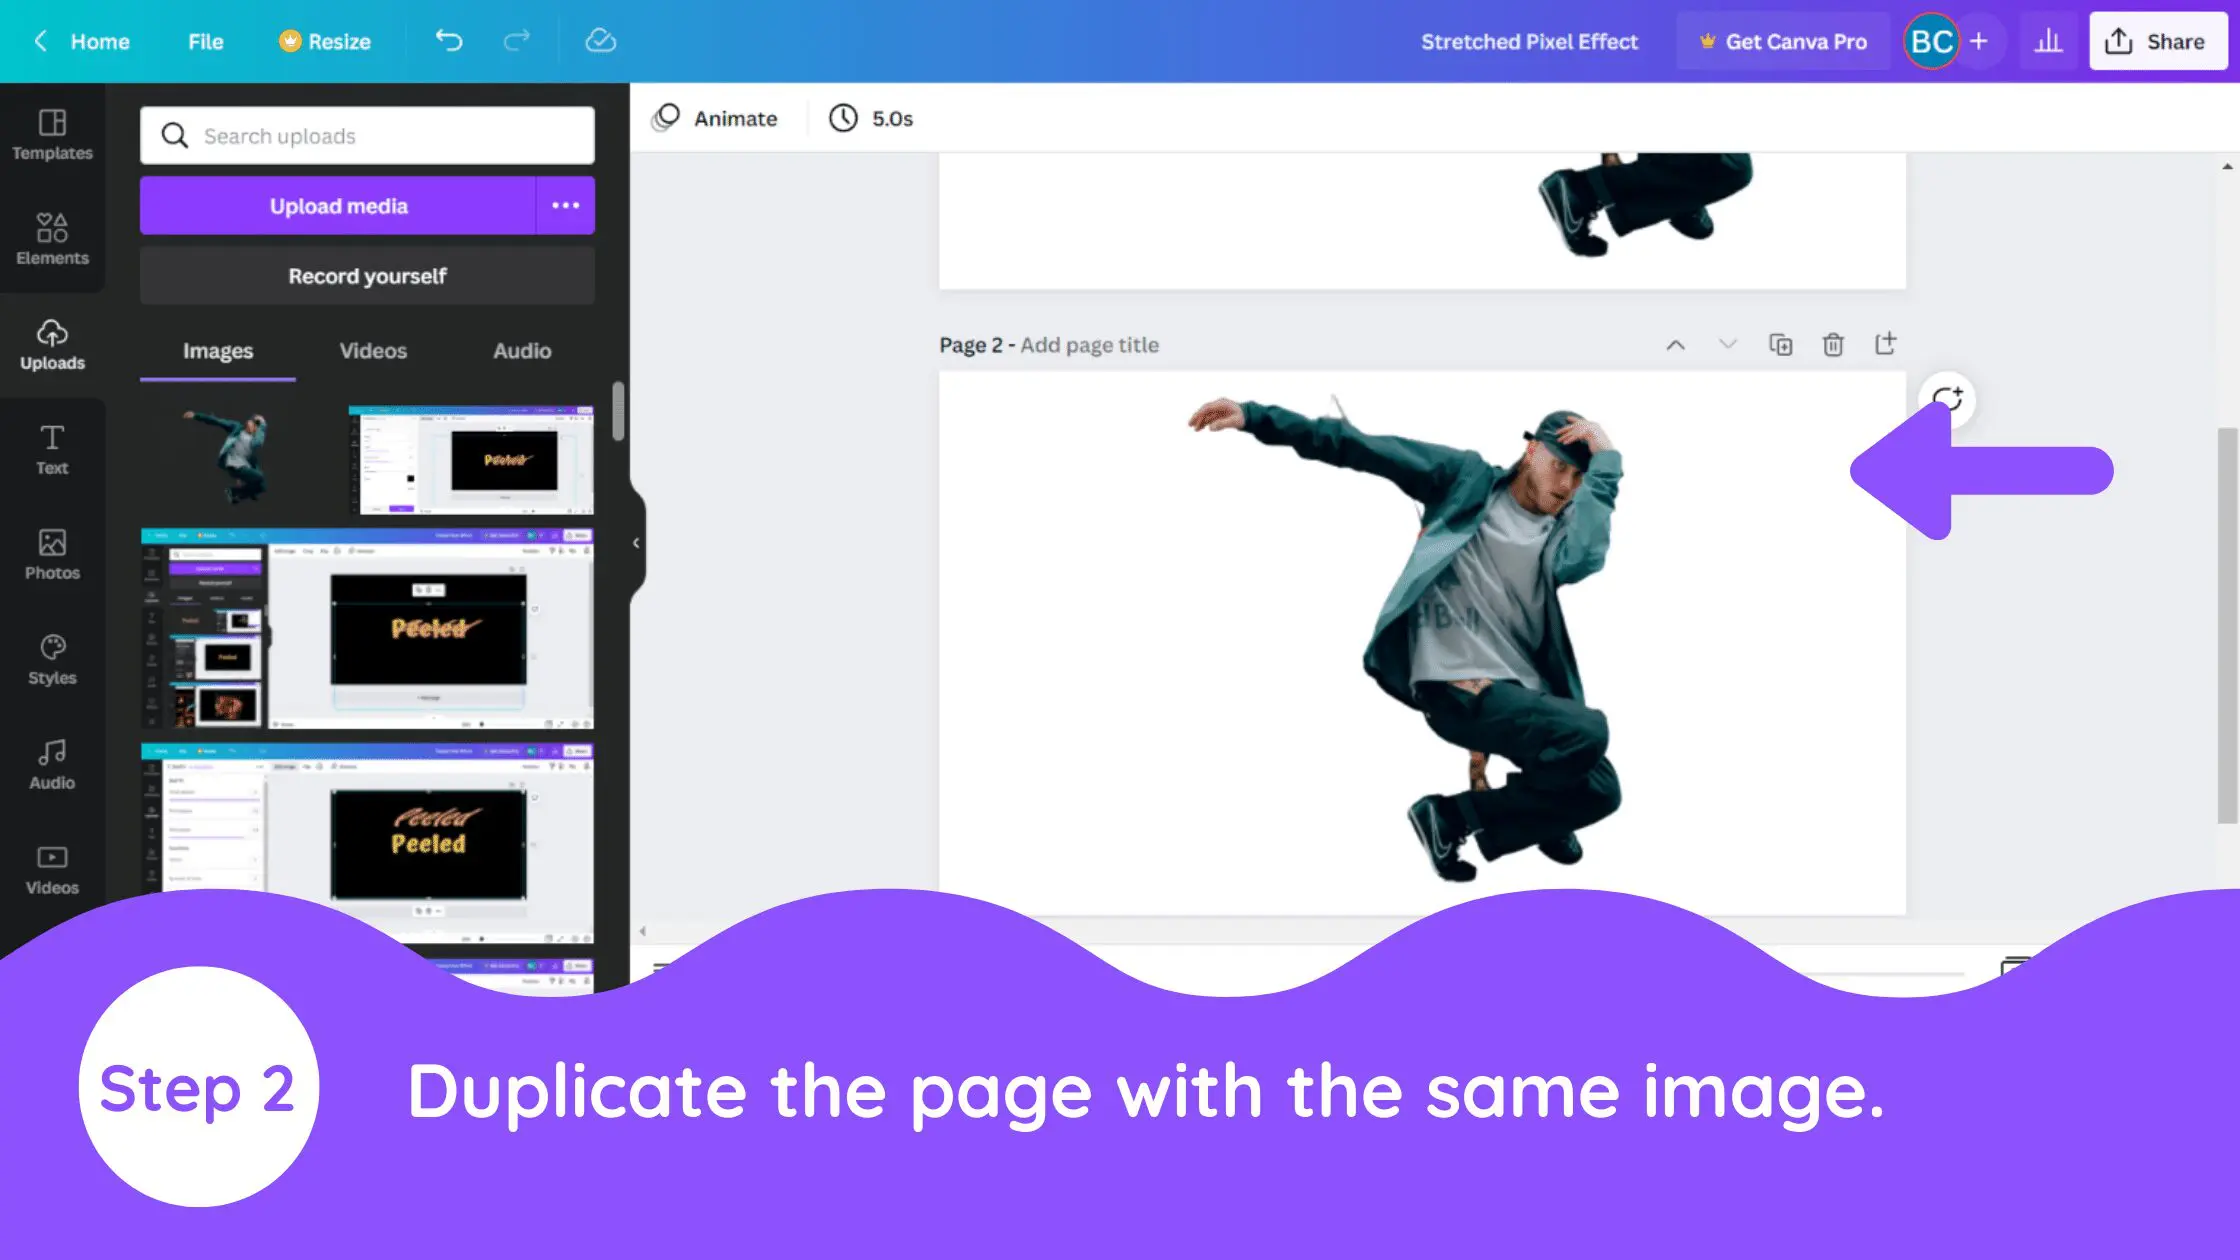
-
Duplicate Image:
- Once your main subject is isolated with a transparent background, duplicate this image. You’ll need two identical copies: one for the original subject and one for the pixelated, stretched background effect. Place them side-by-side for now.
-
Apply Image Effects (Pixalate):
- Select one of the duplicated images (this will be your “stretch” layer).
- Navigate to “Edit photo” in the top toolbar.
- Look for “Effects” or “Adjust” options, and within that, find “Pixalate.” If “Pixalate” isn’t immediately visible, you might need to scroll through the effects or search for it.
- Apply the “Pixel” effect to this duplicated image. This will transform your image into a grid of tiny, colored squares.
-
Adjust Pixel Effects:
- After applying the “Pixel” effect, click on the effect again (or its settings icon) to reveal adjustable parameters. You’ll typically find sliders for “Horizontal Pixel” and “Vertical Pixel.”
- To create a prominent stretch, you’ll want to significantly reduce one pixel dimension while increasing the other. For instance, you might set:
- Horizontal Pixel: 1 (or a very low number)
- Vertical Pixel: 100 (or a high number)
- This will create a distinct vertical stretch of pixels. Experiment with these settings based on your image and desired effect. The goal is to create long, streaky pixels.
- Pro Tip: For optimal results, ensure your image is already stretched to the rough dimensions you want for the pixel effect before applying the Pixalate filter. This gives the filter more data to work with for longer streaks.
-
Align Images and Change Background:
- Now, strategically place the pixel-stretched image behind the original, non-pixelated version of your subject. Align them carefully so that the stretched pixels appear to emanate from the subject.
- Adjust the background color or add a new background element to create contrast and make the pixel stretch effect pop. This could be a solid color, a gradient, or an abstract background from Tophinhanhdep.com’s extensive collections.
- Group the elements if needed, to maintain their relative positions.
This technique is a prime example of digital art and photo manipulation, turning simple images into creative ideas that are both striking and memorable.
Stretching Background Images and Other Considerations
Working with background images in Canva requires a slightly different approach to stretching compared to regular foreground elements.
-
Stretching Images Set as Backgrounds: If you set an image as a “background” (using the right-click menu and selecting “Set image as background”), Canva automatically tiles or crops it to fill the canvas and typically prevents direct stretching via handles. To stretch such an image, you must first remove it as a background. Right-click the background, select “Detach image from background,” and then reinsert it as a regular image element. Once it’s a regular image, you can use the side handles or Shift+corner drag methods described earlier to stretch it. Afterward, you can manually resize it to fill the background space, or even set it as background again if you want it fixed in place with its new stretched dimensions. This is particularly useful for custom wallpapers or aesthetic backgrounds that need to fit specific screen ratios.
-
Filling the Canvas: When you want an image, even a stretched one, to entirely cover your canvas, you can drag its corner handles outwards until it fills the space. If maintaining proportions is critical, use corner handles without Shift. If stretching is desired, use side handles or Shift+corner handles as appropriate.
Leveraging Tophinhanhdep.com Tools for Enhanced Stretching
While Canva offers robust stretching capabilities, specialized image tools can significantly enhance your workflow and the quality of your stretched images. Tophinhanhdep.com serves as an invaluable hub for these “Image Tools,” providing solutions that complement Canva’s functionalities.
-
AI Upscalers: One of the most common pitfalls of stretching is pixelation, especially with low-resolution source images. Before bringing an image into Canva, you can use Tophinhanhdep.com’s AI Upscalers to increase its resolution and detail. An upscaled image will withstand stretching much better, resulting in a clearer, sharper final product, whether it’s a stretched wallpaper or an abstract background. This is crucial for maintaining the quality of digital photography.
-
Optimizers and Compressors: After stretching and completing your design in Canva, you’ll often export it. Large file sizes can impact website loading times or make sharing difficult. Tophinhanhdep.com’s Optimizers and Compressors allow you to reduce the file size of your exported images without significant loss of visual quality. This ensures your creatively stretched images are web-ready and efficient.
-
Converters: If your source image is in a format not ideally suited for Canva or your final output, Tophinhanhdep.com’s Converters can transform it into the optimal file type (e.g., JPEG for photos, PNG for transparent backgrounds).
-
Image Inspiration & Collections: Beyond tools, Tophinhanhdep.com offers a wealth of “Image Inspiration & Collections,” including thematic collections, trending styles, and photo ideas. This can be a fantastic resource when you’re looking for the perfect base image to stretch or for creative ideas on how to incorporate stretching into a larger visual design project.
By integrating these advanced techniques and leveraging Tophinhanhdep.com’s comprehensive suite of image tools, you can not only stretch images effectively in Canva but also ensure they are of the highest quality, optimized for their intended use, and contribute meaningfully to your overall visual design strategy.
Common Pitfalls and Best Practices for Image Stretching
While stretching an image in Canva offers immense creative freedom, it’s a technique that comes with its own set of challenges. Unintended results, such as quality degradation or disrupted layouts, can quickly undermine your design efforts. By understanding these common pitfalls and adopting best practices, you can harness the power of stretching effectively, ensuring your visuals remain impactful and professional. Tophinhanhdep.com, a hub for high-resolution images and essential image tools, champions these best practices to help creators produce flawless visual designs.
Maintaining Image Quality: The High-Resolution Imperative
The Pitfall: The most frequent issue encountered when stretching an image is a noticeable loss of quality, leading to blurriness, pixelation, or a “blocky” appearance. This occurs because you’re forcing the existing pixels to cover a larger area than intended, spreading their data thin.
Best Practice:
- Start with High-Resolution Images: This is the golden rule. Always begin your design process with the highest resolution image available. Whether it’s a stunning piece of beautiful photography, a detailed nature image, or a professional stock photo, more pixels mean more data for Canva to work with, allowing for greater stretching without significant degradation. Tophinhanhdep.com offers an extensive collection of high-resolution images across various categories (wallpapers, backgrounds, aesthetic, abstract), providing the ideal foundation for any project involving stretching.
- Utilize AI Upscalers from Tophinhanhdep.com: If your only available image is of lower resolution, don’t despair. Before importing it into Canva, leverage Tophinhanhdep.com’s AI Upscalers. These advanced tools can intelligently add detail and increase the pixel count of an image, making it much more resilient to stretching and less prone to pixelation. This crucial step can save an otherwise unusable image.
- Moderate Stretching: Even with high-resolution images, excessive stretching can push the limits of quality. Stretch only as much as necessary to achieve your design goal, and always review the image at its final intended display size.
Avoiding Accidental Cropping and Locked Aspect Ratios
The Pitfall: Users sometimes confuse stretching handles with cropping handles, accidentally cropping parts of their image instead of resizing or stretching it. Another common issue is struggling to stretch an image disproportionately because Canva defaults to preserving the aspect ratio.
Best Practice:
- Differentiate Resize from Crop: Understand that “cropping” involves trimming the edges of an image to change its visible area, while “stretching” (or resizing) changes its overall dimensions. In Canva, when you select an image, the main bounding box with white circular/rectangular handles is for resizing/stretching. The separate “Crop” option in the toolbar activates a different set of handles, typically solid lines, specifically for cropping. If you accidentally crop, click “Reset crop” in the crop panel to revert.
- Bypass Locked Aspect Ratios:
- Use Side Handles: For simple horizontal or vertical stretching, always use the rectangular handles located on the top, bottom, left, or right sides of the image. These specifically allow for disproportionate adjustments.
- Hold Shift for Freeform Stretch: When dragging from a corner handle, Canva’s default behavior is to maintain the aspect ratio. To override this and enable freeform disproportionate stretching from a corner, remember to hold down the Shift key while dragging.
- Check “Position” Panel: If you’re still facing issues, check the “Position” panel. Ensure the width and height values are “unlocked” (chain icon is unlinked) to allow independent adjustment.
Harmonizing Your Design: Layout and Alignment
The Pitfall: Stretching one image can inadvertently misalign other elements in your overall design, leading to an uneven or unprofessional layout. This is especially true in complex visual design projects or when creating mood boards with multiple image elements.
Best Practice:
- Use Alignment Tools: After stretching an image, take advantage of Canva’s alignment tools. Select the stretched image along with other relevant elements, and use the “Position” panel to align them (e.g., to the center, top, bottom, left, or right). Canva also provides smart guides (pink lines) that appear when you move elements, helping you visually align them with other objects or the canvas edges.
- Group Elements: If your stretched image is part of a larger composite element, consider grouping related elements together (select multiple elements, then click “Group” in the top toolbar). This ensures they move and scale together, maintaining their relative positions.
- Consider the Overall Composition: Think about how the stretched image interacts with the rest of your visual design. Does it enhance the message or distract from it? Does it fit the intended “editing styles” or “thematic collections”? Stretching is a tool for graphic design and digital art; it should serve the larger creative idea.
Post-Stretching Workflow: Exporting and Optimizing
The Pitfall: After successfully stretching an image and completing your design, exporting it in the wrong format or without optimization can negate your efforts, leading to large file sizes, slow loading times, or suboptimal display quality.
Best Practice:
- Review Final Quality: Before exporting, zoom in on your stretched image within Canva to ensure it looks crisp and clear at the intended resolution. This is your last chance to spot any unexpected pixelation.
- Choose the Right File Type:
- For designs with photos and gradients (like stretched backgrounds or beautiful photography), JPEG is often the best choice for smaller file sizes.
- For designs with sharp lines, text, or transparent backgrounds (like stretched logos or abstract art), PNG is usually preferred for its lossless compression and transparency support.
- Utilize Tophinhanhdep.com’s Optimizers and Compressors: After downloading your design from Canva, consider running the image through Tophinhanhdep.com’s Optimizers or Compressors. These tools can drastically reduce file size without a noticeable drop in visual quality, which is crucial for web performance, email attachments, and efficient storage. This is a critical step for digital photography and any image intended for online use.
- Image-to-Text Capabilities: While not directly related to stretching, Tophinhanhdep.com also offers Image-to-Text tools. If your stretched image is part of a larger document or presentation, this can be useful for extracting any text for accessibility or content repurposing.
By proactively addressing these common pitfalls and integrating these best practices into your workflow, you can confidently stretch images in Canva, creating dynamic, high-quality visual designs that truly stand out. With the right techniques and the support of comprehensive image tools from Tophinhanhdep.com, your creative possibilities are limitless.
Conclusion: Mastering Dynamic Visuals with Canva and Tophinhanhdep.com
The journey through the intricacies of stretching images in Canva reveals a powerful capability for both practical design solutions and expansive creative expression. We’ve traversed the essential distinction between resizing, which preserves an image’s natural proportions, and true stretching, which intentionally alters its aspect ratio to fit specific layouts or achieve unique aesthetic effects. From the simple drag of a side handle to the freeform control offered by the Shift key and the precision of numerical inputs, Canva equips you with the tools to manipulate images dynamically.
Beyond mere functionality, image stretching unlocks a new dimension in visual design. It allows you to transform ordinary beautiful photography into abstract art, adapt high-resolution wallpapers to custom screens, or add a dramatic flair to aesthetic images through techniques like the pixel stretch effect. This skill is invaluable for graphic designers, digital artists, and anyone looking to infuse their projects with creative ideas and unique photo manipulation.
However, the effectiveness of image stretching is intrinsically linked to the quality of your source material and a mindful approach to the process. The imperative of starting with high-resolution images, coupled with careful review to avoid pixelation and accidental cropping, cannot be overstated. By understanding these best practices and leveraging Canva’s comprehensive toolkit, you can ensure your stretched images enhance, rather than detract from, your overall design.
For those seeking to elevate their visual projects even further, Tophinhanhdep.com stands as an indispensable resource. As a comprehensive hub for images and advanced image tools, Tophinhanhdep.com seamlessly complements your Canva workflow. Its vast collections of high-resolution stock photos, inspiring mood boards, and thematic collections provide the perfect starting point for any creative endeavor. Furthermore, its suite of image tools—including AI Upscalers to combat quality loss, Optimizers and Compressors for efficient file management, and Converters for format flexibility—ensures that every image, from conception to final export, meets the highest standards of digital photography and visual design.
In a world saturated with visuals, the ability to stretch, adapt, and creatively manipulate images is a true superpower. By mastering the techniques discussed in this guide and integrating the robust resources offered by Tophinhanhdep.com, you are empowered to transcend conventional design boundaries. Embrace experimentation, explore new editing styles, and let your imagination stretch as far as your images can go. Your dynamic and impactful visual creations await.