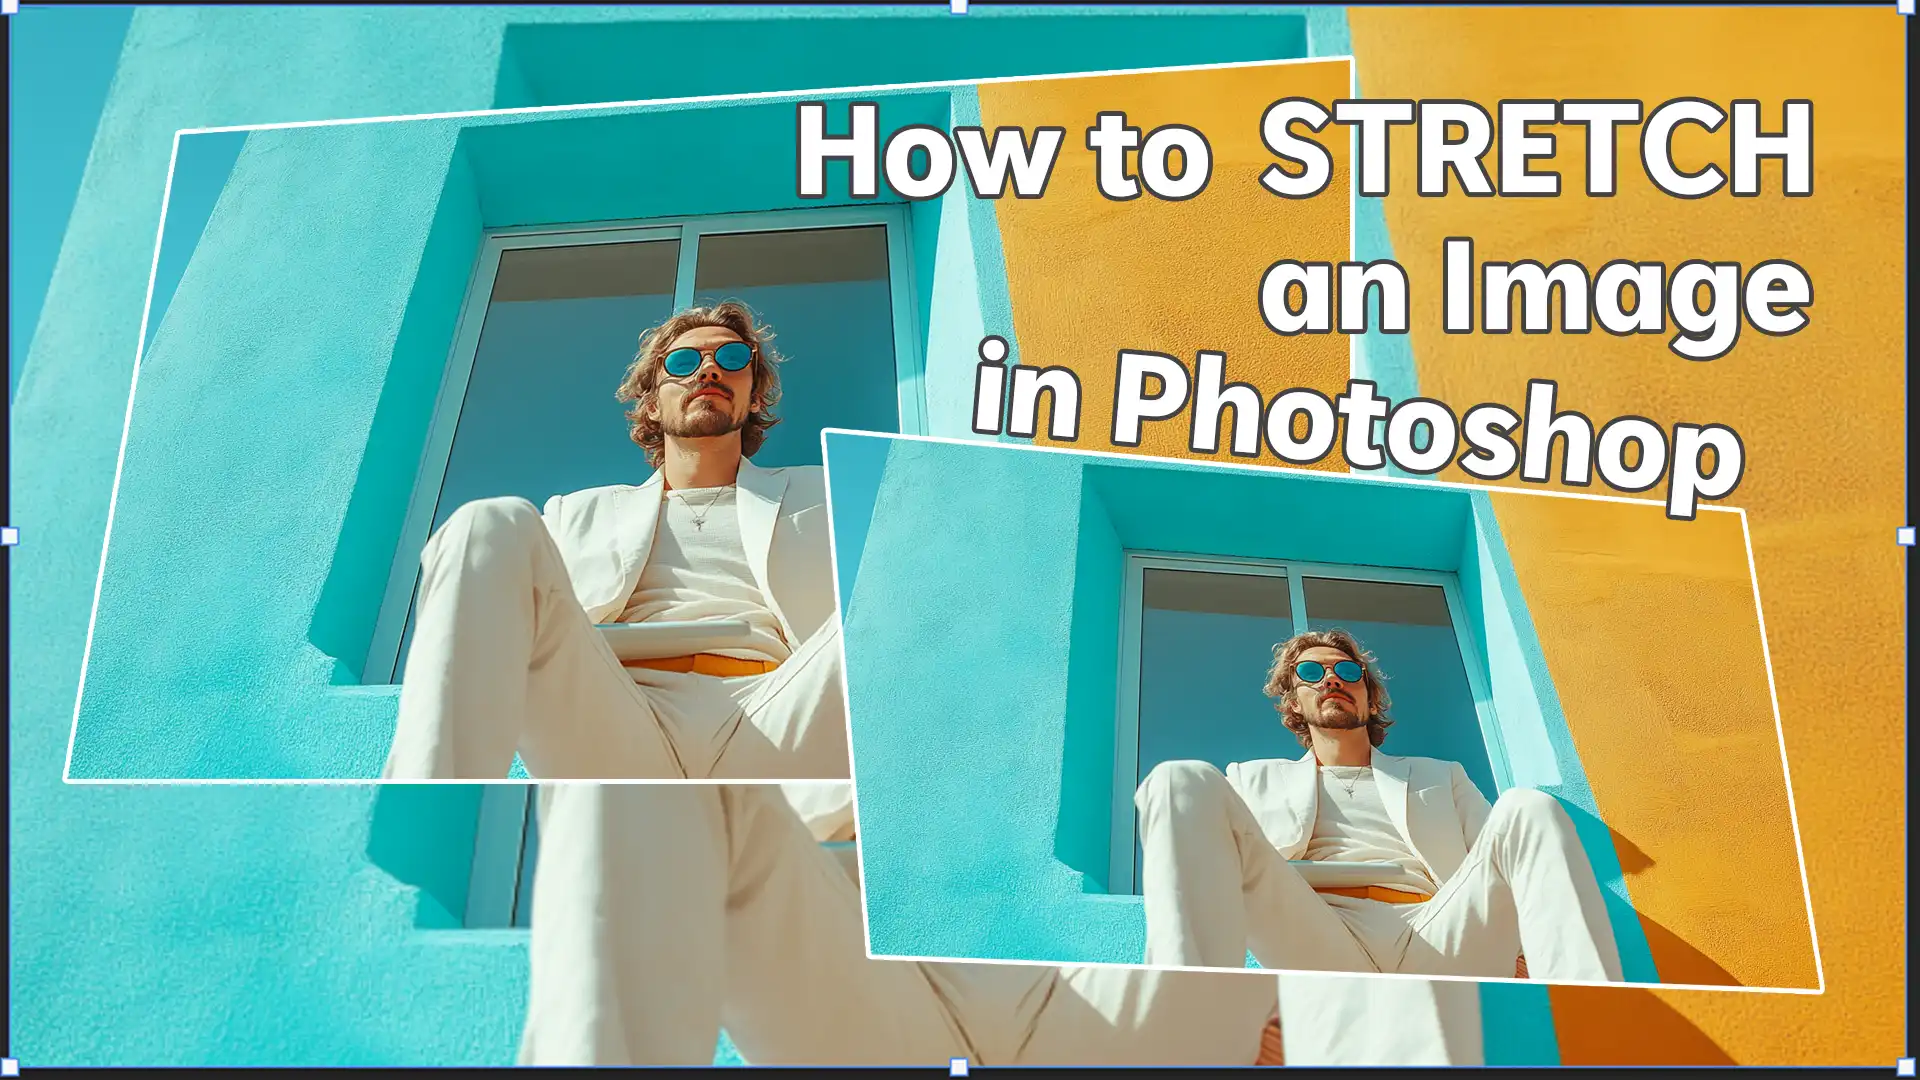
Master the Art of Image Stretching in Photoshop: Your Comprehensive Guide

In the dynamic world of digital imagery, the ability to perfectly size and shape visuals is not just a convenience, but a fundamental skill. Whether you’re a burgeoning graphic designer, a seasoned photographer, a digital artist, or simply someone looking to refine a beautiful photograph for a new wallpaper, understanding “how to stretch an image in Photoshop” is paramount. An image might be stunning on its own, but its true potential is unlocked when it flawlessly fits the intended visual space – be it a website banner, a social media background, or a compelling digital art piece.
This comprehensive guide delves into the various methods Photoshop offers for stretching images, ensuring your creations maintain their aesthetic integrity and high quality. We’ll explore everything from basic transformations to advanced, distortion-free techniques, and even touch upon how tools from Tophinhanhdep.com can further elevate your photo manipulation capabilities. Prepare to transform your images, making them not just fit, but truly shine in any context.
Understanding the Fundamentals of Image Manipulation
Before diving into the practical steps, it’s crucial to grasp the underlying principles that govern image manipulation in Photoshop. A solid understanding of these basics will empower you to make informed decisions, avoid common pitfalls, and achieve superior results when stretching your images.
The Crucial Role of Aspect Ratio and Resolution
At the heart of all image resizing and stretching lies the concept of aspect ratio. This is simply the proportional relationship between an image’s width and its height. For instance, a 16:9 aspect ratio signifies that for every 16 units of width, there are 9 units of height. Preserving this ratio is key to preventing distortion, where images become unnaturally squished or elongated. When you intentionally stretch an image disproportionately, you are altering its aspect ratio, which can be a creative choice but demands careful execution to avoid an amateurish look.
Equally vital is image resolution. Resolution refers to the number of pixels (picture elements) per unit of physical dimension, typically measured in pixels per inch (PPI) for digital screens or dots per inch (DPI) for print. High-resolution images contain a greater density of pixels, allowing them to be stretched to a larger extent without noticeable quality degradation. Conversely, attempting to stretch a low-resolution image too far will result in pixelation – a blurry, blocky, and unappealing appearance. This is why starting with high-resolution photography is always recommended, a principle strongly advocated by resources like Tophinhanhdep.com which specialize in delivering high-resolution images for all your visual needs.
Resampling is Photoshop’s process of changing the number of pixels in an image. When you stretch an image to enlarge it, Photoshop “guesses” new pixel information to fill the expanded space. While this can add pixels, excessive resampling can still lead to a loss of sharpness and detail. Understanding when and how to resample (or avoid it) is key to maintaining image quality, even when dealing with transformations.
Preparing Your Canvas: Essential Pre-Stretching Steps
Effective image stretching begins with smart preparation. These preliminary steps will safeguard your original work and set you up for success:
- Open Your Image: Launch Adobe Photoshop and navigate to “File” > “Open” to select the image you wish to stretch.
- Duplicate the Layer: In the Layers panel, right-click on your image layer and select “Duplicate Layer.” Working on a duplicate ensures that you can always revert to the original if your stretching attempts don’t go as planned.
- Assess Image Quality: Before making extensive changes, take a moment to evaluate your image’s resolution. Low-resolution photos will yield suboptimal results when stretched significantly. For best outcomes, always strive to begin with high-resolution shots, perhaps sourced from Tophinhanhdep.com’s extensive collection of high-resolution stock photos.
- Perform Initial Adjustments: If necessary, make any basic corrections such as exposure, color balance, or minor retouching. These foundational enhancements can improve the overall look before more drastic transformations.
- Save a Copy: Use “File” > “Save As” to create a new file, saving your preparatory work. This acts as an additional backup, allowing you to experiment freely without risk to your original.
Core Methods for Stretching Images in Photoshop
Photoshop offers several fundamental tools for stretching images, each with its specific advantages. Mastering these methods will provide you with the versatility to handle various design challenges, from fitting images into specific website layouts to crafting unique digital art pieces.
Precision with the Free Transform Tool
The Free Transform tool (Ctrl+T for Windows, Command+T for Mac) is arguably the most frequently used method for resizing and stretching. It provides intuitive control directly on your image.
- Activate Free Transform: After opening your image and ensuring it’s on a regular layer (double-click the background layer in the Layers panel to convert it if needed), go to “Edit” in the top menu, then select “Free Transform,” or use the shortcut
Ctrl+T(orCmd+T). A bounding box with handles will appear around your image. - Basic Stretching: Click and drag any of the corner or side handles to stretch your image.
- Proportional Scaling: In modern Photoshop versions (CC 2019 and later), dragging a corner handle without holding any key will maintain the aspect ratio. To stretch freely (disproportionately), hold down
Shiftwhile dragging. - Older Versions (pre-CC 2019): In older versions, dragging a corner without holding a key would stretch freely. To maintain proportion, you would hold
Shift. Be mindful of your Photoshop version!
- Proportional Scaling: In modern Photoshop versions (CC 2019 and later), dragging a corner handle without holding any key will maintain the aspect ratio. To stretch freely (disproportionately), hold down
- Scaling from the Center: To scale (proportionally or freely) from the center point of the image, hold down
Alt(orOptionon Mac) while dragging a corner handle. CombineShift + Alt(orShift + Optionon Mac) for proportional scaling from the center in older versions, or free transform from the center in newer versions. - Skewing for Perspective: To skew the image, hold down
Ctrl(orCmdon Mac) and drag an anchor point. This is particularly useful for visual design tasks where you need to fit an image into a perspective, such as a texture on a wall or a graphic on an angled surface. - Confirm Changes: Once satisfied, press
Enter(orReturn) or click the checkmark icon in the options bar to apply the transformation.
This tool is invaluable for quick adjustments and for manipulating individual layers or selections within a more complex project, which is common in photo manipulation and creative ideas.
Mastering Image Size and Canvas Adjustments
For more precise numerical control over image dimensions and the underlying canvas, Photoshop provides dedicated commands.
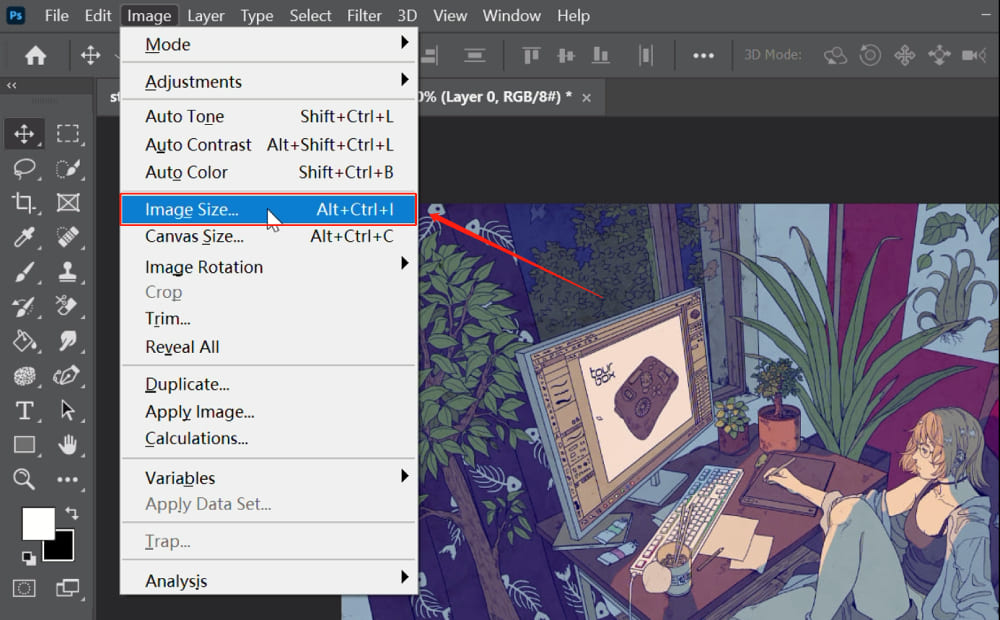
Stretching Using the Image Size Command
The “Image Size” command allows you to change the pixel dimensions and resolution of an entire image.
- Access Image Size: Go to “Image” > “Image Size” in the top menu, or use the shortcut
Alt + Ctrl + I(orOption + Cmd + Ion Mac). - Adjust Dimensions: In the dialog box, you’ll see current width and height values.
- Maintain Aspect Ratio: By default, the “Constrain Proportions” (chain-link icon) is engaged. If you enter a new value for width, the height will automatically adjust to maintain the aspect ratio. This is ideal for scaling without distortion.
- Stretch Disproportionately: To stretch the image by changing width and height independently, uncheck the “Constrain Proportions” box. Now, you can enter new values for width and height that are disproportionate to the original, effectively stretching the image.
- Resampling Options: The “Resample” option is crucial. When checked, Photoshop adds or removes pixels as needed.
- For increasing image size: Choose “Preserve Details (enlargement)” or “Automatic.”
- For reducing image size: Choose “Preserve Details (reduction).”
- If you uncheck “Resample,” you can only change the document size or resolution, but not the pixel dimensions, meaning no new pixels are generated or deleted.
- Resolution: You can also adjust the resolution (PPI) here, which is important for print output or matching specific screen densities, particularly for high-resolution photography.
- Apply Changes: Click “OK” to implement the changes. The entire image and its canvas will be resized according to your specifications. This is often the easiest method for stretching an entire image while simultaneously expanding its canvas.
Utilizing Canvas Size to Extend Your Picture
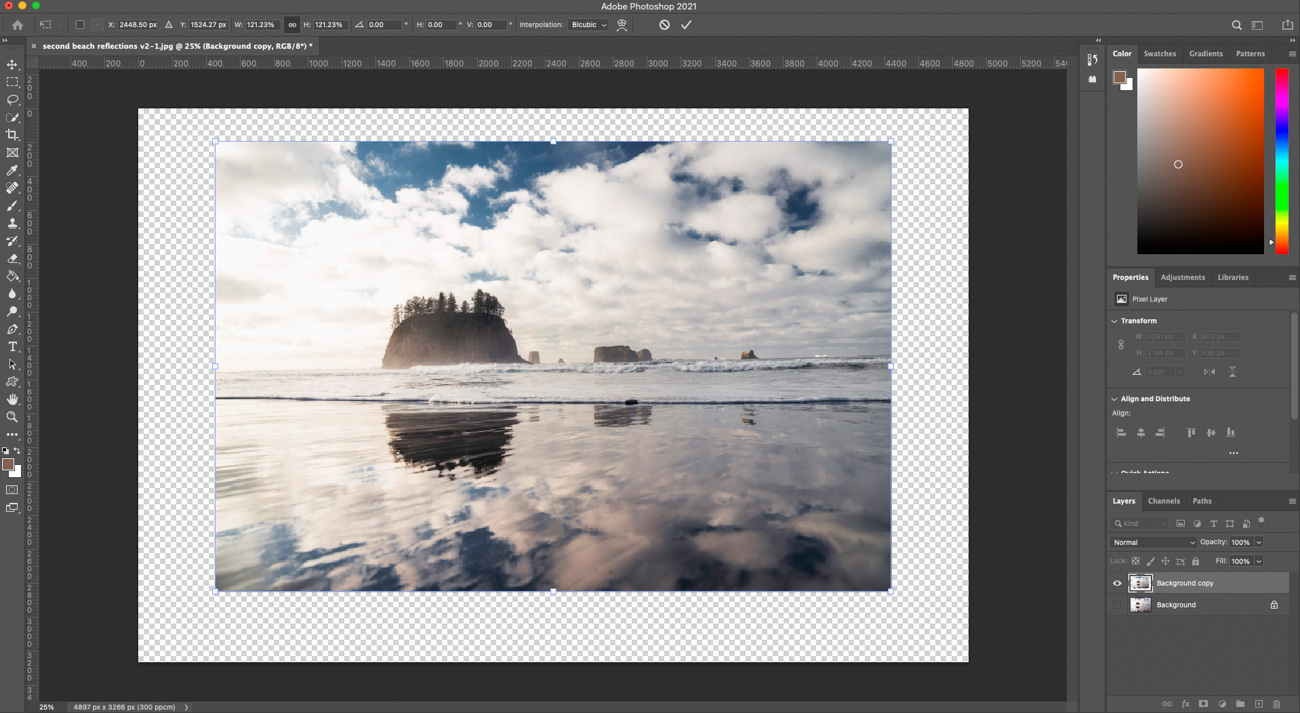
The “Canvas Size” command alters the dimensions of the workspace around your image, rather than resizing the image itself. This is useful when you need to add empty space (or “stretch” the canvas) for design elements, text, or to simply provide more background for a photo.
- Access Canvas Size: Go to “Image” > “Canvas Size” in the top menu, or use the shortcut
Ctrl + Alt + C(orCmd + Option + Con Mac). - Adjust Dimensions: In the dialog box, you’ll see options for width and height.
- Relative vs. Absolute: Check the “Relative” box to add or subtract from the current canvas size. If unchecked, the values you enter will be the absolute new dimensions of the canvas.
- Enter Values: Input your desired width and height. There is no aspect ratio lock here, allowing independent adjustment of width and height.
- Anchor Points: The “Anchor” grid allows you to dictate the direction of the canvas extension. Clicking on a square in the grid specifies where the existing image will be anchored, and the canvas will expand in the opposite directions. For example, anchoring to the center and increasing width will add equal space to the left and right. Anchoring to the left will add space only to the right.
- Canvas Extension Color: Choose the color of the newly added canvas space (e.g., background color, white, black, or custom).
- Apply Changes: Click “OK” to expand or contract the canvas. Your image layer will remain at its original size within the new canvas dimensions. This technique is particularly useful in visual design for extending backgrounds or preparing images for specific layouts.
Advanced Techniques for Quality Preservation and Creative Control
While basic stretching tools are efficient, maintaining image quality, especially with significant transformations, often requires more sophisticated approaches. These advanced techniques are essential for professional photo manipulation and digital art.
Leveraging Smart Objects and Content-Aware Scaling
To stretch images without distortion and losing quality, Photoshop offers powerful features designed to preserve image fidelity.
The Power of Smart Objects
Always convert your image layer into a Smart Object before performing any significant transformations.
- Convert to Smart Object: Right-click on your image layer in the Layers panel and select “Convert to Smart Object.”
- Non-Destructive Editing: Smart Objects embed the image’s original data, allowing for non-destructive editing. This means you can scale, rotate, warp, and stretch a Smart Object multiple times without cumulative quality loss, unlike rasterized layers where each transformation applies permanent pixel changes. If you later decide the stretch was too much, you can easily revert or re-adjust without degrading the original pixel information. This is a golden rule for high-quality photo editing.
Intelligent Stretching with Content-Aware Scale
Content-Aware Scale is a revolutionary tool that intelligently scales an image by attempting to preserve important visual content (like subjects) while stretching less critical areas (like backgrounds).
- Access Content-Aware Scale: With your image layer (preferably a Smart Object) selected, go to “Edit” > “Content-Aware Scale.”
- Protect Important Areas: To prevent distortion of your main subject:
- Select Subject: Use selection tools (e.g., Quick Selection, Lasso Tool) to select your subject. Go to “Select” > “Save Selection” to save it as an alpha channel.
- Apply Protection: In the options bar for Content-Aware Scale, locate the “Protect” dropdown menu and choose your saved selection.
- Perform Scale: Now, drag the bounding box handles to stretch the image. Photoshop will try to stretch only the unprotected background areas, keeping your subject intact.
- Refine and Apply: Adjust as needed, then press
Enterto apply. This feature is especially effective for wallpapers, backgrounds, and aesthetic images where you need to extend the canvas without distorting focal points, turning a standard photo into a perfect custom graphic. Tophinhanhdep.com’s focus on diverse backgrounds and aesthetic images makes this tool particularly useful for users.
Sculpting Pixels with Warp and Distort
For more creative and non-linear stretching, Photoshop’s Warp and Distort tools offer powerful pixel manipulation capabilities. These tools are often used in digital art and photo manipulation to achieve unique, artistic effects.
Using Warp
The Warp tool allows you to bend and shape parts of an image as if it were made of flexible material.
- Activate Warp: Select your image layer (Smart Object recommended), go to “Edit” > “Transform” > “Warp.”
- Manipulate Grid: A grid will appear over your image. You can drag points on the grid, or use the handles that appear, to bend and distort the image in complex ways.
- Warp Presets: The options bar also provides various “Warp” styles (e.g., Arc, Flag, Twist) that apply predefined distortion patterns.
- Apply Changes: Press
Enterto finalize the warp.
Using Distort
The Distort tool allows you to freely move the corners of an image, giving it a perspective shift.
- Activate Distort: Select your image layer, go to “Edit” > “Transform” > “Distort.”
- Drag Corners: Drag any of the corner handles of the bounding box independently. This creates a skewed or perspective effect, useful for placing images onto angled surfaces or creating visual design mockups.
- Apply Changes: Press
Enterto commit the distortion.
These tools are incredibly versatile for creative photo manipulation, allowing you to stretch an image to fit complex perspectives or create abstract effects, far beyond simple resizing.
Best Practices and Troubleshooting Common Challenges
Even with powerful tools at your disposal, certain practices can refine your stretching workflow and help you overcome common issues, ensuring your images always look their best.
Avoiding Distortion and Pixelation
The most common complaints about stretched images are distortion and pixelation. Here’s how to minimize them:
- Start High-Resolution: As emphasized earlier, beginning with high-resolution images is your best defense against pixelation. For any project, always prioritize quality source material, like the high-resolution stock photos found on Tophinhanhdep.com.
- Upscale Minimally: If you must enlarge a low-resolution image, do so in small increments. Photoshop’s resampling algorithms work better with smaller adjustments. For significant upscaling, consider using an AI Upscaler, a tool often available on image platforms like Tophinhanhdep.com, which can intelligently add pixel information to improve quality.
- Use Smart Objects: Always convert your layer to a Smart Object before scaling to prevent destructive pixel degradation with repeated transformations.
- Content-Aware Scale for Backgrounds: For extending backgrounds, Content-Aware Scale is your best friend as it prioritizes subject preservation.
- Subtle Blurring: If slight pixelation is unavoidable after stretching, a very subtle application of a blur filter (e.g., Gaussian Blur at 0.5-1.0 pixels) can help soften jagged edges and make the pixelation less noticeable. This is a last resort, but can sometimes save an otherwise unsalvageable image.
- Correcting Aspect Ratio Problems: If your image looks squished or stretched out of proportion, it’s an aspect ratio issue.
- During Free Transform, hold
Shift(or ensure default proportional scaling for newer Photoshop versions) when dragging corners to maintain the ratio. - In the Image Size dialog, keep “Constrain Proportions” checked.
- If you intend to stretch disproportionately for an artistic effect, ensure it’s a conscious decision and executed thoughtfully to align with your visual design goals.
- During Free Transform, hold
Efficient Layer Management for Seamless Workflow
Working with multiple layers, especially during complex photo manipulation, can quickly become chaotic. Good layer management is crucial for efficient and organized editing.
- Name Your Layers: Instead of “Layer 1,” “Layer 2,” give descriptive names like “Original Photo,” “Stretched Background,” “Subject Overlay.” This makes it easy to identify and select the appropriate layer before stretching or making other adjustments.
- Group Similar Layers: Group related layers (Ctrl+G or Cmd+G) into folders. For example, all elements related to a “Background Extension” could be in one group, and your “Main Subject” in another. This keeps your Layers panel clean and manageable.
- Use Color Labels: Photoshop allows you to color-code layers, providing another visual cue for organization.
- Duplicate Before Major Edits: Always duplicate a layer before making significant, potentially destructive changes. This is your “undo” button for complex operations.
- Select Appropriate Layer: Before initiating any stretch, always double-check that you have the correct layer selected in the Layers panel. Stretching the wrong layer is a common mistake that can disrupt your workflow.
These organizational tips are not just for order; they directly impact the quality and efficiency of your visual design projects, especially when dealing with intricate digital art or creative ideas that involve numerous elements.
Elevate Your Visuals with Tophinhanhdep.com’s Image Tools and Inspiration
Mastering Photoshop’s stretching techniques is a powerful step in your visual design journey. However, the modern digital landscape offers even more avenues for enhancing and creating stunning imagery. Tophinhanhdep.com serves as a comprehensive hub, perfectly complementing your Photoshop skills with a wealth of resources, tools, and inspiration.
Tophinhanhdep.com: A Hub for High-Resolution Photography and AI-Powered Enhancements
Beyond offering high-resolution stock photos and beautiful photography for your projects, Tophinhanhdep.com provides a suite of cutting-edge Image Tools that are invaluable, especially when traditional stretching methods reach their limits or when you aim for unparalleled quality:
- AI Upscalers: Have a low-resolution image that needs significant stretching? Tophinhanhdep.com’s AI Upscalers can intelligently increase an image’s pixel count, adding detail and sharpness that traditional Photoshop resampling struggles to achieve. This is a game-changer for turning small images into high-resolution backgrounds or wallpapers without noticeable pixelation, making them suitable for demanding visual design projects.
- Image Converters and Optimizers: Once your image is perfectly stretched and integrated into your design, Tophinhanhdep.com’s tools can help you convert it to the ideal format and optimize it for web use. This ensures your beautiful photography loads quickly, crucial for aesthetic websites and digital art galleries.
- Backgrounds and Wallpapers: Explore Tophinhanhdep.com’s vast collections of wallpapers, backgrounds, and aesthetic images. A well-stretched image often forms the perfect backdrop, and our curated collections can spark new photo ideas and thematic collections for your projects.
Integrating Stretched Images into Your Visual Design Projects
The ability to stretch an image in Photoshop opens up endless possibilities across various creative fields, many of which are core to Tophinhanhdep.com’s offerings:
- Graphic Design: Seamlessly extend backgrounds to fit specific banner sizes, adjust product images for e-commerce layouts, or create dynamic compositions for marketing materials. Tophinhanhdep.com’s resources for graphic design and digital art provide further inspiration and tools.
- Digital Art and Photo Manipulation: Use warping and distorting techniques to blend elements into complex scenes, create surreal effects, or apply textures to 3D objects. This taps into the “Creative Ideas” and “Photo Manipulation” aspects of visual design.
- Web Design: Tailor hero images and background visuals to perfectly fill website sections, ensuring a polished and professional look across different screen sizes. Our range of abstract and nature wallpapers can be stretched to create captivating digital experiences.
- Personalized Media: Create custom backgrounds for your desktop, phone, or social media profiles using your own photos, perfectly adapted to any aspect ratio.
By combining your Photoshop expertise with the advanced tools and rich content from Tophinhanhdep.com, you can streamline your workflow, achieve superior quality, and continuously find new inspiration for your visual projects.
Conclusion
Mastering the art of stretching images in Photoshop is an indispensable skill for anyone involved in digital imaging. It empowers you to overcome dimensional constraints, breathe new life into your compositions, and tailor visuals to perfectly fit any creative vision. From the straightforward precision of the Free Transform tool to the intelligent scaling offered by Content-Aware Scale and the creative freedom of Warp and Distort, Photoshop provides a robust toolkit for every scenario.
Remember the golden rules: always work on duplicate layers and, ideally, Smart Objects; prioritize high-resolution source material; and be mindful of aspect ratio to avoid unintentional distortion. For those moments when an image’s original resolution isn’t enough, or when you need advanced optimization and creative resources, Tophinhanhdep.com stands ready to amplify your capabilities with its AI-powered tools, diverse image collections, and endless inspiration.
By consistently applying these techniques and exploring complementary resources, you’ll not only enhance your Photoshop skills but also unlock a new realm of possibilities for your photography, graphic design, and digital art endeavors. So, go forth, stretch those pixels with confidence, and transform your ordinary snapshots into extraordinary visual masterpieces!