How to Tilt an Image in Photoshop: Mastering Rotation for Perfect Visuals on Tophinhanhdep.com

In the dynamic world of digital imagery, the ability to manipulate and refine visual elements is paramount. Among the most fundamental yet powerful techniques in Adobe Photoshop is the art of tilting and rotating. Far beyond merely correcting a crooked horizon, mastering image rotation allows for unparalleled creative expression, enhancing visual narratives, and perfecting compositions for everything from Aesthetic Wallpapers to High-Resolution Stock Photos. Whether you’re a budding photographer, a seasoned graphic designer, or simply looking to polish your personal image collection on Tophinhanhdep.com, understanding how to effectively tilt an image in Photoshop is an indispensable skill.
This comprehensive guide from Tophinhanhdep.com will delve into the various methods of rotating and tilting images, layers, and selections within Photoshop. We’ll explore core tools, advanced techniques, and practical applications, ensuring your visuals always achieve their intended impact. Prepare to unlock a new dimension of control over your digital art and photography as we explore the nuances of rotation, a cornerstone of effective Visual Design.
Fundamental Methods: Tilting and Rotating Objects with Precision
At its heart, tilting or rotating an image in Photoshop involves altering its orientation along an axis. Photoshop offers several intuitive ways to achieve this, catering to both quick visual adjustments and precise, numerical transformations.
Getting Started with the Move Tool
For many basic rotational needs, the Move Tool (shortcut V or M in some contexts) is your quickest ally. It provides an immediate, interactive way to spin elements within your canvas.
Here’s how to use it:
- Open your Photoshop project file: Begin by opening the image you wish to edit in Photoshop.
- Select or Create the Layer: Identify the specific layer, shape, or image you intend to rotate. If you’re starting fresh, create a new layer or place your desired element.
- Activate the Move Tool: Ensure the Move Tool is selected from your toolbar. You can typically activate it by pressing
V. - Click-and-Drag Corner Handles: Once your layer is selected and the Move Tool is active, click on the layer in the canvas. You’ll see a bounding box with four corner handles appear around the object. Position your cursor slightly outside any of these corner handles. The cursor will change into a curved, double-headed arrow. Click and drag your mouse in a circular motion around the object to rotate it freely.

This method is ideal for quick, visual adjustments where an exact degree isn’t critical, allowing you to intuitively position elements for Creative Ideas or rearrange components of Abstract Art.
For Exact Degree Rotation:
Should you require a precise angle, the Move Tool also accommodates this. After activating the Move Tool and clicking on the corner handles of your object, you’ll notice a numerical input field appear in the top Options Bar (just above the document window). Simply enter the desired degree of rotation (e.g., 45 for a clockwise rotation, -30 for counter-clockwise) and press Enter. This allows for meticulous placement, essential for Graphic Design layouts or aligning elements in Beautiful Photography.
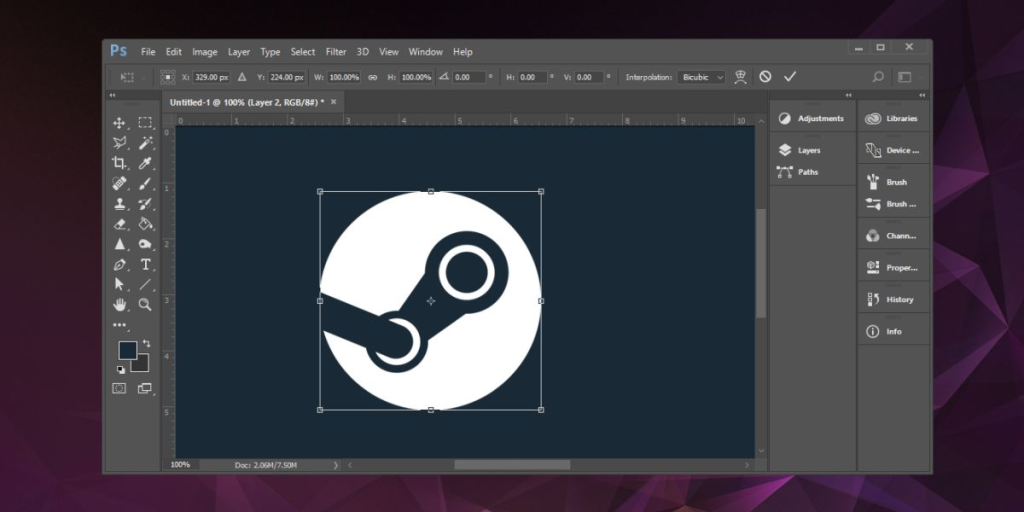
Leveraging the Free Transform Tool for Versatile Tilting
While the Move Tool offers a straightforward approach, the Free Transform tool (Ctrl+T on Windows, Cmd+T on Mac) is arguably the most versatile and frequently used method for tilting and rotating. It provides comprehensive control over scaling, skewing, and rotating, making it indispensable for Photo Manipulation and complex compositions.
Here’s how to tilt an image using Free Transform:
- Select Your Layer: As before, ensure the specific layer containing the image, shape, or object you want to tilt is selected in the Layers panel.
- Activate Free Transform: Go to the top menu, click
Edit, then hover overTransformand selectRotate. Alternatively, and more commonly, use the shortcutCtrl+T(Windows) orCmd+T(Mac). A bounding box will appear around your selected layer. - Visual Tilting: Position your cursor slightly outside any of the corner handles of the bounding box. The cursor will transform into a curved, double-headed arrow, indicating that you’re in rotation mode. Click and drag to visually tilt your image to the desired angle.
- Precise Angles: Similar to the Move Tool, the Options Bar at the top of the screen will display a rotation field where you can input an exact degree. This is perfect for aligning elements with a Thematic Collection or ensuring geometric precision in your Digital Art.
- Quick Pre-sets: If you wish to tilt your image to common angles like 90 or 180 degrees, Photoshop often has these measurements pre-selected in the
Edit > Transformmenu, providing quick access for reorienting images quickly for Wallpapers or Backgrounds. - Finalize: Once you’re satisfied with the tilt, press
Enter(or click the checkmark in the Options Bar) to apply the transformation. To cancel, pressEsc.
The Free Transform tool’s flexibility makes it a cornerstone for Visual Design, allowing you to experiment with different orientations to achieve unique aesthetic effects.
Distinguishing Between Canvas, Layers, and Selections
A crucial distinction in Photoshop is understanding whether you are rotating the entire viewing canvas, an individual layer, or a specific selection within a layer. Each action has a different impact and serves a unique purpose in your editing workflow.
Rotating the Entire Canvas vs. Individual Elements
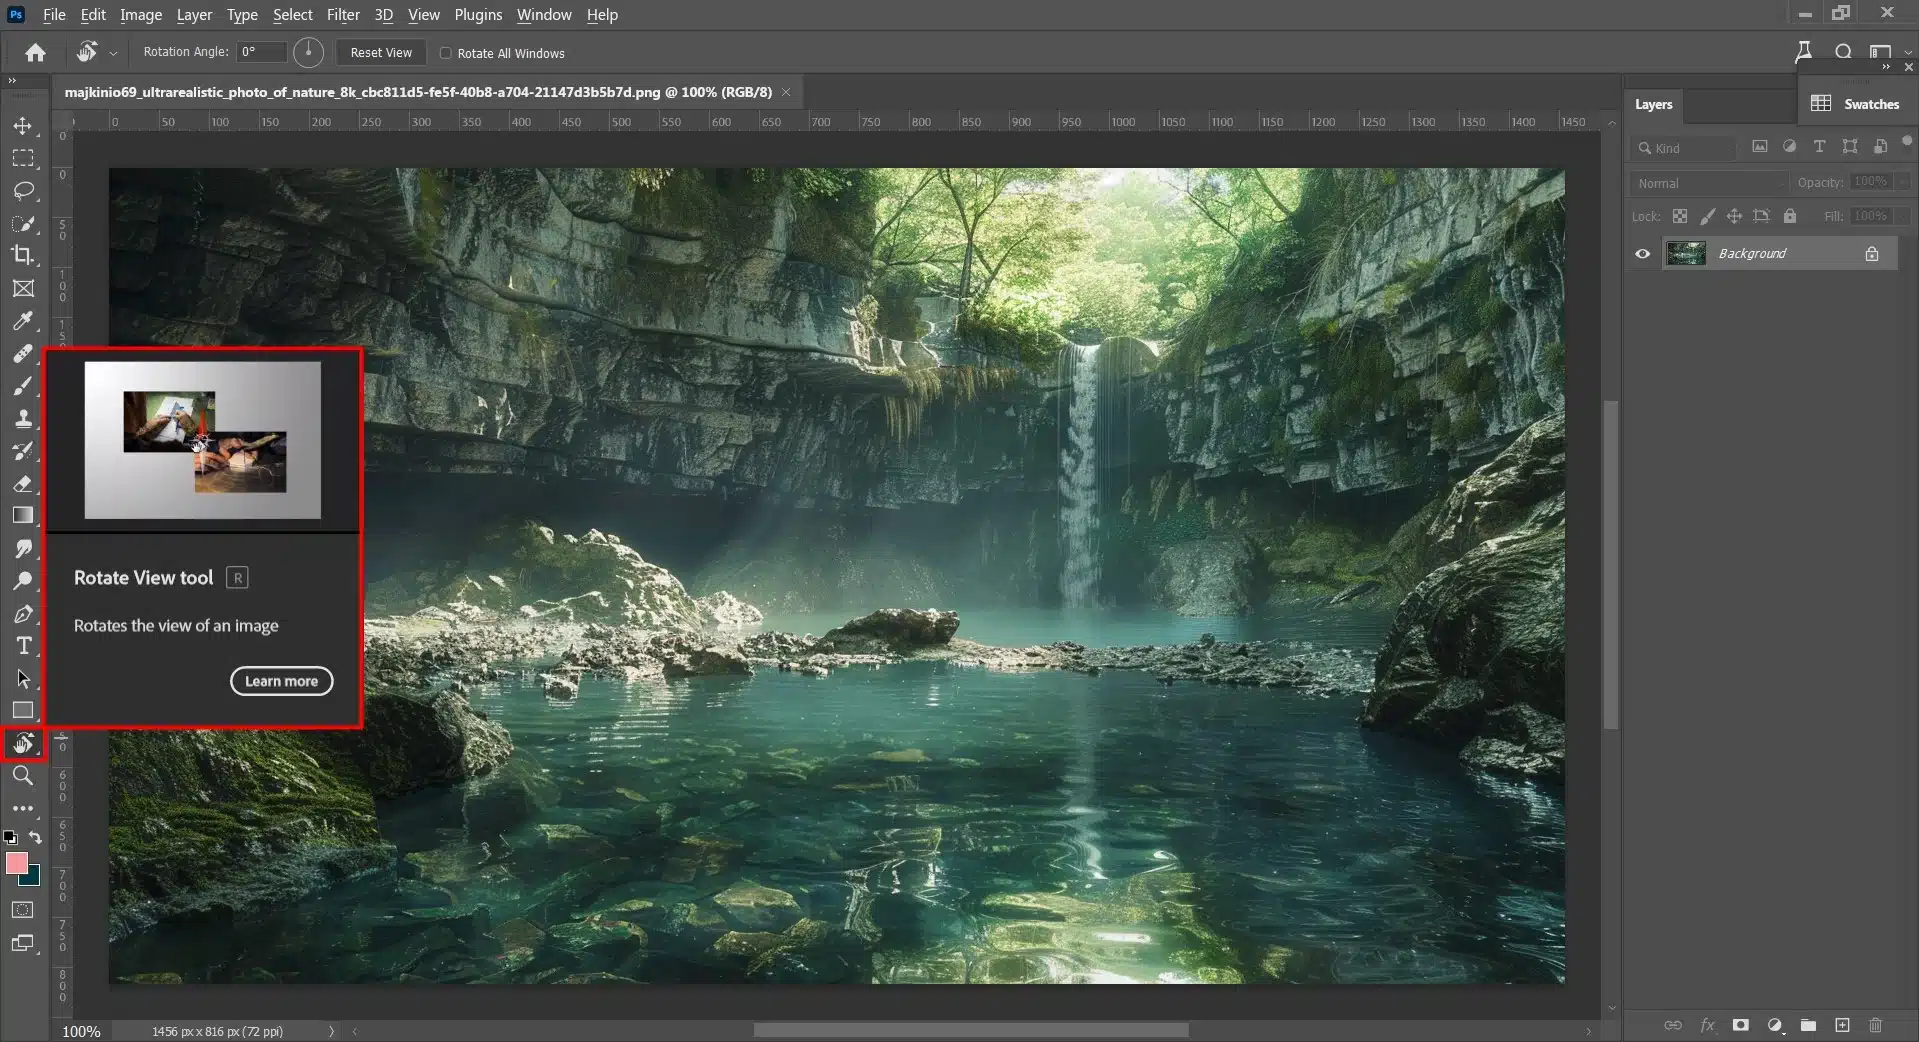
Sometimes, you don’t want to change the actual image data, but merely how you’re viewing your workspace. This is where the Rotate View Tool comes in handy.
How to rotate the canvas in Photoshop:
- Select the Rotate View Tool: You can find this tool in the toolbar by pressing
R. Alternatively, right-click on the Hand Tool (shortcutH) to reveal a submenu and select the Rotate View Tool from there. - Click-and-Drag to Rotate: With the Rotate View Tool active, click and drag your mouse anywhere on the canvas. The entire canvas, including all objects within it, will rotate. A compass rose will become visible, indicating the current rotation angle.
- Resetting the View: To quickly snap the canvas back to its original, unrotated orientation, simply press the
Esckey (when the Rotate View Tool is active) or click the “Reset View” button in the Options Bar.
Important Note: It is vital to remember that using the Rotate View Tool only affects how you view the canvas. This method does not permanently rotate your project or its constituent layers. If you export your project, it will not appear in the rotated form. For permanent rotation of the entire project, you would need to select all active layers (e.g., Ctrl+A or Cmd+A to select all pixels, then Ctrl+Shift+C or Cmd+Shift+C to copy visible layers to a new layer) and then apply a transformation using the methods described earlier, or rotate each layer individually. This distinction is key for Digital Photography workflows where viewing angles might differ from final output.
Tilting Specific Selections
Often, you only need to rotate a small part of an image or object, not the entire layer. This requires making a selection first. This technique is invaluable for Photo Manipulation, allowing you to precisely adjust elements without disturbing the rest of the composition.
How to rotate a selection in Photoshop:
- Make Your Selection: The first step is to isolate the area you want to rotate. You can use various selection tools for this:
- Marquee Tools (M): For rectangular or elliptical selections. Hold
Shiftfor perfect squares or circles. - Lasso Tools (L): For freeform selections.
- Quick Selection Tool (W): For automatically selecting areas based on color and texture similarities.
- Object Selection Tool: Automatically detects and selects distinct objects within your image.
- If you’re selecting an entire object within an otherwise “flat” layer, you might use the Move Tool (
V) and double-click the object to select its pixels.
- Marquee Tools (M): For rectangular or elliptical selections. Hold
- Activate Free Transform: After making your selection, use the Free Transform Tool by pressing
Ctrl+T(Windows) orCmd+T(Mac). A bounding box will appear specifically around your active selection. - Rotate the Selection: Position your cursor outside the bounding box, wait for the curved arrow, and then click and drag to rotate your selection.
- Finalize: Press
Enterto apply the rotation. To deselect the area, go toSelect > Deselect(Ctrl+DorCmd+D).
Rotating selections is a fundamental skill for compositing images, adjusting elements in Abstract pieces, or fine-tuning details in Beautiful Photography without impacting the surrounding pixels.
Rotating Individual Layers and Shapes
When working with multi-layered Photoshop documents, the ability to rotate individual layers and shapes independently is crucial. This is how you build complex Visual Designs and Digital Art compositions. Fortunately, the process for rotating a shape or any other object on its own layer is consistent with the Free Transform methods discussed.
How to rotate shapes in Photoshop:
- Select the Shape Layer: In the Layers panel, click on the specific layer containing the shape (or object) you wish to rotate. This applies whether it’s a pre-set shape, a custom path, or even a text layer.
- Activate Free Transform: Use
Ctrl+T(Windows) orCmd+T(Mac). - Rotate Visually or Numerically:
- Visual Adjustment: Drag the corner handles outside the bounding box to rotate the shape freely.
- Precise Measurement: Enter a specific degree value in the Options Bar for exact rotations.
- Confirm: Press
Enterto finalize the transformation.
This consistency extends to other object types as well. If you want to rotate a picture in Photoshop that resides on its own layer, you follow the exact same steps.
Image-Specific Rotation (for entire images/backgrounds):
For rotating an entire image that’s typically the background layer or a flattened image, Photoshop offers a dedicated command:
- Select the Image Layer: Ensure the image layer is selected.
- Navigate to Image Rotation: In the top menu, go to
Image > Image Rotation. - Choose Your Rotation: You’ll find options like
180°,90° Clockwise,90° Counter Clockwise, andArbitrary...(for custom angles). You can alsoFlip Canvas HorizontalorFlip Canvas Verticalfrom here, creating mirror images or turning them upside down. - Make Your Selection: Choose the desired rotation.
This method is handy for reorienting entire Wallpapers or Backgrounds that are incorrectly aligned, or for quickly flipping an image for an Image Inspiration mood board.
Advanced Techniques for Enhanced Workflow and Creative Control
Beyond the basics, Photoshop offers advanced functionalities that elevate your rotation capabilities, especially when dealing with complex projects or aiming for non-destructive edits. These techniques are particularly beneficial for professionals in Digital Photography and Graphic Design aiming for efficiency and flexibility.
The Power of Smart Objects in Rotation
Smart Objects are one of Photoshop’s most powerful features, enabling non-destructive editing that preserves your original image data. This is particularly advantageous for rotation, scaling, and other transformations.
Advantages of using Smart Objects for rotation:
- Non-Destructive Transformations: When you rotate a Smart Object, Photoshop retains the original pixel information. This means you can rotate it multiple times, scale it up or down, or skew it without suffering any loss of image quality. For High Resolution images or Stock Photos, this is invaluable as it prevents pixelation or degradation.
- Editable and Flexible: You can always revert to the original unrotated state or adjust the rotation degree later without committing to the changes permanently. This flexibility is crucial for iterative Photo Manipulation and complex Visual Design projects where experimentation is key.
- Linked Instances: If you duplicate a Smart Object, all instances are linked. Rotating one instance will automatically update all others, ensuring consistency across your design elements or for Thematic Collections.
To convert a layer to a Smart Object, right-click on the layer in the Layers panel and select “Convert to Smart Object.” Then, apply your rotations using the Free Transform tool as usual.
Optimizing Workflow: Batch Rotation and Pivot Point Control
Efficiency is key in any creative workflow. Photoshop offers features that can automate repetitive tasks and provide finer control over transformations.
Batch Rotation: Adjusting Multiple Layers at Once:
Imagine having dozens of images for a Mood Board or a Photography Collection that all need the same specific rotation. Manually rotating each one would be incredibly time-consuming. Photoshop’s “Actions” and “Batch” processing feature can automate this.
- Record an Action: Go to
Window > Actions. Create a new action set and then a new action. Start recording. Perform the rotation steps (e.g.,Ctrl+T, enter rotation degree,Enter). Stop recording. - Batch Process: Go to
File > Automate > Batch. In the dialog box, select the Action you just recorded. Specify the source folder containing your images and a destination folder for the rotated outputs. Photoshop will then automatically apply your recorded rotation to all images in the source folder.
This is a massive time-saver for managing large volumes of Images or processing Digital Photography for Image Collections.
Setting and Changing Your Pivot Point:
When you perform a rotation using Free Transform, the object typically rotates around its center point. However, you can manually adjust this pivot point for more creative and precise rotations.
- Activate Free Transform: Select your layer and press
Ctrl+T(Cmd+T). - Relocate the Pivot Point: In the center of the bounding box, you’ll see a small crosshair icon. This is your pivot point. Click and drag this crosshair to any desired location on your canvas.
- Rotate: Now, when you rotate the object (by dragging outside the bounding box or entering a numerical value), it will revolve around the new pivot point you’ve set.
This technique is incredibly useful for creating complex movements in Digital Art, designing gears or clock hands, or arranging elements in a circular pattern for Creative Ideas. It provides a level of control that transforms simple rotation into a sophisticated design tool.
Applying Rotation for Aesthetic and Practical Photography
Beyond technical execution, understanding why and when to tilt or rotate an image is vital. It’s a tool for both correction and creative enhancement, deeply impacting the overall aesthetic and emotional resonance of your visuals.
Enhancing Composition and Correcting Orientation
One of the most practical uses of image rotation is correcting minor misalignments or reorienting an image for better visual flow.
- Straightening Horizons: A slightly skewed horizon line in Nature Photography or Beautiful Photography can be jarring. A subtle rotation can easily correct this, leading to a more balanced and professional-looking image.
- Adjusting Perspective: Sometimes, objects in an image might appear slightly off-kilter. Careful rotation can align these elements, improving the overall sense of order and realism, crucial for High-Resolution product shots or Architectural Photography.
- Optimizing for Display: An image might look better in a different orientation when used as a Wallpaper or Background. Rotating it to portrait or landscape can enhance its suitability for various devices or layouts. This ensures your Images are always presented in their best light on platforms like Tophinhanhdep.com.
Simple rotational adjustments can transform a good photograph into a great one, refining the subtle details that capture viewer attention.
Creative Tilting for Dynamic Visuals and Emotional Impact
Rotation isn’t just about fixing; it’s also about expressing. Intentional tilting can add significant character and emotional depth to your images, making them stand out in Thematic Collections or Trending Styles.
- Adding Dynamism: A slight, deliberate tilt can introduce a sense of movement and energy to an otherwise static image. This is a common technique in Digital Art and Graphic Design to create more engaging compositions.
- Creating Drama and Unease: For Sad/Emotional Photography or abstract narratives, a sharper, unconventional tilt can evoke feelings of instability, tension, or a dream-like state. It challenges the viewer’s perception and adds a layer of psychological depth.
- Stylistic Effects: Tilting text layers, graphical elements, or even entire images can contribute to a specific Editing Style or a unique aesthetic. From vintage album covers to modern digital collages, rotated elements are a staple of creative expression.
- Mood Boards and Inspiration: When curating Image Inspiration or building a Mood Board, experimenting with different tilts can help you discover new visual relationships between elements, leading to fresh Photo Ideas and innovative designs.
By understanding how purposeful tilting can alter perception, photographers and designers can wield this tool to craft images that are not only visually appealing but also emotionally resonant and intellectually stimulating.
Conclusion
Mastering the art of tilting and rotating images in Adobe Photoshop is an essential skill that bridges the gap between basic editing and advanced Visual Design. From the straightforward simplicity of the Move Tool for quick adjustments to the versatile power of Free Transform for detailed Photo Manipulation, and the non-destructive benefits of Smart Objects for High Resolution Photography, Photoshop provides a comprehensive toolkit for every rotational need.
Whether you’re meticulously correcting a horizon in a Beautiful Nature shot, dynamically tilting elements for Digital Art, or efficiently batch-processing images for a Thematic Collection, the ability to control orientation empowers you to refine your vision. The techniques discussed, from distinguishing between canvas and layer rotations to leveraging pivot points and batch processing, not only streamline your workflow but also unlock vast creative possibilities.
At Tophinhanhdep.com, we understand the importance of precise and creative image control. By integrating these rotation techniques into your editing repertoire, you can elevate your Images, perfect your Photography, and enhance your Visual Designs, ensuring your creative output is always impactful and professional. Dive in, experiment, and let your creativity take new angles!