Mastering the Art: How to Turn Any Image into a Coloring Page in Canva

In an increasingly digital world, the timeless joy of coloring has experienced a remarkable resurgence. No longer confined to the realm of childhood, coloring books have become a popular tool for adults seeking stress relief, mindfulness, and a creative outlet. But what if you could transcend the pre-designed pages and create a truly personal coloring experience? Imagine turning your cherished photographs, intricate digital art, or even inspiring aesthetic images from your collections on Tophinhanhdep.com into unique, colorable masterpieces.
This article, presented by Tophinhanhdep.com, your ultimate resource for stunning visuals and powerful image tools, will guide you through the process of transforming any image into a custom coloring page using Canva. Whether you’re a seasoned graphic designer or a complete beginner, Canva’s intuitive interface, combined with its powerful editing features and AI capabilities, makes this creative endeavor accessible and incredibly rewarding. We’ll delve into two primary methods – crafting a page from scratch using Canva’s extensive library or your uploaded images, and leveraging its intelligent AI tools for a swift transformation.
Throughout this guide, we’ll connect these steps to Tophinhanhdep.com’s core interests: from exploring diverse Images (Wallpapers, Backgrounds, Aesthetic, Nature, Abstract, Beautiful Photography) as source material, to understanding the nuances of Photography (High Resolution, Digital Photography, Editing Styles), utilizing Image Tools (Converters, AI Upscalers), mastering Visual Design (Graphic Design, Digital Art, Photo Manipulation, Creative Ideas), and drawing Image Inspiration & Collections (Photo Ideas, Mood Boards, Thematic Collections, Trending Styles) for your designs. Get ready to unleash your inner artist and create custom coloring pages that truly resonate with your vision.
Why Create Custom Coloring Pages? The Power of Personalization and Therapeutic Art
The appeal of coloring pages extends far beyond simple entertainment. For many, they represent a calming escape, a way to focus the mind, and a tangible expression of creativity. When you step into the world of custom coloring page creation, these benefits are amplified, offering a deeply personal and uniquely satisfying experience.

The Joy of Personalization: Making Art Truly Yours
The primary allure of creating your own coloring pages lies in the boundless opportunities for personalization. Instead of generic designs, you can infuse your pages with meaning, memories, and personal passions. Imagine:
- Transforming Personal Photography: Convert a beautiful high-resolution photograph of a family pet, a memorable landscape from a vacation, or a cherished portrait into an outline. These pages become nostalgic keepsakes, offering a fresh way to engage with your digital photography.
- Reflecting Personal Interests: If you’re passionate about specific themes, characters, or aesthetic styles, you’re no longer limited by what’s available in stores. From abstract patterns to detailed nature scenes, you can source or create graphics that perfectly align with your mood boards or thematic collections. Tophinhanhdep.com’s vast selection of Images like Nature, Abstract, or Aesthetic backgrounds can serve as excellent starting points for inspiration or direct conversion.
- Crafting Thoughtful Gifts: A custom coloring page or book makes an incredibly unique and heartfelt gift. Whether it’s for a child’s birthday featuring their favorite animal, or a stress-relief gift for an adult friend filled with calming mandalas, the effort and personalization shine through.
This creative control directly feeds into the principles of Visual Design, allowing you to be the Graphic Design architect of your own coloring world. You’re not just coloring; you’re curating an experience.
Therapeutic and Educational Benefits: More Than Just Fun
Beyond personalization, coloring offers significant therapeutic and educational advantages:
- Stress Relief and Mindfulness: Engaging with intricate patterns and choosing colors can shift focus away from stressors, promoting relaxation and a meditative state. It’s a simple yet effective form of digital art therapy.
- Boosting Creativity and Fine Motor Skills: For children, coloring enhances hand-eye coordination and color recognition. For adults, it encourages experimentation with color palettes and artistic expression, fostering Creative Ideas.
- Accessible Creativity: You don’t need to be a skilled artist to enjoy coloring or even to create the pages. Canva simplifies the Digital Art process, making it accessible to everyone, and Tophinhanhdep.com provides the visual resources to kickstart your imagination.
By understanding these benefits, the motivation to turn your favorite images into coloring pages becomes even stronger. It’s an act of self-care, a personal expression, and a delightful way to engage with the visual world around you.
Crafting Your Coloring Page in Canva: A Step-by-Step Guide
Canva makes the process of turning an image into a coloring page surprisingly straightforward, catering to both those who prefer a hands-on approach and those who appreciate AI-powered shortcuts. Let’s break down the journey, integrating concepts from Visual Design, Photography, and Image Tools.
Setting Up Your Canvas: The Foundation of Your Design
Before you dive into transforming images, you need the right workspace.
- Access Canva: Begin by logging into your Canva account. If you don’t have one, you can sign up for free. While a Pro account offers more features (like one-click background removal for photos, which we’ll discuss), the free version is still incredibly powerful for this task.
- Choose Your Template Size: For a standard printable coloring page, a common size is a US Letter Document (8.5" x 11"). In Canva, search for “US Letter Document” or “Letter” and select a blank template. Alternatively, you can choose “Create a Design” and then “Custom Size” to input your desired dimensions, whether for a small bookmark or a large poster. This decision is part of your initial Graphic Design planning.
Sourcing Your Visuals: Finding the Perfect Image
The heart of your coloring page is the image itself. Canva offers several ways to bring your chosen visual onto the canvas.
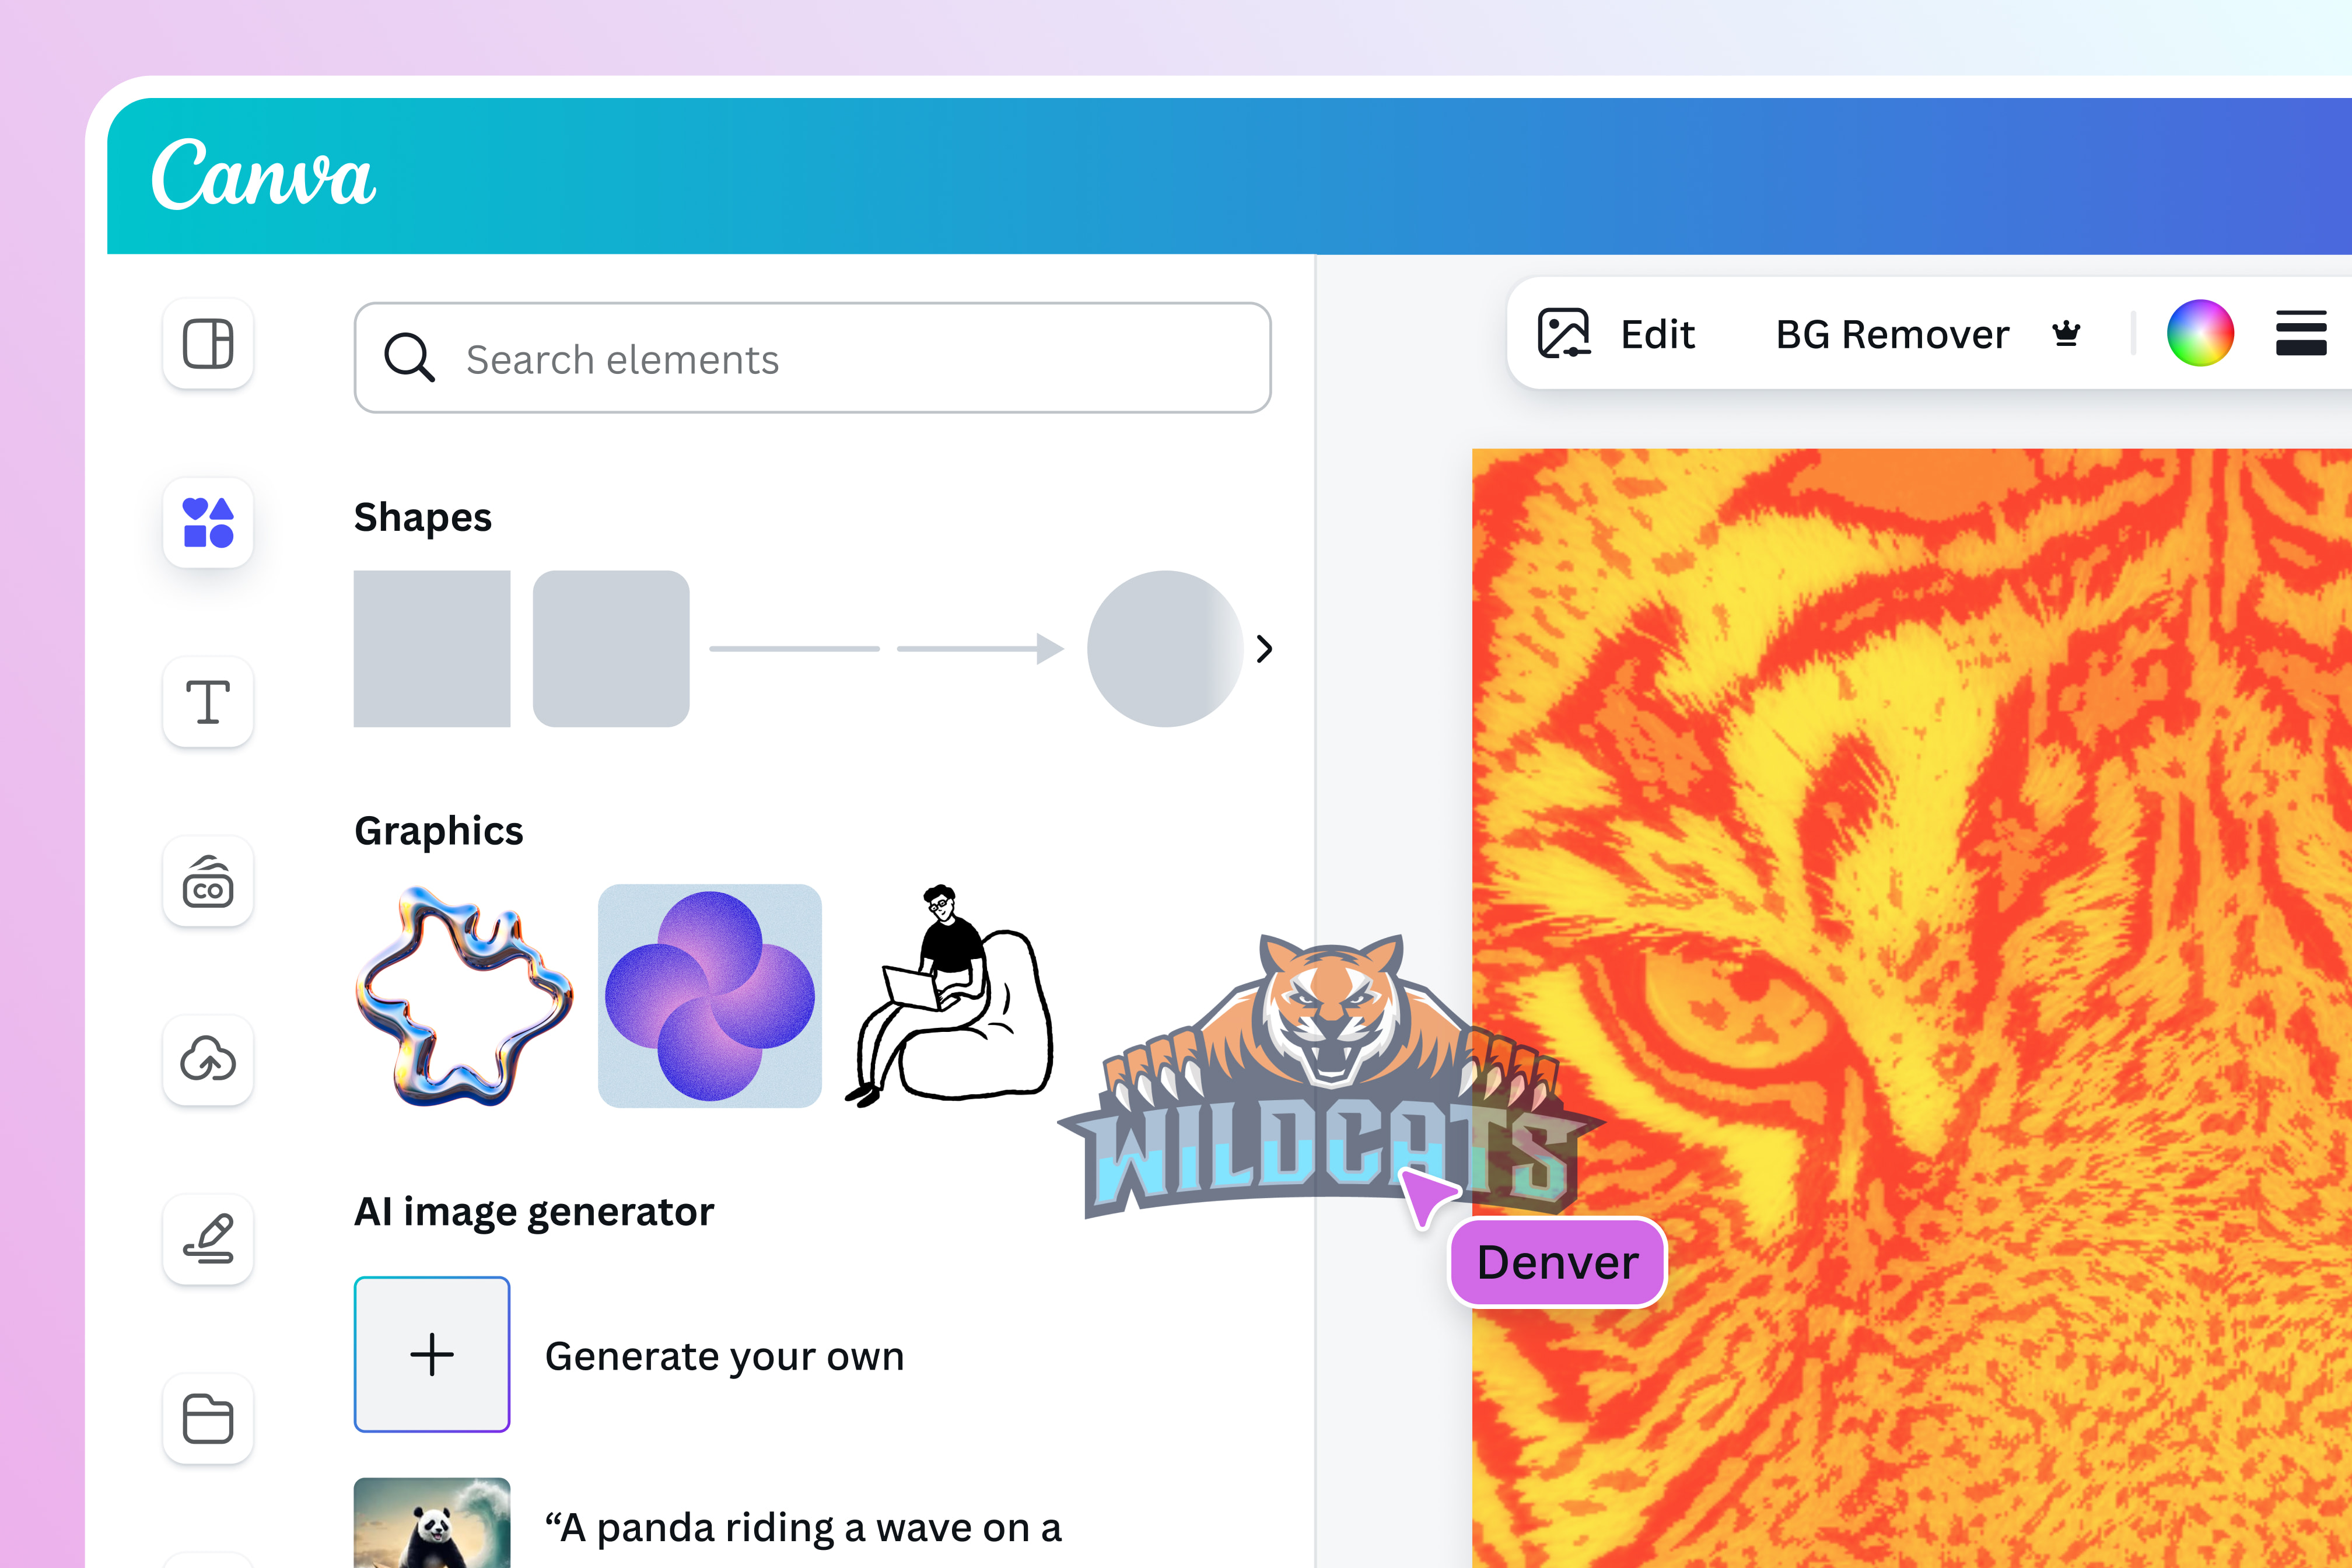
- Canva’s Elements Library:
- Navigate to the “Elements” tab on the left sidebar.
- In the search bar, type keywords related to your desired image, such as “unicorn outline,” “flower doodle,” “animal sketch,” or “abstract line art.” Adding terms like “outline,” “doodle,” “sketch,” or “coloring” will help narrow down results to graphics already suitable for coloring.
- Canva’s “Magic Recommendations” will often suggest similar graphics once you select an element, aiding your Image Inspiration & Collections.
- Look for graphics without a crown icon if you’re using the free version, or embrace the Pro options for a wider selection.
- Uploading Your Own Images: This is where Photography and personalized Images truly come into play.
- Click on the “Uploads” tab in the left sidebar.
- Select “Upload Files” and choose a high-resolution image from your computer. This could be a personal photo, a unique digital art piece you created, or a stunning background image you downloaded from Tophinhanhdep.com.
- Pro Tip from Tophinhanhdep.com: For the best results, start with High Resolution images. If your photo is low-res, consider using an AI Upscaler tool on Tophinhanhdep.com before uploading it to Canva to ensure crisp lines in your final coloring page. Images with clear subjects and distinct boundaries will convert best. Once uploaded, simply click on the image to add it to your canvas.
- Creative Fabrica and Other Stock Photo Resources: If you’re looking for unique graphics or specialized fonts beyond Canva’s free offerings, platforms like Creative Fabrica (as mentioned in the source content) provide an extensive library. Once downloaded, you can easily upload these Stock Photos or graphics to Canva using the “Uploads” feature.
Transforming Images into Outlines: The Core of the Coloring Page
This is the most crucial step, turning a vibrant image into a black-and-white outline. There are two main approaches in Canva, touching on Editing Styles and Photo Manipulation.
Manual Adjustment with Filters and Effects
This method gives you granular control over the look of your coloring page.
- Select Your Image: Click on the image you’ve added to your canvas.
- Access “Edit Photo” and Filters: In the top toolbar, click “Edit Photo.” In the left sidebar that appears, scroll down to “Filters.”
- Apply a Monochrome Filter: Under “Filters,” click “See All” and select a “Mono” filter. Filters like “Grayscale,” “Mono,” or “Street” are good starting points, as they instantly convert your image to black and white. Experiment with different mono filters to see which one best preserves the outlines you want.
- Refine with “Adjust”: After applying a filter, go back to the “Adjust” section (still within “Edit Photo”). This is where you fine-tune the lines:
- Increase Contrast: Boost the contrast significantly to sharpen the edges and make lines more pronounced.
- Decrease Brightness: Lowering the brightness can help darken the outlines.
- Reduce Saturation: Ensure saturation is at 0 to remove any lingering color.
- Increase Clarity/Sharpen: If available, these options can further define lines.
- Play with “Blacks” and “Whites”: In the “Adjust” panel, specifically modify the “Blacks” to make your outlines bolder and “Whites” to brighten the areas that will be colored in.
- Remove Background (Pro Feature): If your image has a busy background you want to eliminate, Canva Pro users can use the “BG Remover” tool under “Edit Photo.” For free users or more advanced removal, Image Tools on Tophinhanhdep.com might offer alternatives for background removal before uploading to Canva.
- Look for Outline-Specific Filters: Some Canva effects, like “Sketch” or “Splice” (found under “Effects” or “Apps” if available), can directly convert photos into line art. These are powerful Converters that automate much of the manual work.
Leveraging Canva’s Magic Edit Tool (AI-Powered)
For a quicker, AI-driven transformation, Canva’s Magic Edit (a feature that uses AI Upscalers and other AI capabilities) is a game-changer for Digital Photography and Photo Manipulation.
- Upload Your Image: Start by uploading the image you wish to convert.
- Open Magic Edit: Click on your image, then select “Magic Edit” from the toolbar.
- Enter a Prompt: In the prompt box, describe what you want Canva to do. Examples include: “turn into a sketch,” “convert to line art,” “make it a coloring page,” or “outline drawing.” This leverages Image-to-Text principles for image generation.
- Pick a Version: Canva’s AI will generate several variations. Choose the one that best suits your needs. You can then further refine it using the manual “Adjust” tools mentioned above.
Refining Your Design: Adding Text and Perfecting Layout
Once your image is a crisp outline, you can enhance your coloring page with additional elements. This is where Visual Design and Creative Ideas come to the forefront.
- Resizing and Positioning Graphics:
- Click on any graphic to select it. Drag the corner handles to resize proportionately.
- To move multiple elements simultaneously, click on one, then hold the Shift key while clicking on others. Release Shift and drag to reposition all selected elements.
- Duplicate graphics by clicking the duplicate icon (two rectangles) in the toolbar or using copy-paste. This is great for creating repeating patterns or a collage effect.
- Adding Text: A title, an inspirational quote, or a personalized message can elevate your coloring page.
- Click the “Text” icon on the left sidebar, then “Add a Heading” (or subheading/body text).
- Type your desired text.
- Select the text box and use the toolbar at the top to change the font, size, color, and alignment. For coloring pages, bold, block fonts are often preferred as they can also be colored in. Remember, crown icons indicate Pro fonts.
- Hint: Search for “outline fonts” or “coloring fonts” within Canva’s font selector for styles that are naturally open for coloring.
Downloading and Printing Your Masterpiece
The final step is to prepare your custom coloring page for use.
- Download Your Design:
- Click the “Share” button in the top right corner.
- Select “Download.”
- For the best printing quality, choose “PDF Print” as the file type. This will ensure your lines are crisp and clear. If you have multiple pages, you can select which ones to download.
- Click “Download.” The file will save to your computer’s downloads folder.
- Printing Options:
- At-Home Printing: Print your PDF on your home printer. Consider using slightly thicker paper or cardstock to prevent colors from bleeding through, especially if using markers.
- Professional Printing: For a higher-quality finish or to create a full coloring book, send your PDF file to a local print shop. They can handle binding and professional-grade paper, making your Digital Art project look truly polished.
- Sharing Digitally: You can also share your coloring page digitally as a PNG or JPG image for others to color on tablets or computers. Tophinhanhdep.com offers Image Tools like compressors and optimizers if you need to reduce the file size for easy sharing without significant loss of quality.
Pro Tips and Common Pitfalls for Perfect Coloring Pages
Turning an image into a coloring page isn’t just about applying a filter; it’s an art that combines technical steps with a keen eye for Visual Design. Here are some expert strategies and common mistakes to avoid, ensuring your coloring pages are always a delight.
Expert Strategies for Optimal Results
Leveraging these tips can significantly enhance the quality and appeal of your custom coloring pages, drawing from best practices in Photography and Graphic Design.
- Start with the Right Image Source:
- Simplicity is Key: Complex images with a multitude of fine details, especially those from Beautiful Photography with varying light and shadow, can become cluttered and indistinct when converted to outlines. Opt for images with bold, clear outlines and simpler compositions.
- High Contrast: Original photos with good contrast between the subject and background will convert more cleanly. This reduces the need for extensive Photo Manipulation.
- Vector Graphics: Whenever possible, use vector-based graphics from Canva’s elements or external sources. Vectors scale without losing quality, providing crisp lines regardless of size.
- Tophinhanhdep.com’s Collections: Explore Tophinhanhdep.com’s Image Inspiration & Collections for Thematic Collections or Trending Styles that naturally lend themselves to outline art, such as illustrations, minimalist designs, or even stylized Nature images.
- Smart Keyword Searching in Canva:
- When searching Canva’s “Elements,” add keywords like “outline,” “doodle,” “sketch,” “line art,” or “coloring” to your search term (e.g., “cat outline,” “flower doodle”). This dramatically improves the chances of finding pre-made graphics that require minimal Editing Styles to become a coloring page.
- Mastering the “Duotone” Filter:
- Beyond the “Mono” filter, Canva’s “Duotone” effect (found under “Effects”) can be particularly effective. Apply it, then set both of the duotone colors to black and white. This often creates a striking and clean outline effect, simplifying the image while preserving essential details, a form of artistic Photo Manipulation.
- Emphasize Lines with “Adjust” and Overlay Elements:
- After applying filters, always revisit the “Adjust” panel to fine-tune brightness, contrast, and clarity. Making your lines prominent is critical for a good coloring page.
- Search for generic “line art” or “outlines” in the “Elements” tab. Sometimes, overlaying a simple black border or abstract lines can enhance the definition of your main image, especially if the original conversion was a bit faint. This adds a layer of Digital Art to your page.
- A Clean White Background:
- Always place your converted image on a plain white background. This makes the lines stand out clearly and provides a crisp canvas for coloring. If your image had a background that couldn’t be removed, consider adding a large white shape over it and setting the converted image to “Bring to Front.”
Troubleshooting Common Challenges (Common Pitfalls and How to Avoid Them)
Even with the best tools, you might encounter issues. Here’s how to anticipate and solve common problems, drawing on your knowledge of Image Tools and Visual Design.
- Image Details Are Too Complex:
- Problem: The converted coloring page looks busy, muddled, or has too many tiny, indistinguishable lines.
- Fix: Choose simpler images. Alternatively, if you must use a complex image, consider simplifying it in an external Image Editor (like those found on Tophinhanhdep.com for basic edits) before uploading to Canva. Focus on extracting the primary subject.
- Faint Lines After Applying Filters:
- Problem: The outlines are too light, making it difficult to color within the lines.
- Fix: Increase the contrast and brightness significantly under the “Adjust” tool. Experiment with the “Blacks” and “Whites” sliders to deepen the blacks and brighten the whites. If needed, overlay generic “line art” elements from Canva’s library to strengthen key boundaries.
- Using Colored Images Instead of Black and White:
- Problem: Some areas retain a subtle hint of color, or the overall conversion isn’t truly monochrome.
- Fix: Always ensure your image is fully converted to black and white using filters like “Mono” or “Duotone” with black and white settings. Double-check the saturation level in the “Adjust” panel to ensure it’s at zero. This is a critical step in Photo Manipulation.
- Not Adjusting the Image Size Properly:
- Problem: Lines appear stretched, blurry, or distorted.
- Fix: Always resize images proportionally by dragging the corner handles while holding down the Shift key. This maintains the aspect ratio and prevents distortion, crucial for maintaining High Resolution quality. For uploaded images, start with a high-resolution file to begin with, as scaling up low-res images will always result in pixelation. If you have a low-res image, use an AI Upscaler on Tophinhanhdep.com first.
- Cluttered Image with Too Many Elements:
- Problem: The page looks overwhelming, with too many disparate elements fighting for attention.
- Fix: Stick to a clear focal point and theme. If your initial image or collection of graphics is too busy, use Canva’s cropping tool or remove excess elements to simplify the composition. A clean layout is paramount for a relaxing coloring experience, reflecting good Graphic Design principles.
By keeping these pro tips in mind and knowing how to navigate common issues, you’ll be well-equipped to create visually appealing and engaging coloring pages consistently.
Beyond the Page: Creative Applications and Sharing Your Work
Once you’ve mastered the art of transforming images into coloring pages, the possibilities extend far beyond a single printout. Your newly acquired skills in Visual Design and Digital Art open doors to broader creative projects and opportunities for sharing your unique vision.
Expanding Your Creative Horizons: More Than Just Single Pages
Think of your custom coloring pages as building blocks for larger, more ambitious projects.
- Crafting Full Coloring Books: The techniques you’ve learned for single pages can be scaled up to create entire coloring books. You can design various pages with different themes (e.g., a Nature collection, Abstract patterns, or Aesthetic landscapes) and compile them into a cohesive digital or physical book. This involves careful planning around Thematic Collections and building a consistent visual style, much like compiling Image Inspiration & Collections.
- Themed Collections for Events: Create custom coloring pages for birthdays, holidays, or special events. A wedding coloring book for kids, a holiday-themed activity, or even personalized party favors can add a unique touch, drawing from specific Photo Ideas or event photography.
- Educational Materials: Teachers and parents can create custom worksheets or learning aids by turning images related to specific subjects into coloring activities, enhancing engagement for children.
- Digital Coloring: Your downloaded coloring pages aren’t just for printing. They can be imported into digital art applications for a paperless coloring experience, allowing for endless experimentation with digital brushes and colors.
- Unique Wall Art or Greeting Cards: Even if not colored in, a beautifully designed outline can stand alone as minimalist Digital Art. Use your creations as unique Wallpapers or elements for custom greeting cards.
Sharing Your Masterpiece: Inspiring Others with Your Visual Design
Your creative efforts deserve to be seen and shared!
- Social Media: Share your completed coloring pages (both uncolored and colored versions!) on social media platforms. Use relevant hashtags to connect with other coloring enthusiasts and artists. This is a great way to showcase your Creative Ideas and inspire others.
- Personal Gifts: As mentioned, custom coloring pages make incredibly thoughtful and personal gifts. Print them on high-quality paper and bind them simply with a ribbon or staples for a handmade touch.
- Online Communities: Join online communities or forums dedicated to adult coloring or digital art to share your work, get feedback, and find new Image Inspiration & Collections.
- Passive Income (with proper licensing): If you’re using your own Digital Photography or graphics with commercial licenses, you could even consider selling your custom coloring pages or books on platforms like Etsy or your own website. Always ensure you have the appropriate rights for any images or elements you use, a key aspect of responsible Graphic Design.
Remember, Tophinhanhdep.com is also a platform for discovering and sharing visual content. Perhaps your unique coloring page designs could one day inspire others browsing for Photo Ideas or Aesthetic Backgrounds.
Conclusion
The journey of transforming an ordinary image into a captivating coloring page using Canva is a testament to the power of modern Image Tools and intuitive Visual Design platforms. What was once a complex process requiring specialized software has been democratized, allowing anyone to tap into their creativity and produce truly personalized art.
From selecting your initial Photography – whether a cherished personal photo or an inspiring image from Tophinhanhdep.com’s diverse Images collection – to leveraging Canva’s filters, manual adjustments, or groundbreaking AI Upscalers and Magic Edit feature, each step is an opportunity for Photo Manipulation and artistic expression. We’ve explored how to refine your designs with additional graphics and text, ensuring your pages are not just outlines but engaging pieces of Digital Art.
Beyond the technical steps, we’ve highlighted the profound benefits of this creative endeavor: the joy of personalizing every line, the therapeutic calm it brings, and the endless possibilities for unique gifts or even educational tools. By following the comprehensive guide and applying the pro tips from Tophinhanhdep.com, you are now equipped to navigate Canva with confidence, avoiding common pitfalls and maximizing your creative output.
So, why wait? Open Canva, browse Tophinhanhdep.com for your next visual inspiration, and start turning your chosen Images into coloring pages today. Unleash your imagination, explore new Editing Styles, and immerse yourself in the delightful world of custom coloring. The canvas is blank, the colors await, and your masterpiece is just a few clicks away.