Mastering Offset Lines and Welding in Silhouette Studio: A Guide for Visual Creators on Tophinhanhdep.com

In the dynamic world of digital design and crafting, tools like Silhouette Studio stand out as essential platforms for transforming creative ideas into tangible realities. Whether you’re a seasoned graphic designer, a hobbyist creating personalized gifts, or an artist delving into digital art and photo manipulation, understanding the intricacies of your software is paramount. On Tophinhanhdep.com, where we celebrate the vast spectrum of visual design, from high-resolution photography to inspiring aesthetic collections, we recognize the continuous need for comprehensive guides that empower our community. This article delves deep into a fundamental yet often misunderstood aspect of Silhouette Studio: the art of welding offset lines to images or text, particularly when working with complex designs that require seamless integration.
The ability to create precise borders, integrate text flawlessly into shapes, and produce continuous cut lines is a game-changer for many projects. While the concepts of “offset,” “welding,” and “compound paths” might initially seem daunting, mastering them unlocks a new realm of creative possibilities, allowing you to craft stunning custom labels, intricate card sentiments, unique vinyl decals, and much more. This guide, brought to you by Tophinhanhdep.com, aims to demystify these powerful features, ensuring your designs are not only aesthetically pleasing but also perfectly functional for cutting and digital display.

The Core Concepts: Offsets, Welding, and Compound Paths
Before we dive into the practical application, it’s crucial to establish a solid understanding of the three foundational concepts that underpin this technique: offsets, welding, and compound paths. These elements, when used in conjunction, allow for advanced manipulation of shapes and text within Silhouette Studio, enabling designers to achieve professional-grade results. Tophinhanhdep.com emphasizes that proficiency in these areas is key to elevating your visual design projects from good to extraordinary.
Understanding Offsets: Creating Borders and Depth
An offset in Silhouette Studio is essentially a duplicate line or shape that is created at a specified distance from an original object. Think of it as generating a perfect border or outline around your chosen text or design. This feature is incredibly versatile and can be used for a multitude of purposes, from adding visual weight and dimension to a design to preparing layered cuts with different materials.
There are two primary types of offsets:
- External Offset: This creates a line outside the original shape, making it larger. It’s perfect for creating a bold outline or a layered background for your design.
- Internal Offset: This creates a line inside the original shape, making it smaller. This is particularly useful for creating frames or intricate cut-outs.

One of the key distinctions of an offset, compared to simply duplicating and scaling a shape, is that an offset maintains a uniform distance from all points of the original object’s edge. When you scale a shape, especially an irregular one or text, the distances around its perimeter may not remain perfectly consistent. An offset guarantees that precise, even border, which is vital for professional-looking results. Additionally, Silhouette Studio’s offset function automatically welds any overlapping lines that occur within the newly created offset, ensuring a single, continuous shape, which is a significant advantage.
To create a basic offset:
- Select Your Design: Choose the text or shape you wish to offset.
- Open the Offset Panel: This panel is typically located on the right sidebar of Silhouette Studio, often represented by a target-like icon.
- Choose Offset Type: Click “Offset” for an external offset or “Internal Offset” for an internal one.
- Adjust Distance: The software will apply a default distance (e.g., 0.125 inches). You can adjust this by manually typing a new value or using the up and down arrows.
- Apply: Once satisfied, click “Apply.”
Visualizing your offset with different fill colors can dramatically help in understanding its final appearance, especially when planning layered projects. Remember, an offset, once applied, is treated as a new shape, not as editable text, even if derived from text. This makes it a powerful component for further manipulation and design integration.
The Power of Welding: Unifying Elements for Seamless Cuts
Welding is another indispensable tool within Silhouette Studio, allowing you to combine two or more overlapping shapes or text elements into a single, continuous object. The primary function of welding is to eliminate any overlapping cut lines, effectively merging the selected elements into one unified design that will cut as a single piece.
This function is particularly crucial when working with script fonts or any text where letters naturally overlap. Without welding, your cutting machine would attempt to cut each individual letter’s overlapping segments, resulting in a fragmented and undesirable outcome. Welding ensures that these overlapping parts become a singular, smooth contour, preserving the elegant flow of connected lettering.
Beyond script fonts, welding is fundamental for:
- Merging shapes: Creating new, complex shapes from simpler ones.
- Integrating elements into frames: This is the core focus of our article, where text or designs are seamlessly joined with a border.
- Creating continuous paths: Ensuring that any composite design cuts as one cohesive unit.
To perform a basic weld:
- Arrange Overlapping Elements: Position your text or shapes so they overlap in the desired manner.
- Select All Elements: Highlight all the objects you wish to weld together.
- Weld: Right-click and choose “Weld,” or find the weld icon in the Quick Access Toolbar or modify panel.
A crucial tip from Tophinhanhdep.com: Always make a copy of your design before welding. Once a weld is performed and the file is saved and closed, it cannot be undone. Having an original copy allows for revisions and avoids starting from scratch if adjustments are needed.
Demystifying Compound Paths: Creating Negative Space for Design Integration
Perhaps the most conceptually challenging, yet equally powerful, feature for many Silhouette Studio users is the “Compound Path.” Once grasped, however, it becomes an intuitive tool for creating complex designs, especially when it comes to integrating elements seamlessly, as we aim to do with our welded text-to-frame project.
A compound path creates a “hole” or negative space within a larger shape by “subtracting” one shape from another. Unlike grouping, which simply bundles objects together to move them as a unit, a compound path fundamentally alters the structure of the shapes, defining what areas should be cut and what should be left as empty space.
Consider the analogy of a picture frame:
- If you simply place a smaller rectangle inside a larger rectangle and group them, you have two solid rectangles. The inner one acts as a “backing.” If you try to weld text to this, the text would disappear, becoming “welded” to the solid backing of the inner rectangle.
- However, if you select both rectangles and “Make Compound Path,” the inner rectangle essentially punches a hole through the larger one. The middle area becomes transparent, allowing you to see through it. This creates a true “frame” with negative space.
It is this negative space that is absolutely critical when you want to weld text into a frame. The text needs to connect to the “frame” itself, not just disappear behind a solid inner shape. By creating a compound path, you provide the necessary transparent area for your text to interact with the frame’s edges, allowing for a successful, continuous weld.
To make a compound path:
- Arrange Shapes: Place the shape you want to “cut out” (e.g., a smaller rectangle) on top of the shape you want to cut from (e.g., a larger rectangle).
- Select Both: Highlight both shapes.
- Make Compound Path: Right-click and select “Make Compound Path.”
Once you’ve created a compound path, filling it with color can visually confirm that the inner space is indeed transparent, signifying successful negative space creation. Understanding this concept is the lynchpin to flawlessly welding text or designs into frames, a technique Tophinhanhdep.com encourages all visual creators to master for their projects.
Step-by-Step Tutorial: Welding Text to a Shaped Frame
Now that we’ve covered the fundamental concepts, let’s walk through the practical application of welding text into a shaped frame. This detailed guide, optimized for clarity and ease of understanding, will empower you to create elegant, custom designs suitable for a wide array of visual design projects found on Tophinhanhdep.com.
Phase 1: Constructing Your Frame with Precision
The first step in our design journey is to build the foundational frame that our text will eventually integrate with. Precision here is key to a professional outcome.
- Draw Your Base Shape: Begin by selecting a drawing tool from the left-hand toolbar in Silhouette Studio. For this example, let’s use the Oval tool. Click and drag on your design mat to create an oval. The exact size is not critical at this stage, as we can adjust it precisely later.
- Adjust Dimensions for Accuracy: Open the Transform Panel (typically on the right sidebar) and navigate to the Scale Tab. Alternatively, use the Scale tools available in the Quick Access Toolbar (QAT). Here, you can input exact dimensions for your oval. For instance, if you’re creating a decal for a specific space, measure that space with a ruler and input those measurements. This ensures your frame is perfectly sized from the outset.
- Create the Internal Offset: With your oval selected, open the Offset Panel (the target icon on the right sidebar). Choose “Internal Offset.” This will create a smaller oval inside your original. Adjust the “Distance” to control the thickness of your frame. A distance of 0.400" is a good starting point, but you can customize this to your preference. This internal offset will define the inner edge of your frame.
- Center and Combine Shapes: Select both the original (outer) oval and the newly created internal (inner) oval. It’s crucial that these two shapes are perfectly centered relative to each other. Use the Align Tab within the Transform Panel or the relevant icon in the QAT to “Center” them.
- The Critical Step: Make Compound Path: With both centered ovals still selected, right-click and choose “Make Compound Path.” This is where the magic happens! As discussed earlier, this action transforms the solid inner oval into a transparent “hole,” effectively creating a true frame. Without this step, your text would simply disappear when welded, as it would be welding to a solid background, not the frame’s edges.
- Visualize with Color: To confirm your compound path was created correctly, select the frame and use the Fill Color panel in the QAT to apply a color. You should now see the inner part of your oval frame appear transparent, allowing the background of your design mat to show through. This visual cue is vital for understanding that you have successfully created the necessary negative space.
Phase 2: Preparing Your Text for Integration
With your frame ready, the next step involves creating and preparing the text you wish to weld into it. Careful preparation here ensures smooth, professional results.
- Create Your Text: Click on the Text Tool on the left sidebar. Then click on your design mat and start typing your desired word or phrase.
- Select Your Font Style: After typing, click off the text to deselect it, then click on it once to select it again. Open the Text Style Panel on the right side and choose a font. For script fonts, choose one where letters naturally connect. Tophinhanhdep.com recommends exploring a variety of fonts to find one that best complements your visual design aesthetic.
- Adjust Text Properties: Each font will behave differently. You may need to adjust the character spacing (kerning) to ensure letters overlap sufficiently for welding or to improve readability.
- Crucial Tip: Make a Copy of Original Text: Before proceeding with any modifications like ungrouping or welding, right-click on your text and choose “Duplicate” or simply copy and paste it. Move this original copy off to the side of your mat. Why? Because once text is welded, ungrouped, or converted to a path, it is no longer editable text. Having an original copy ensures you can always go back and make changes if needed without starting over.
- Ungroup and Refine Script Letters (If Applicable): If using a script font, you’ll want to ensure smooth transitions between letters. Right-click on your selected text (the one on the mat, not your copy) and choose “Ungroup.” Now, you can individually move letters slightly using your keyboard arrow keys (with “Snap to Grid” turned off for fine adjustments) to achieve perfect overlaps and a seamless flow.
- Weld Your Text Together: Once the individual letters are positioned to your liking (ensuring all overlapping parts are ready to merge), select all the ungrouped letters, right-click, and choose “Weld.” This will combine all the overlapping parts into one continuous shape, ready for a clean cut. Again, fill with color to visualize the single, unified text shape.
Phase 3: Merging Text and Frame with Welding
This is the final stage where your carefully prepared text meets your precision-crafted frame, culminating in a single, cohesive design.
- Position Text within the Frame: Move your welded text design into the compound path frame you created earlier.
- Scale and Align: Use the corner bounding boxes to scale the text to a size that fits aesthetically within the frame. Ensure that portions of the text slightly overlap the inner edges of the frame. Use the “Center” alignment tool in the QAT as a starting point, but don’t be afraid to adjust manually with arrow keys for optimal visual balance. Some designs, especially with letters like ‘y’ or ‘g’ that have descenders, might appear off-center if relying solely on the software’s automatic centering. Trust your eye for the best aesthetic placement.
- Crucial Tip: Make a Copy of the Combined Design: Before the final weld, select both the frame and the text. Duplicate this entire assembly and move the copy off to the side. This serves as your final safeguard. As previously mentioned, a weld cannot be undone once the file is saved and closed. This copy provides an “undo” point for the entire design.
- Perform the Final Weld: With both the frame and the text on your design mat selected (the ones you intend to use, not the copy), right-click and choose “Weld.” Any parts of the text that overlap the frame will now merge, creating a single, continuous cut line that integrates the text directly into the frame.
- Verify Cut Lines: Click on the “Send” tab in Silhouette Studio. This view displays the actual cut lines your machine will follow. Carefully inspect the design to ensure all lines are continuous and that the text is seamlessly integrated into the frame without any unwanted cuts or missing segments.
And there you have it! You’ve successfully welded offset lines to text within a shape in Silhouette Studio, creating a custom, continuous design. This technique can be applied to create personalized labels, intricate card sentiments, unique digital art elements, and more, significantly enhancing your visual design capabilities on Tophinhanhdep.com.
Advanced Applications and Creative Possibilities
The mastery of offsets, welding, and compound paths extends far beyond simple text-to-frame designs, opening up a universe of advanced applications for visual creators. On Tophinhanhdep.com, we encourage experimentation and pushing the boundaries of what’s possible with these powerful image tools.
Consider these advanced applications:
- Intricate Layered Designs: Utilize multiple offsets with varying distances to create multi-layered, dimensional designs from a single image or text. Each offset can be cut from a different material (e.g., cardstock, vinyl, heat transfer material) and layered to add incredible depth and texture. This is perfect for creating complex graphic design elements or even components for digital art collages.
- Custom Monograms and Emblems: Welding can seamlessly integrate multiple initials or decorative elements into a single, cohesive monogram. Combine these with an offset frame made with a compound path, and you have a personalized emblem ready for anything from home decor to brand identity elements.
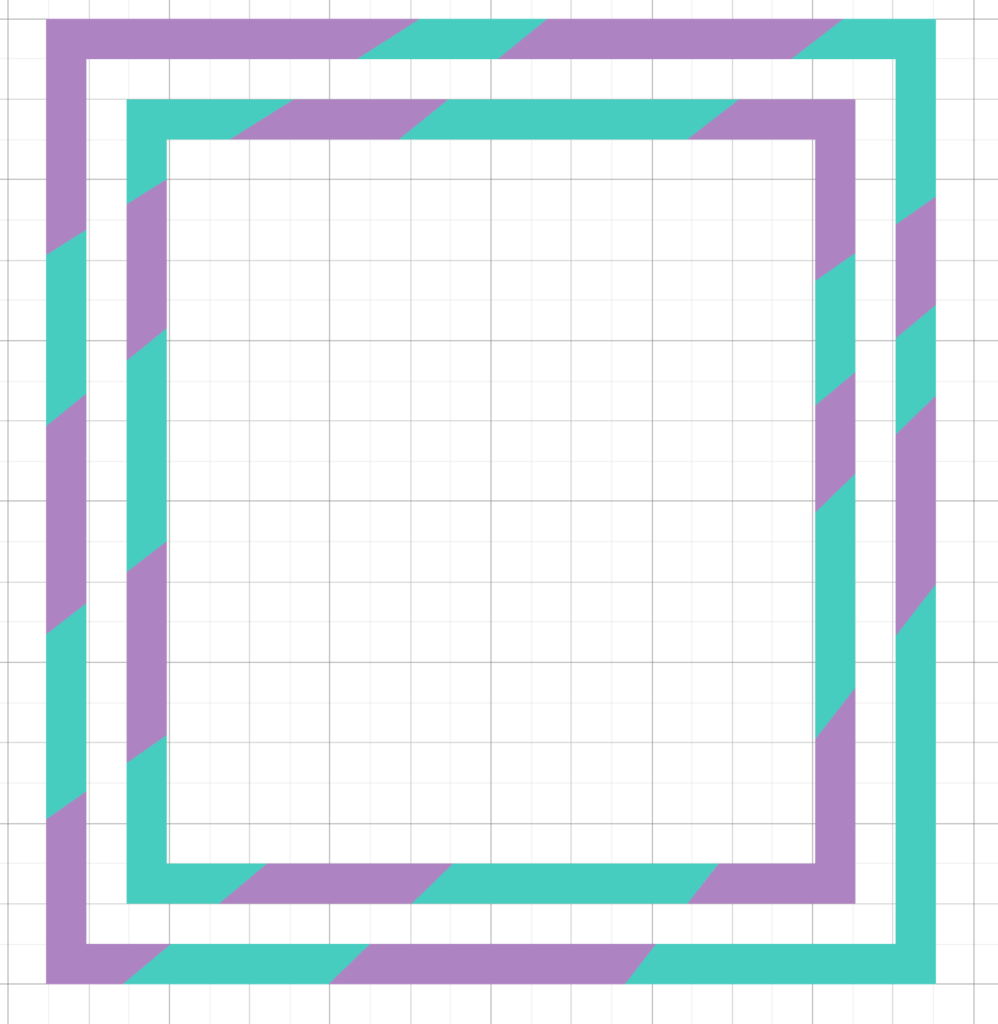
- Colorful Frames and Backgrounds: As explored on Tophinhanhdep.com, offsets can be creatively manipulated with the knife tool to create segmented, colorful frames or backgrounds. By making multiple offsets, releasing their compound paths, and then using the knife tool to slice them into sections, you can fill each segment with different colors, patterns, or even gradients. This technique transforms a simple border into a vibrant, dynamic visual element, ideal for digital scrapbooking, photo manipulation, or unique aesthetic wallpapers.
- Complex Shape Integration: Welding isn’t just for text. You can weld intricate shapes together to form entirely new, bespoke designs. Imagine welding decorative swirls to the edges of a photo frame, or merging abstract geometric patterns to create a unique backdrop for an image. This capability empowers digital artists to create truly original visual assets.
- Preparing for Different Materials: The ability to precisely control offsets and welds is vital when working with diverse materials. A slightly larger offset might be needed for thicker materials like felt, while a precise weld ensures that delicate vinyl cuts cleanly without tearing. This attention to detail contributes to the high resolution and quality of your final products.
These techniques, when combined, elevate your ability to produce high-quality visual designs. Whether you are creating custom graphics for social media, developing unique photography backgrounds, or designing elements for digital art, the precise control offered by Silhouette Studio’s welding and offsetting features allows for unparalleled creative freedom. Tophinhanhdep.com highlights that these skills are foundational for anyone looking to excel in graphic design, digital art, and photo manipulation, enabling you to bring your creative ideas to life with precision and flair.
Conclusion
Mastering the art of welding offset lines to images and text in Silhouette Studio is a transformative skill for any visual creator. By understanding the symbiotic relationship between offsets, welding, and compound paths, you unlock the ability to design with unparalleled precision and creativity. From crafting elegant frames for personalized messages to generating intricate layered graphics, these techniques are fundamental to producing professional-grade results, whether for physical crafts or digital art.
Tophinhanhdep.com is dedicated to providing comprehensive resources that empower our community of artists, designers, and hobbyists. We believe that understanding the nuances of tools like Silhouette Studio is crucial for translating your image inspiration into tangible, high-quality creations. By diligently following the steps outlined in this guide, you can confidently approach complex design challenges, knowing that you have the skills to seamlessly integrate elements and achieve continuous, clean cuts.
We encourage you to experiment with these powerful features. Apply them to your text, shapes, and even pre-designed images to see the endless possibilities. Share your creations in our community groups and inspire others with your innovative use of offsets and welding. Embrace these techniques, and watch as your visual design projects on Tophinhanhdep.com reach new heights of sophistication and artistry. Happy crafting, and happy designing!