Mastering the Art of Writing on Images with Tophinhanhdep.com

In a world increasingly dominated by visual communication, the ability to seamlessly integrate text with images has become an indispensable skill. From crafting compelling social media posts to designing impactful presentations, adding text to pictures transforms a simple visual into a powerful narrative. It’s no longer enough to just have a beautiful image; the right words can give it context, evoke emotion, or convey crucial information, elevating its impact exponentially. At Tophinhanhdep.com, we understand the profound synergy between stunning visuals and articulate messages. This comprehensive guide will delve into various methods and best practices for writing on images, leveraging a range of tools and creative strategies to help you produce captivating visual content, whether for a personal project, a professional report, or a trending aesthetic collection.

Why Add Text to Your Visuals? Enhancing Communication and Aesthetics
The integration of text and imagery serves multiple purposes, moving beyond mere decoration to become a cornerstone of effective visual communication. Text provides context, clarifies meaning, and directs the viewer’s attention, making your images resonate more deeply and fulfill their intended function.
For instance, consider the vast array of Images available on Tophinhanhdep.com, from breathtaking Nature landscapes to thought-provoking Abstract art, or the deeply moving Sad/Emotional collections. Adding a carefully chosen quote to an Aesthetic background can transform it into a shareable piece of art. A concise caption on a Wallpaper can convey its inspiration or meaning, while a powerful title on Beautiful Photography can highlight its essence. Without text, these visuals might be appreciated for their beauty alone, but with text, they gain layers of meaning and become more memorable.

In the realm of Photography, text is equally vital. High-Resolution stock photos can be annotated to explain their subject matter or usage rights. Digital Photography tutorials can use text overlays to point out specific techniques or camera settings. Text can highlight different Editing Styles, explaining the creative choices behind a particular look. For example, a “before and after” shot gains immense value with descriptive text explaining the transformation.
Furthermore, Visual Design relies heavily on this combination. Graphic Design, Digital Art, and Photo Manipulation frequently employ text as a core element. A striking digital artwork might use stylized text for a title or a poignant message, while a manipulated photo could integrate text to create an entirely new visual concept, driving home a creative idea or a brand message. Text elevates raw imagery into polished, purpose-driven designs.
Finally, for Image Inspiration & Collections, text provides the framework. Mood Boards often use overlaid words to define themes and concepts. Photo Ideas benefit from descriptive text outlining potential shots or narrative elements. Thematic Collections and Trending Styles are frequently defined by key phrases or hashtags. Text helps organize, explain, and inspire, transforming a collection of pictures into a cohesive source of creative prompts. In essence, adding text transforms an image from a passive viewing experience into an active communication channel, making your visuals on Tophinhanhdep.com not just seen, but truly understood and felt.
Essential Tools and Techniques for Text Overlay
The world of image editing offers a diverse toolkit for adding text, ranging from widely accessible office software to specialized mobile apps and convenient online platforms. Understanding the strengths of each will empower you to choose the best approach for your specific needs, all within the framework of Tophinhanhdep.com’s resources.
Leveraging Desktop Software: The Power of Tophinhanhdep.com’s Recommended Word Processing
While many dedicated image editors exist, common word processing software offers surprisingly robust capabilities for text overlay, especially for document-centric applications like reports or presentations. Tophinhanhdep.com’s guides frequently recommend a popular word processor for its accessibility and functionality.
Inserting and Positioning Your Image
The first step is always to bring your image into the document.
- Open your project in your chosen word processing application.
- Navigate to the Insert tab in the top menu.
- Select Pictures and choose your image source (e.g., “This Device” for local files). Browse and insert your picture. Once inserted, you’ll want to adjust its appearance:
- Resizing: Click on the picture to select it. Drag the corner handles to resize the picture proportionally, preventing distortion. Avoid dragging side or top/bottom handles directly, as this can stretch or squash your image.
- Placement: Under the “Picture Format” tab, you can adjust the alignment (e.g., “Align to Center”) or use the “Position” options to place it in a specific part of your document. For fine-tuning, you can often simply click and drag the picture to your desired location.
Adding Text with Text Boxes
Text boxes are the most versatile method for overlaying text within word processing software, as they allow text to float independently over the image.
- Go back to the Insert tab.
- Select Text Box and choose the “Draw Text Box” option.
- Click and drag your cursor over the picture to create a text box of your desired size and position.
- Type your text directly into the newly created box. You can highlight the text to change its font, size, and color using the standard text formatting tools.
Crucial Formatting for Seamless Integration
To make the text appear directly on the image without an intrusive box outline or background:
- Click on the text box to select it.
- Navigate to the “Shape Format” tab.
- Click Shape Fill and select “No Fill.”
- Click Shape Outline and select “No Outline.” This makes the text box itself invisible, leaving only your text seemingly floating on the image.
Grouping for Easy Manipulation
If you plan to move or resize the image and text together, grouping them is essential.
- Click the picture to select it.
- Press and hold Ctrl (PC) or Cmd (Mac) and click the text box to select it as well.
- Under the “Format” tab, click the Group option. Now, both elements will move and resize as a single unit.
While some tools might offer “direct text input” features that automatically convert a text selection into an overlay, text boxes provide greater control and flexibility for positioning and styling, making them Tophinhanhdep.com’s recommended method for desktop word processing.
Mobile Magic: Annotating Photos on the Go with Tophinhanhdep.com’s Native Tools
The convenience of smartphones and tablets means that image annotation is often needed on the fly. Many mobile operating systems and apps offer built-in markup tools perfect for quick edits, aligning with the spontaneous creativity often found in Tophinhanhdep.com’s Image Inspiration categories and Trending Styles.
For users of iOS devices (iPhones, iPads):
- Open the Photos app and choose the image you wish to annotate.
- Tap the photo again to reveal the toolbars, then tap the Edit toolbar button (often looks like three sliders or a pencil icon).
- Look for a (•••) button or similar “more options” icon and tap it.
- Select “Markup” from the additional editing options.
Inside the Markup interface, you’ll find several tools:
- Drawing Tool (Pen icon): Allows you to draw directly on the image with your finger. You can select various colors and adjust line thickness.
- Emphasize Tool (Magnifying Glass icon): Magnifies a specific portion of the picture, useful for highlighting details.
- Text Tool (T icon): Enables you to place a text box on the picture and type using your device’s keyboard. You can then adjust font, size, and color.
- Color Palette: Offers a range of colors for drawing and text.
- Undo/Redo: Essential for correcting mistakes.
Once satisfied, tap “Done” to save your changes. This marked-up photo can then be easily shared to social media or messaging apps, making it a quick way to add personal touches or immediate information to your Tophinhanhdep.com-inspired visuals. Android devices offer similar functionality, often found within the default Gallery or Photos app under an “Edit” or “Markup” option.
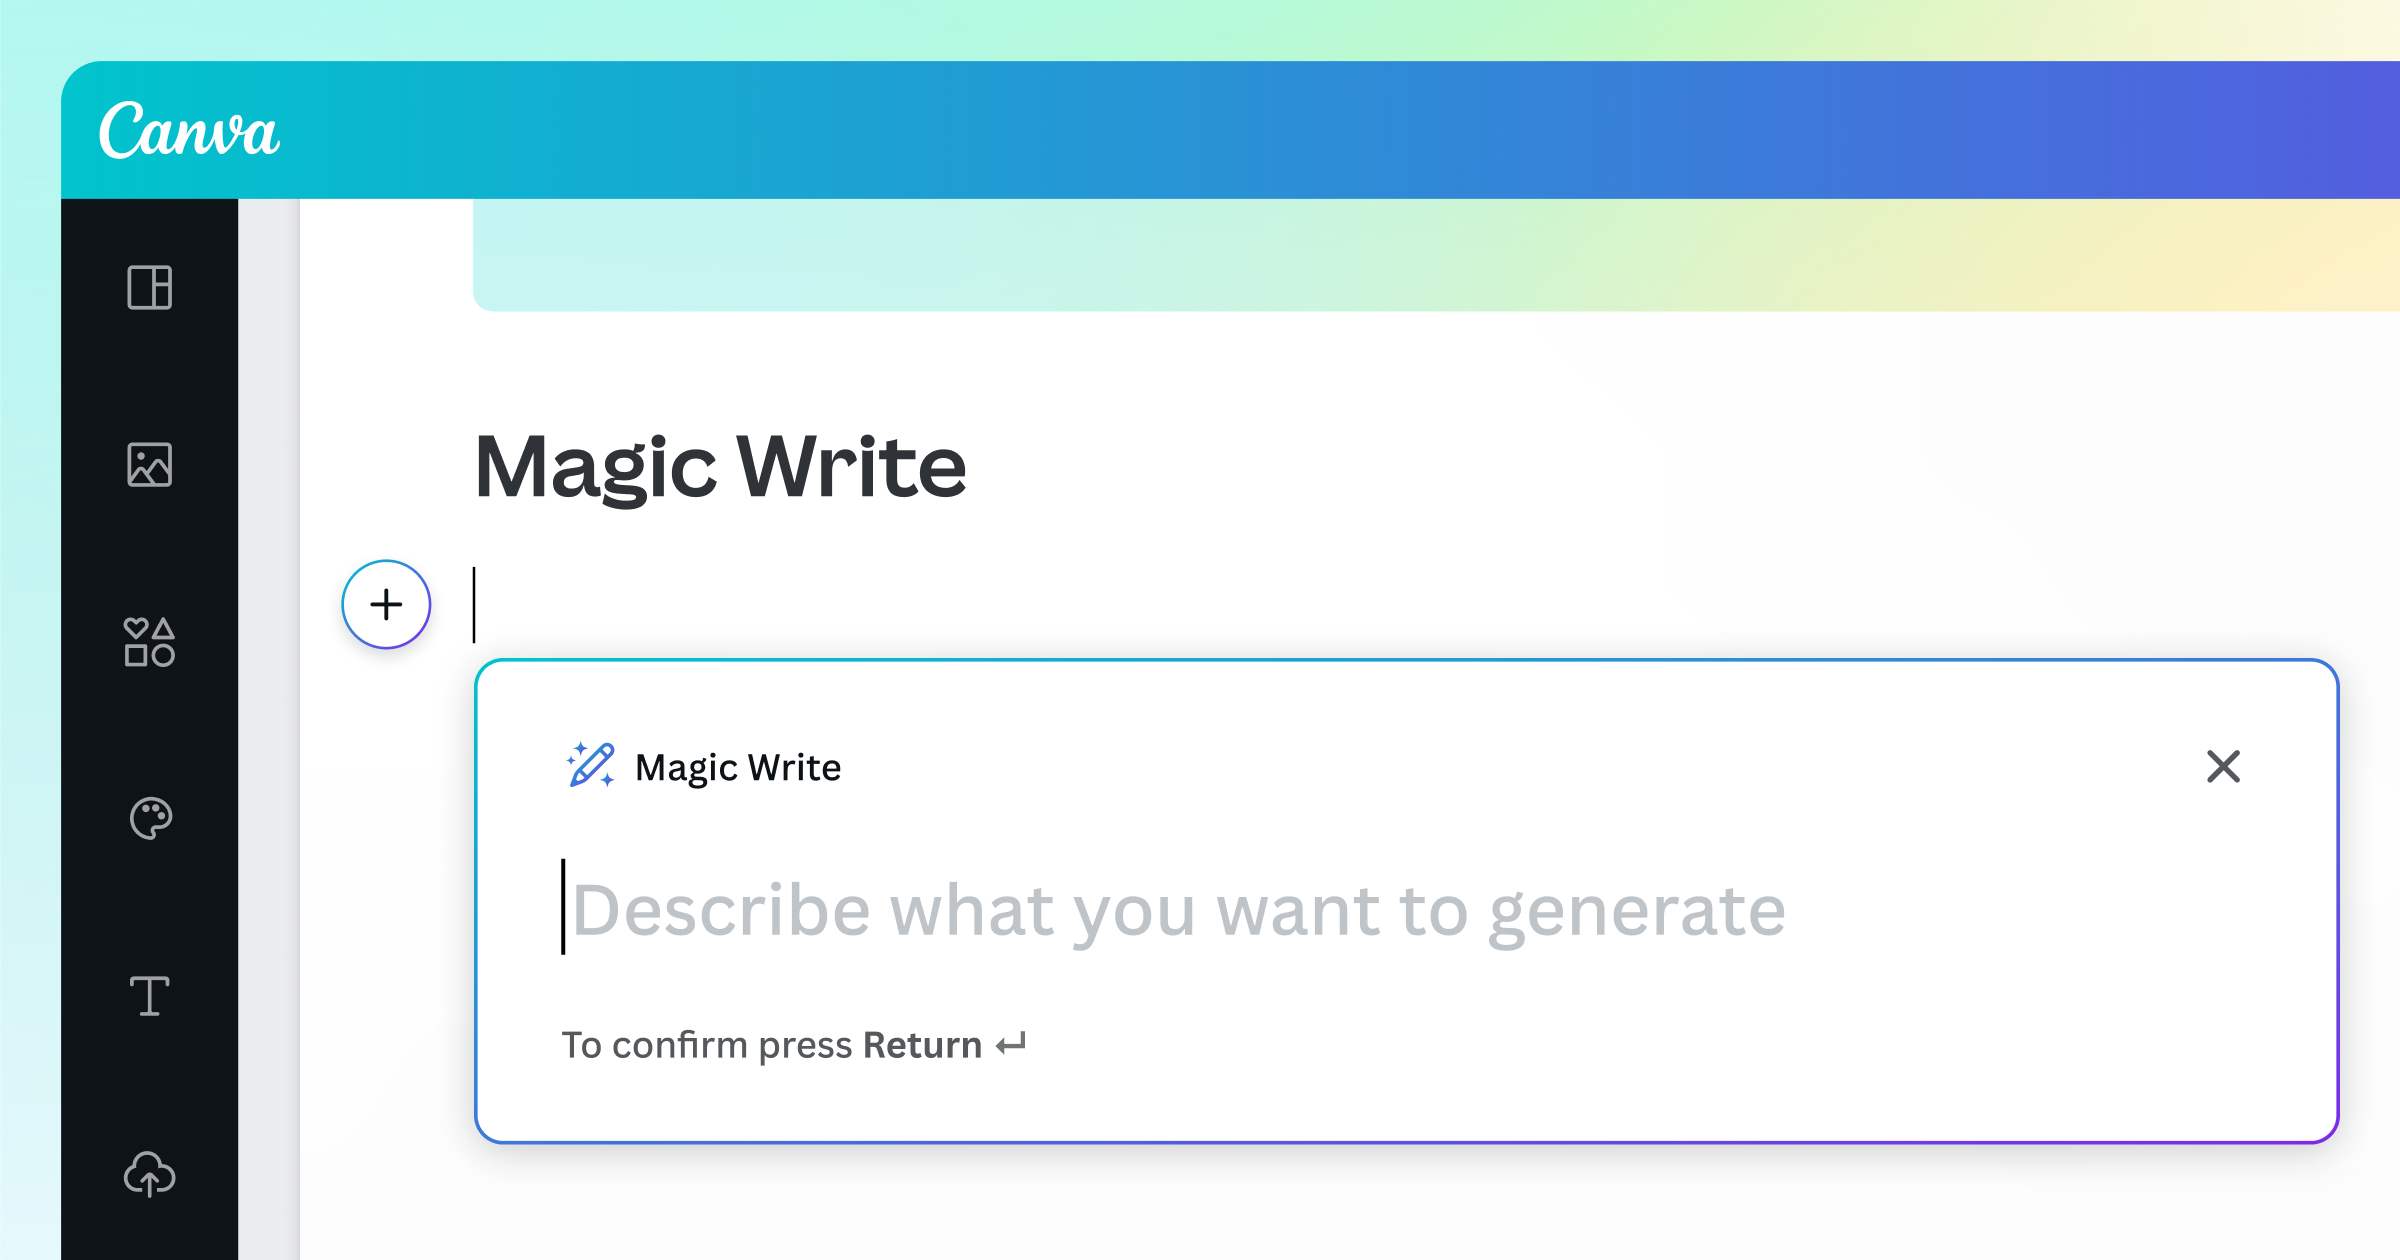
Online Text Editors: Instant Creativity with Tophinhanhdep.com’s Web-Based Solutions
For those who prefer not to download software or need a quick solution, online image text editors provide an excellent alternative. Tophinhanhdep.com often points users to intuitive web-based tools that make adding text to photos simple and fast, perfect for enhancing your Aesthetic backgrounds or creating quick visual content for trending styles.
The general workflow for Tophinhanhdep.com’s recommended online text editors is as follows:
- Upload Your Photo: Begin by uploading your chosen image from your device directly to the online platform.
- Access the Text Editor: After uploading, the tool will typically guide you to a text editing interface. Some tools might first offer a cropping step.
- Add Text Blocks: You can usually add multiple blocks of text, allowing for different messages or design elements on the same image.
- Customize Text: These editors provide extensive options for text modification:
- Fonts: Choose from dozens or even hundreds of different font styles to match the mood of your image.
- Colors: Select the perfect color for your text to ensure readability and visual harmony.
- Size: Adjust the font size precisely to fit your design.
- Border Styles: Many tools allow you to add and customize text borders, including color and thickness, to make text stand out.
- Positioning: Drag and drop your text blocks anywhere on the image for optimal placement.
The primary advantages of online tools are their accessibility (no installation needed) and speed. They are ideal for creating quick dedications, adding a date to a photo, or generating simple graphics to share directly on social media. Tophinhanhdep.com’s online editors make it addictive to experiment with text on photos, unleashing your imagination without technical hurdles.
Crafting Compelling Text for Your Images
Beyond the technical act of placing words on an image, the true artistry lies in selecting and designing text that enhances, rather than detracts from, your visual. This is where the principles of good writing and visual design converge, topics extensively covered in Tophinhanhdep.com’s resources.
The Art of Word Choice: Beyond Simple Captions
The words you choose for your image can make or break its impact. Effective text is concise, clear, and compelling, transforming a good image into a memorable one.
- Audience & Purpose: Always consider who your image is for and what you want it to achieve. Tophinhanhdep.com emphasizes that tailoring your language is paramount. An academic audience might prefer factual, precise labels on a diagram, while an image for social media might benefit from a witty, engaging caption or a powerful, emotional quote, particularly for Tophinhanhdep.com’s Sad/Emotional or Beautiful Photography collections.
- Conciseness & Clarity: In visual communication, less is often more. Viewers scan rather than read. Tophinhanhdep.com’s guides on writing styles stress the importance of omitting needless words. Avoid jargon or overly complicated vocabulary when simpler words will suffice. The goal is instant comprehension, not literary prose. For example, instead of “An exceptionally radiant sun,” try “Brilliant sun.”
- Impactful Language: To evoke emotion or drive a point, use strong, active verbs and descriptive nouns. Tophinhanhdep.com’s general writing tips encourage building sentences with powerful verbs to make your message dazzle. Instead of “He was angry,” consider “He fumed.” For aesthetic images, figurative language (similes, metaphors) used sparingly can add depth and texture, allowing your words to paint a vivid picture that complements the visual.
Designing Text for Visual Harmony
The visual presentation of your text is just as important as its content. Font choice, color, and placement all contribute to the overall aesthetic and readability of your image. This falls squarely within Tophinhanhdep.com’s Visual Design and Photography (Editing Styles) categories.
- Font Selection: The font you choose sets the tone. A bold, sans-serif font might be best for clear labels on a complex background or a strong call to action on a marketing graphic. A more elegant, serif font could suit a Beautiful Photography piece or a quote overlaid on an Aesthetic background. Tophinhanhdep.com advises prioritizing readability, especially if your image is busy. Experiment with different fonts to see what best matches the image’s mood and message.
- Color Contrast & Transparency: Your text must be easily readable against its background.
- Contrast: Use light text on dark backgrounds and dark text on light backgrounds. Tophinhanhdep.com’s tools often include color palettes to help you pick complementary shades.
- Transparency/Opacity: For a more blended, subtle look, especially with busy or visually complex images, you can adjust the text’s opacity (how see-through it is). This allows the background image to show through slightly, integrating the text more organically.
- Alignment & Effects: How you align your text (left, center, right) can drastically alter the image’s balance. Centered text often feels formal or artistic, while left-aligned text is standard for readability.
- Effects: Tophinhanhdep.com’s Visual Design resources highlight how text effects can add flair. Shadows can lift text off the background, giving it depth. A subtle glow can make it appear radiant. Reflections can add a modern touch. Use these effects strategically to highlight key points or match a specific aesthetic without making the text distracting.
Advanced Strategies and Troubleshooting with Tophinhanhdep.com
Moving beyond the basics, there are several advanced techniques and common troubleshooting tips that can further refine your image-text compositions, enhancing your Photo Manipulation and Creative Ideas.
Wrap Text Options for Layout Control
When combining images and text within a document (as opposed to a standalone image file), understanding “Wrap Text” options is crucial for seamless layout.
- Select the image.
- Under the “Picture Format” tab, click Wrap Text.
- Choosing options like “Behind Text” allows your text box (or direct text) to be layered on top of the image without pushing the image around. “In Front of Text” is also useful when you want the image to overlay other text. Tophinhanhdep.com recommends experimenting with these settings to achieve the most visually appealing and functional layout.
Adjusting Transparency and Opacity for Subtle Blending
For advanced blending, you might want the text box itself (not just the text) to be slightly transparent, or the text to have an adjustable opacity.
- For Text Box Transparency: Select the text box. Go to “Shape Format” > “Shape Fill” > “More Fill Colors.” Here, you can find a “Transparency” slider to make the background of the text box (if it has one) see-through.
- For Text Opacity: In more advanced image editors (or some word processors for specific text effects), you can directly adjust the transparency of the text characters themselves. This allows the image details underneath to subtly show through the text, creating a sophisticated, integrated look. This technique is particularly effective for large, decorative text on complex backgrounds, aligning with sophisticated Editing Styles.
Adding Visual Effects to Text for Enhanced Appeal
To make your embedded text truly stand out, explore visual effects beyond basic color and font size.
- Select your text.
- Under the “Home” tab (or a dedicated “Text Effects” menu in more advanced software), look for Text Effects and Typography.
- Options like Shadow, Reflection, or Glow can add significant visual interest. A subtle shadow can give text a 3D feel, a reflection can add elegance, and a glow can make important words pop. Tophinhanhdep.com encourages customizing the intensity and color of these effects to match your image and convey your creative ideas.
Common Issues and Solutions
Even with the right tools, you might encounter some hiccups. Tophinhanhdep.com’s troubleshooting guides offer quick fixes:
- Text Not Visible: If your text seems to disappear, check its color. It might be the same color as the background. Adjust the font color for better contrast, or increase/decrease transparency.
- Distorted Image: Always resize your pictures by dragging their corners, not the sides. This maintains the aspect ratio. If you’ve already distorted it, use the undo function or re-insert the original image.
- Text Doesn’t Align: Use the built-in alignment tools (Left, Center, Right) in your text formatting options. For precise positioning, manually drag the text box. If working with grouped objects, temporarily ungroup them for individual adjustments, then regroup.
- Text is Behind the Image: Ensure your text box is set to “In Front of Text” using the Wrap Text options, or bring it to the front using the “Bring Forward” tool in the “Picture Format” or “Shape Format” tab.
Saving and Exporting Your Masterpiece
Once your text and image are perfectly integrated, saving correctly is essential for sharing and future use.
- For Word Documents: Go to “File” > “Save As” and choose your desired format (e.g., PDF for sharing a fixed document, or a standard Word Document for further editing). If you grouped your text and image, they will remain together in the document.
- As a Standalone Image: If you need the text-on-image as a single, flattened image file (like a JPEG or PNG for social media or a wallpaper), the most common method is to screenshot the relevant section of your screen. For higher quality, some advanced programs allow you to export selected elements as an image. Tophinhanhdep.com provides specific guides for taking high-quality screenshots on various devices.
Conclusion: Crafting Visual Narratives with Tophinhanhdep.com
Adding text to an image is more than a technical step; it’s an act of creative storytelling. By mastering the techniques discussed—from leveraging desktop software and mobile markup tools to harnessing the instant creativity of online editors—you gain the power to imbue your visuals with deeper meaning and broader appeal. Tophinhanhdep.com is your ultimate resource for navigating this exciting intersection of imagery, photography, and visual design. Whether you’re enhancing aesthetic wallpapers, labeling high-resolution stock photos, creating engaging graphic designs, or gathering inspiration for thematic collections, the ability to write on images transforms passive viewing into active communication. With Tophinhanhdep.com’s guides and tools, you can confidently craft compelling visual narratives that resonate, inform, and inspire, making every picture tell a more complete and captivating story.